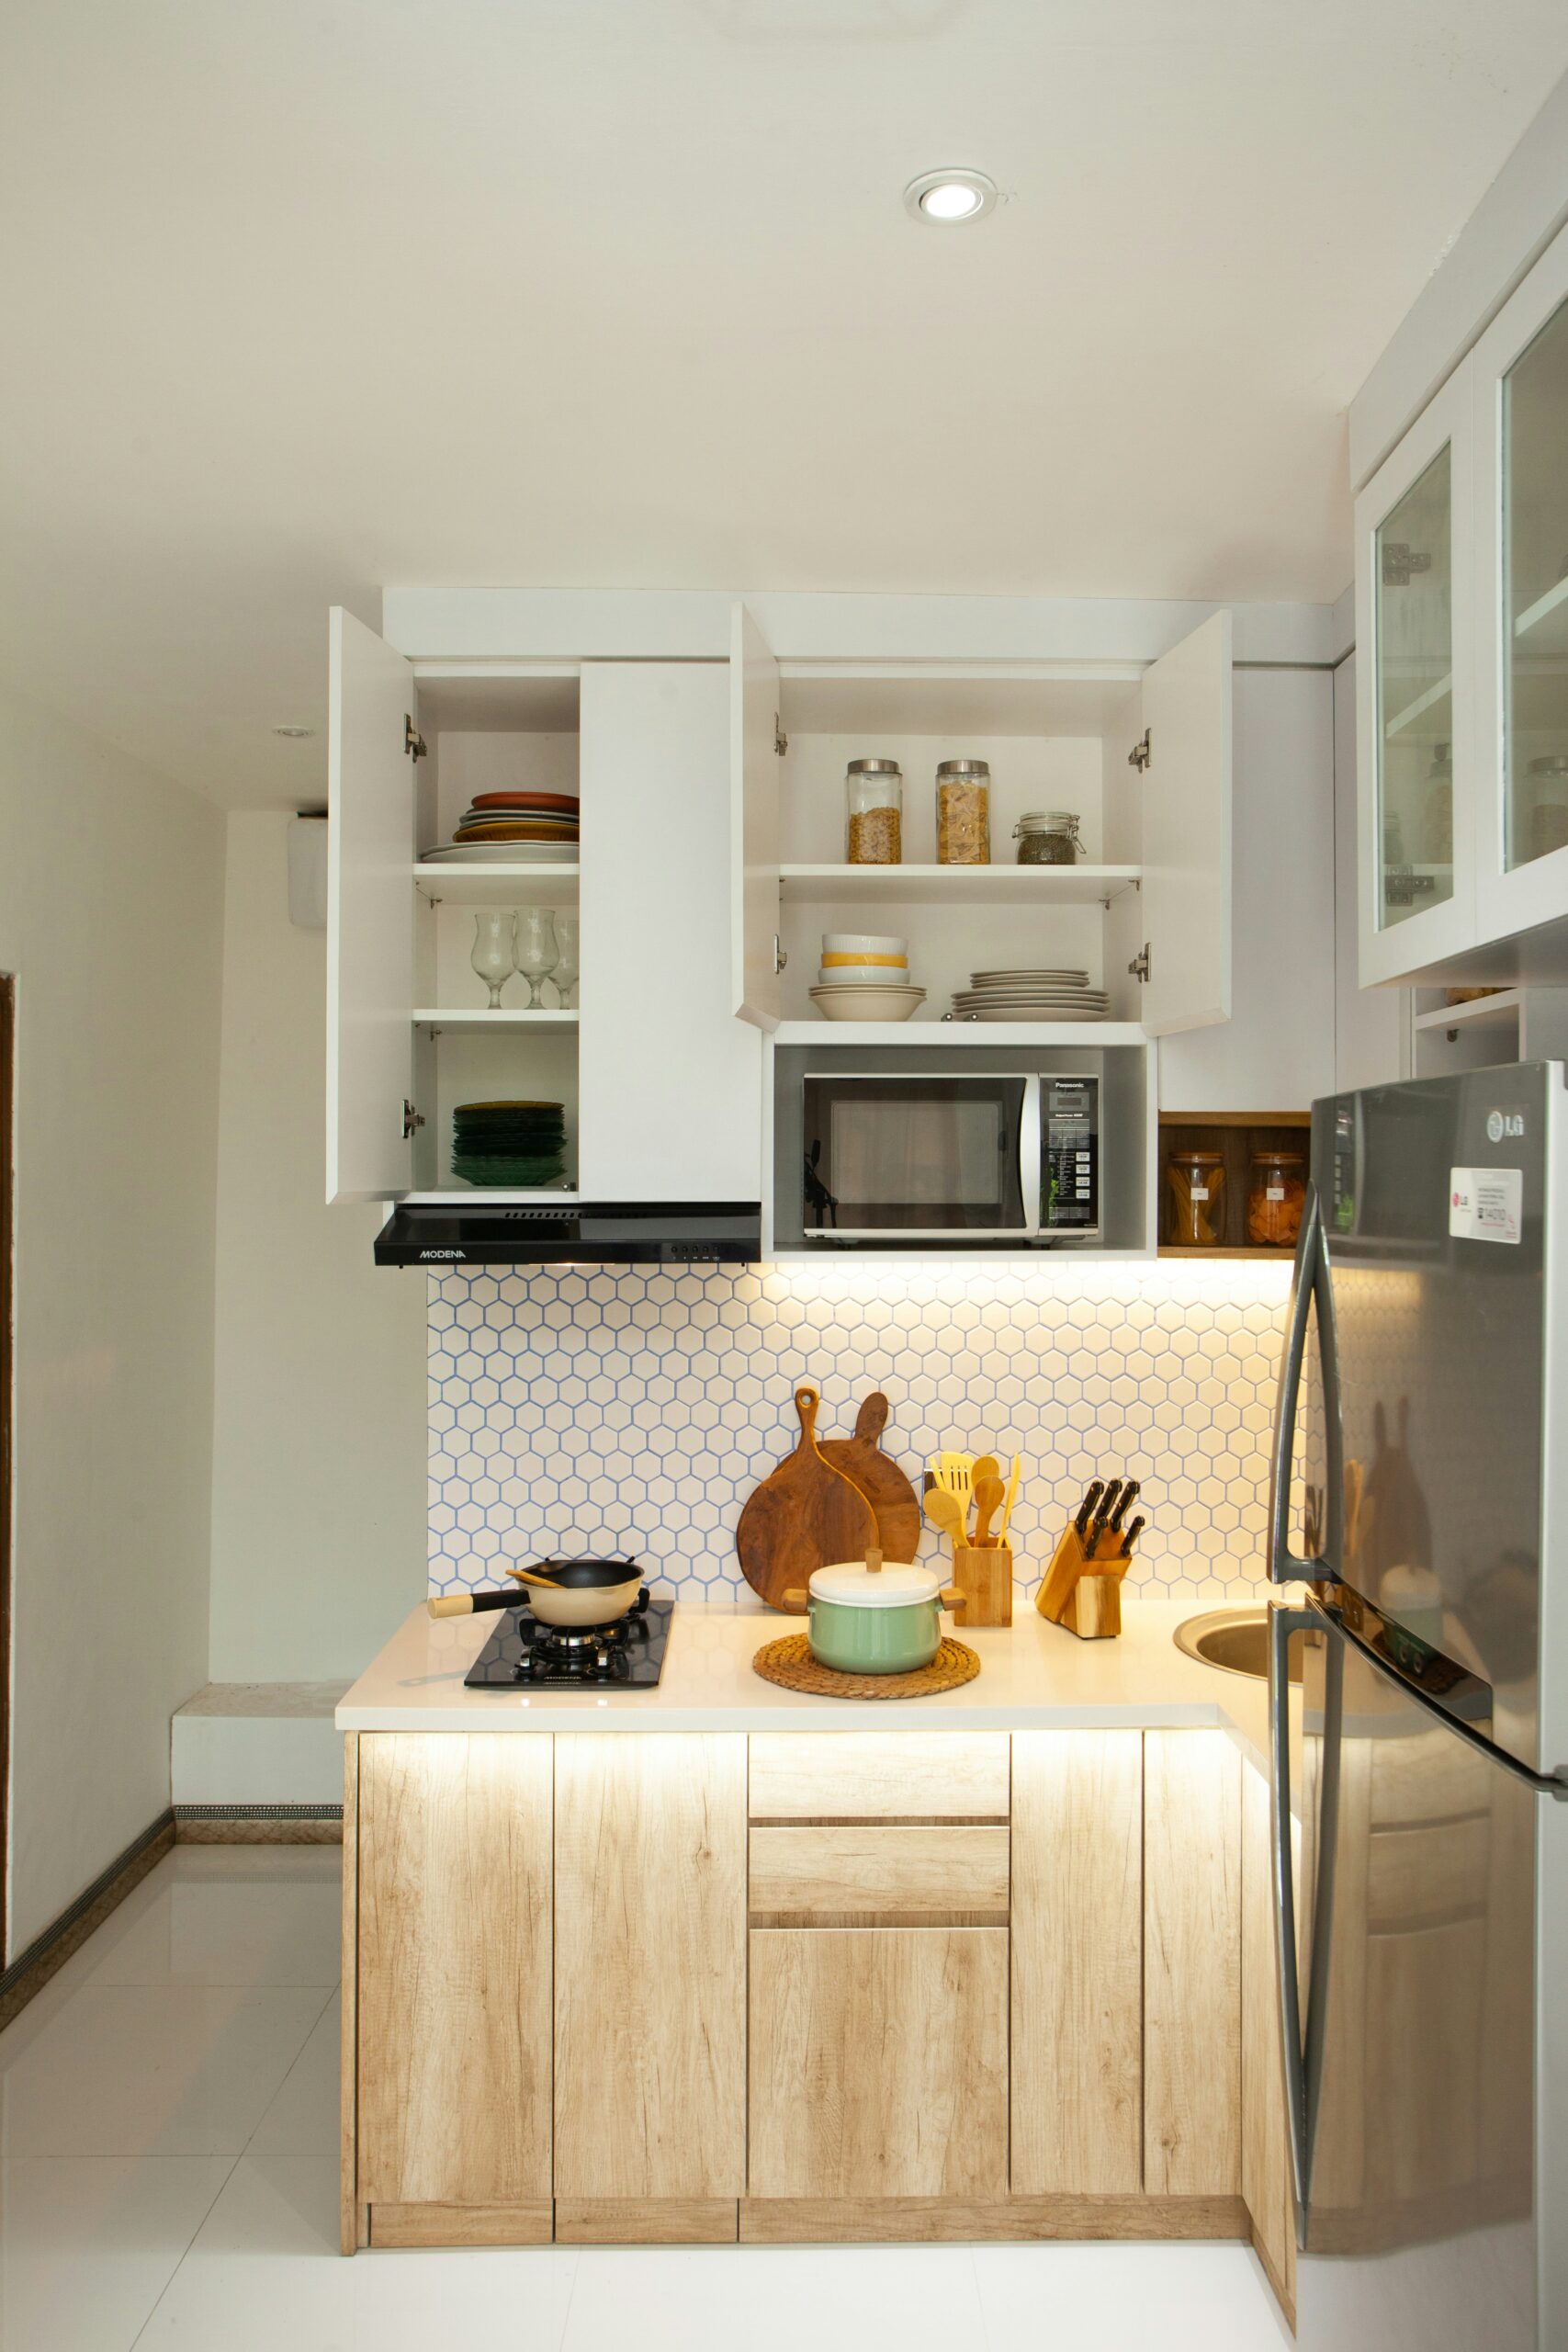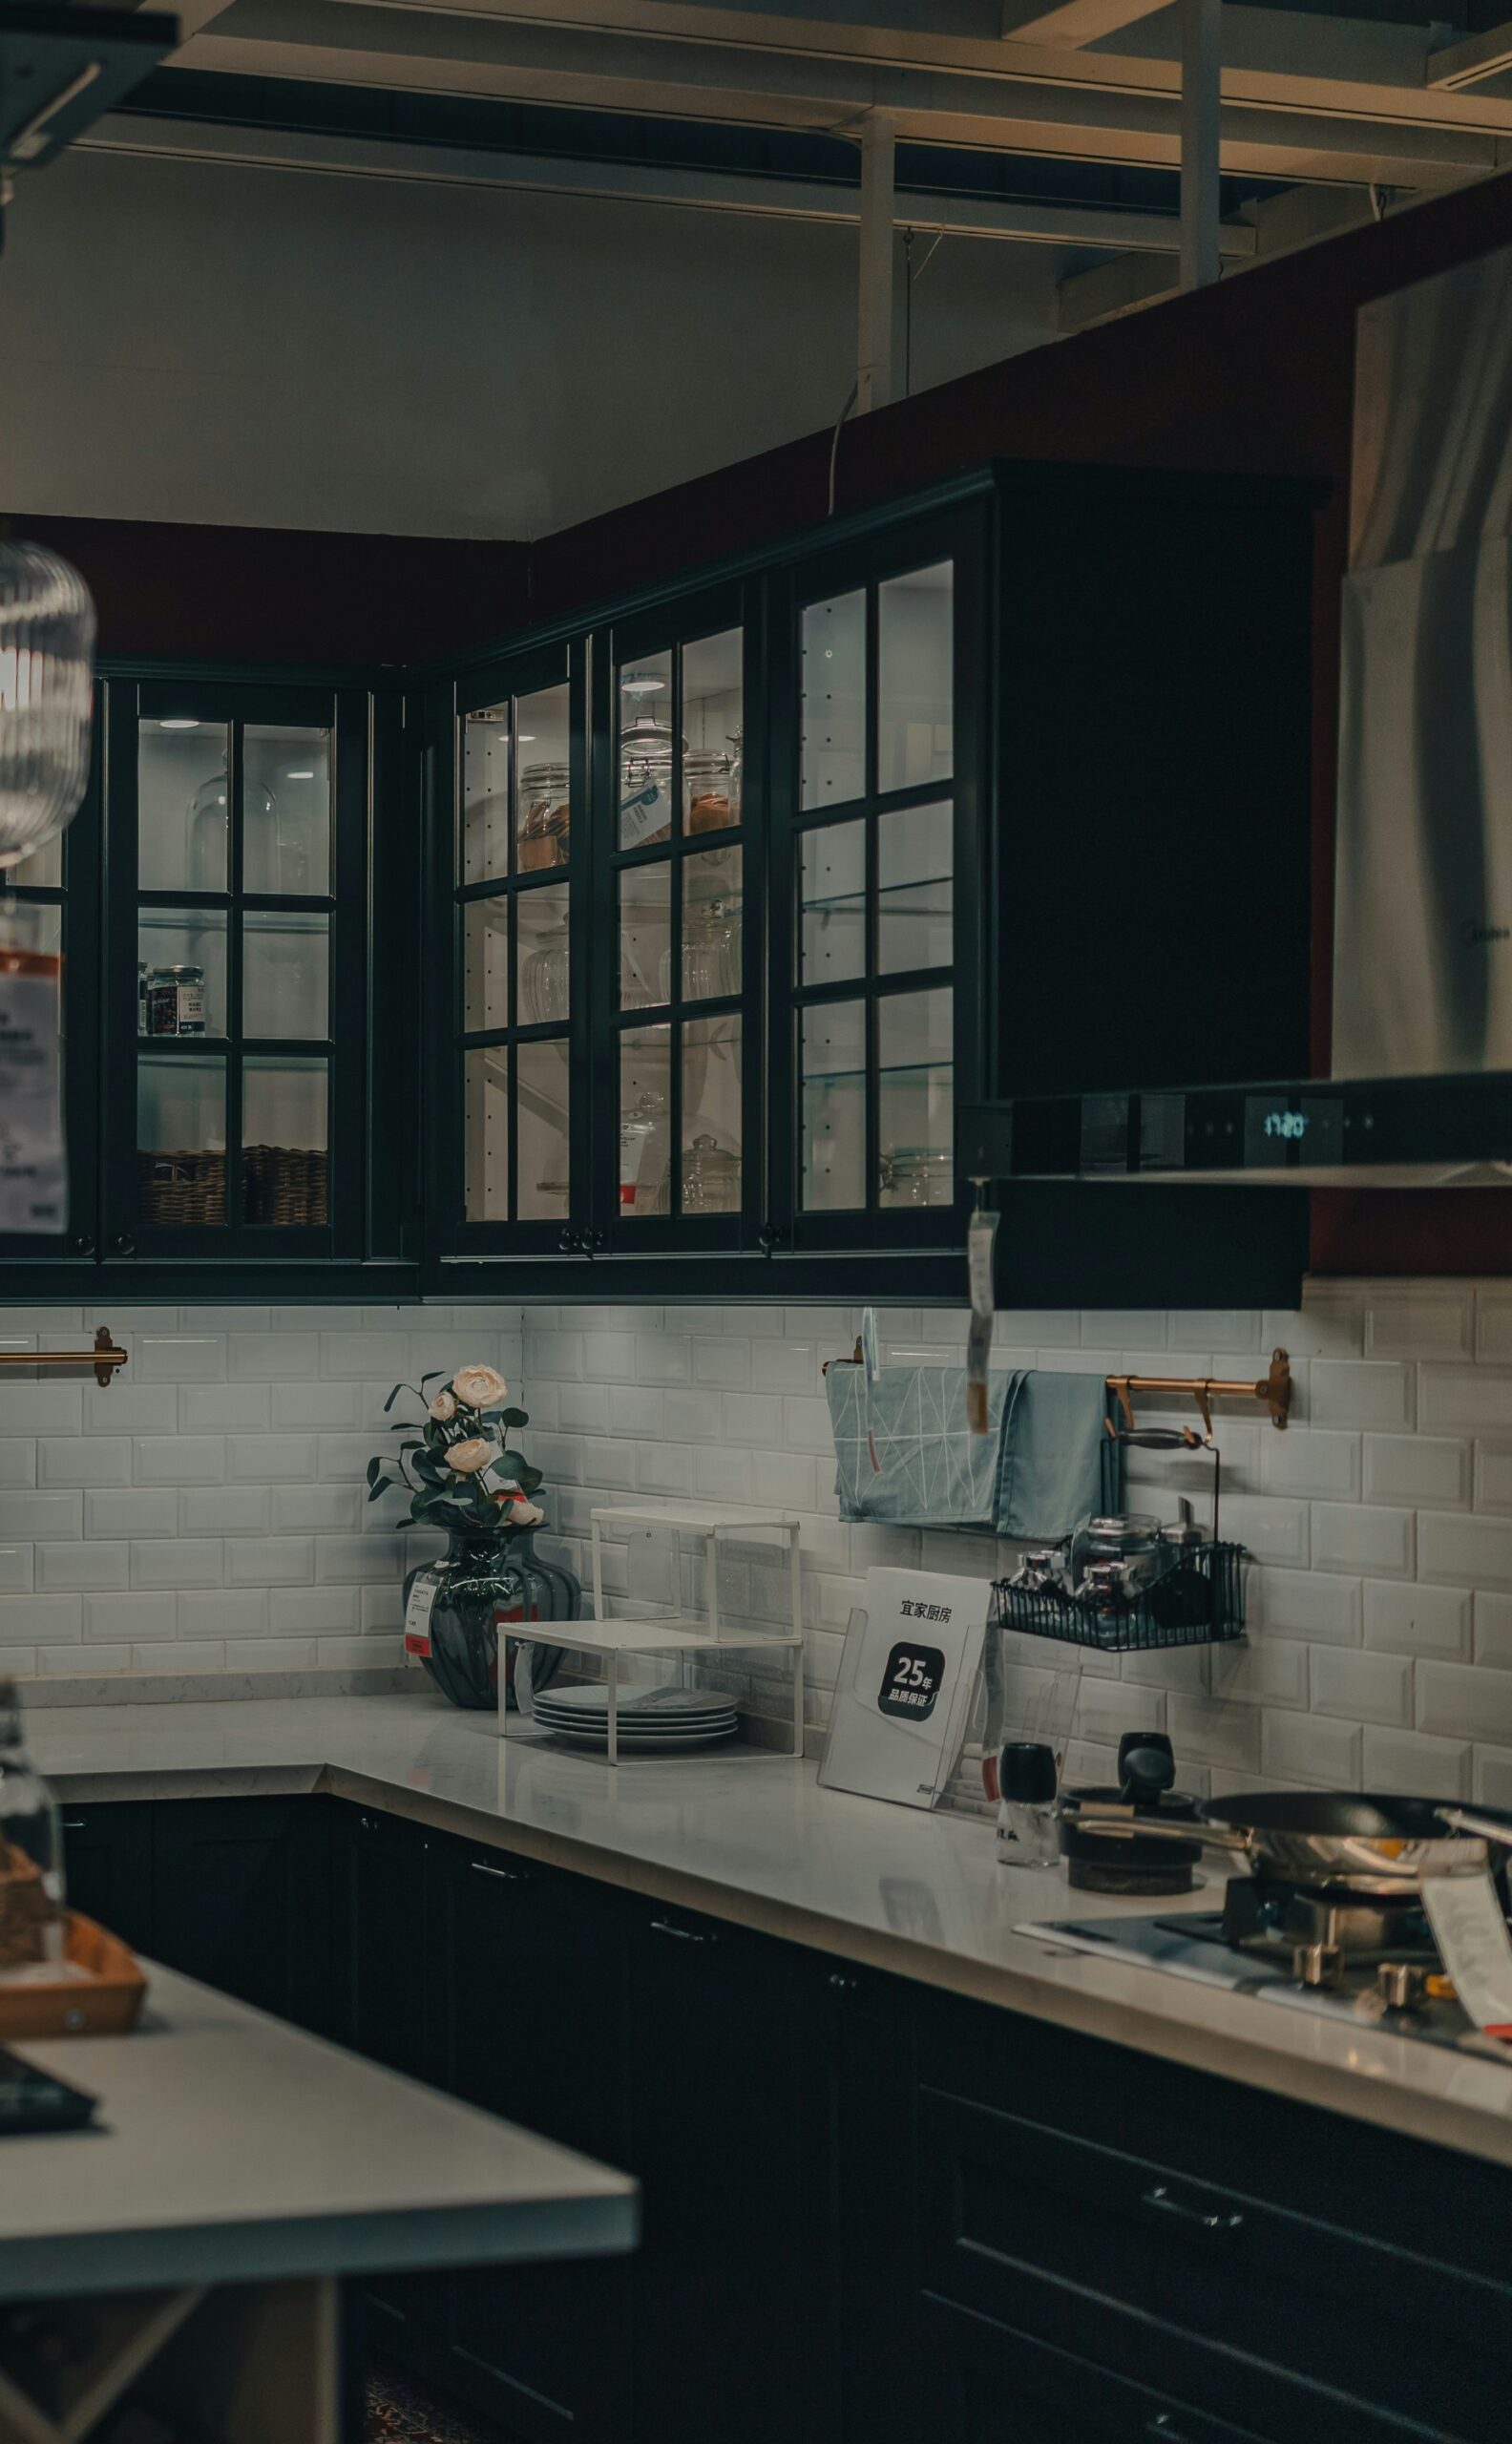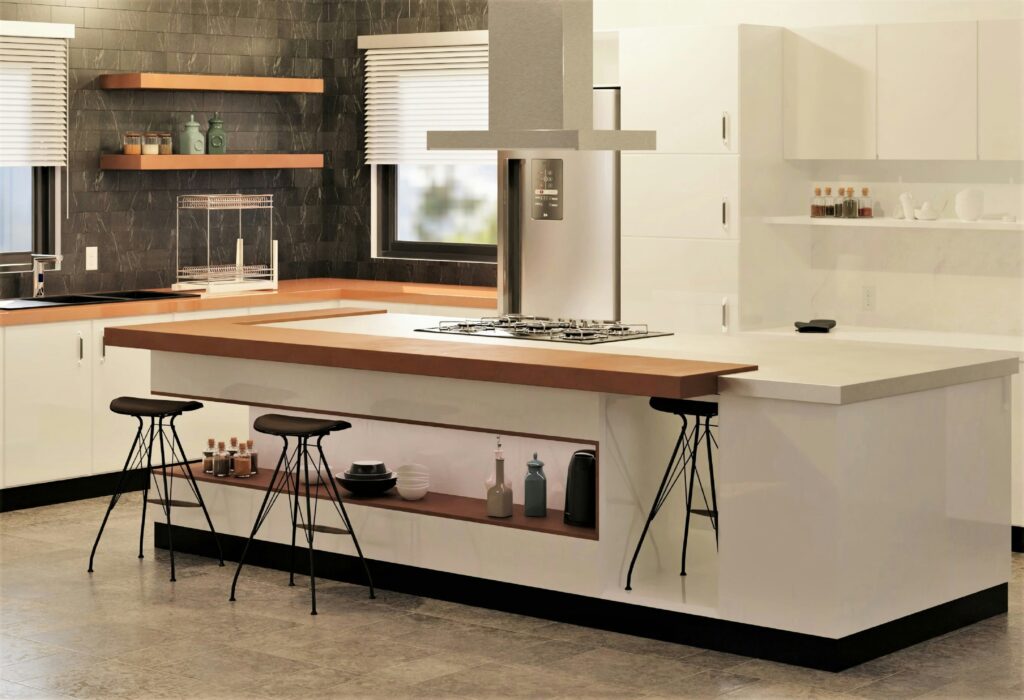
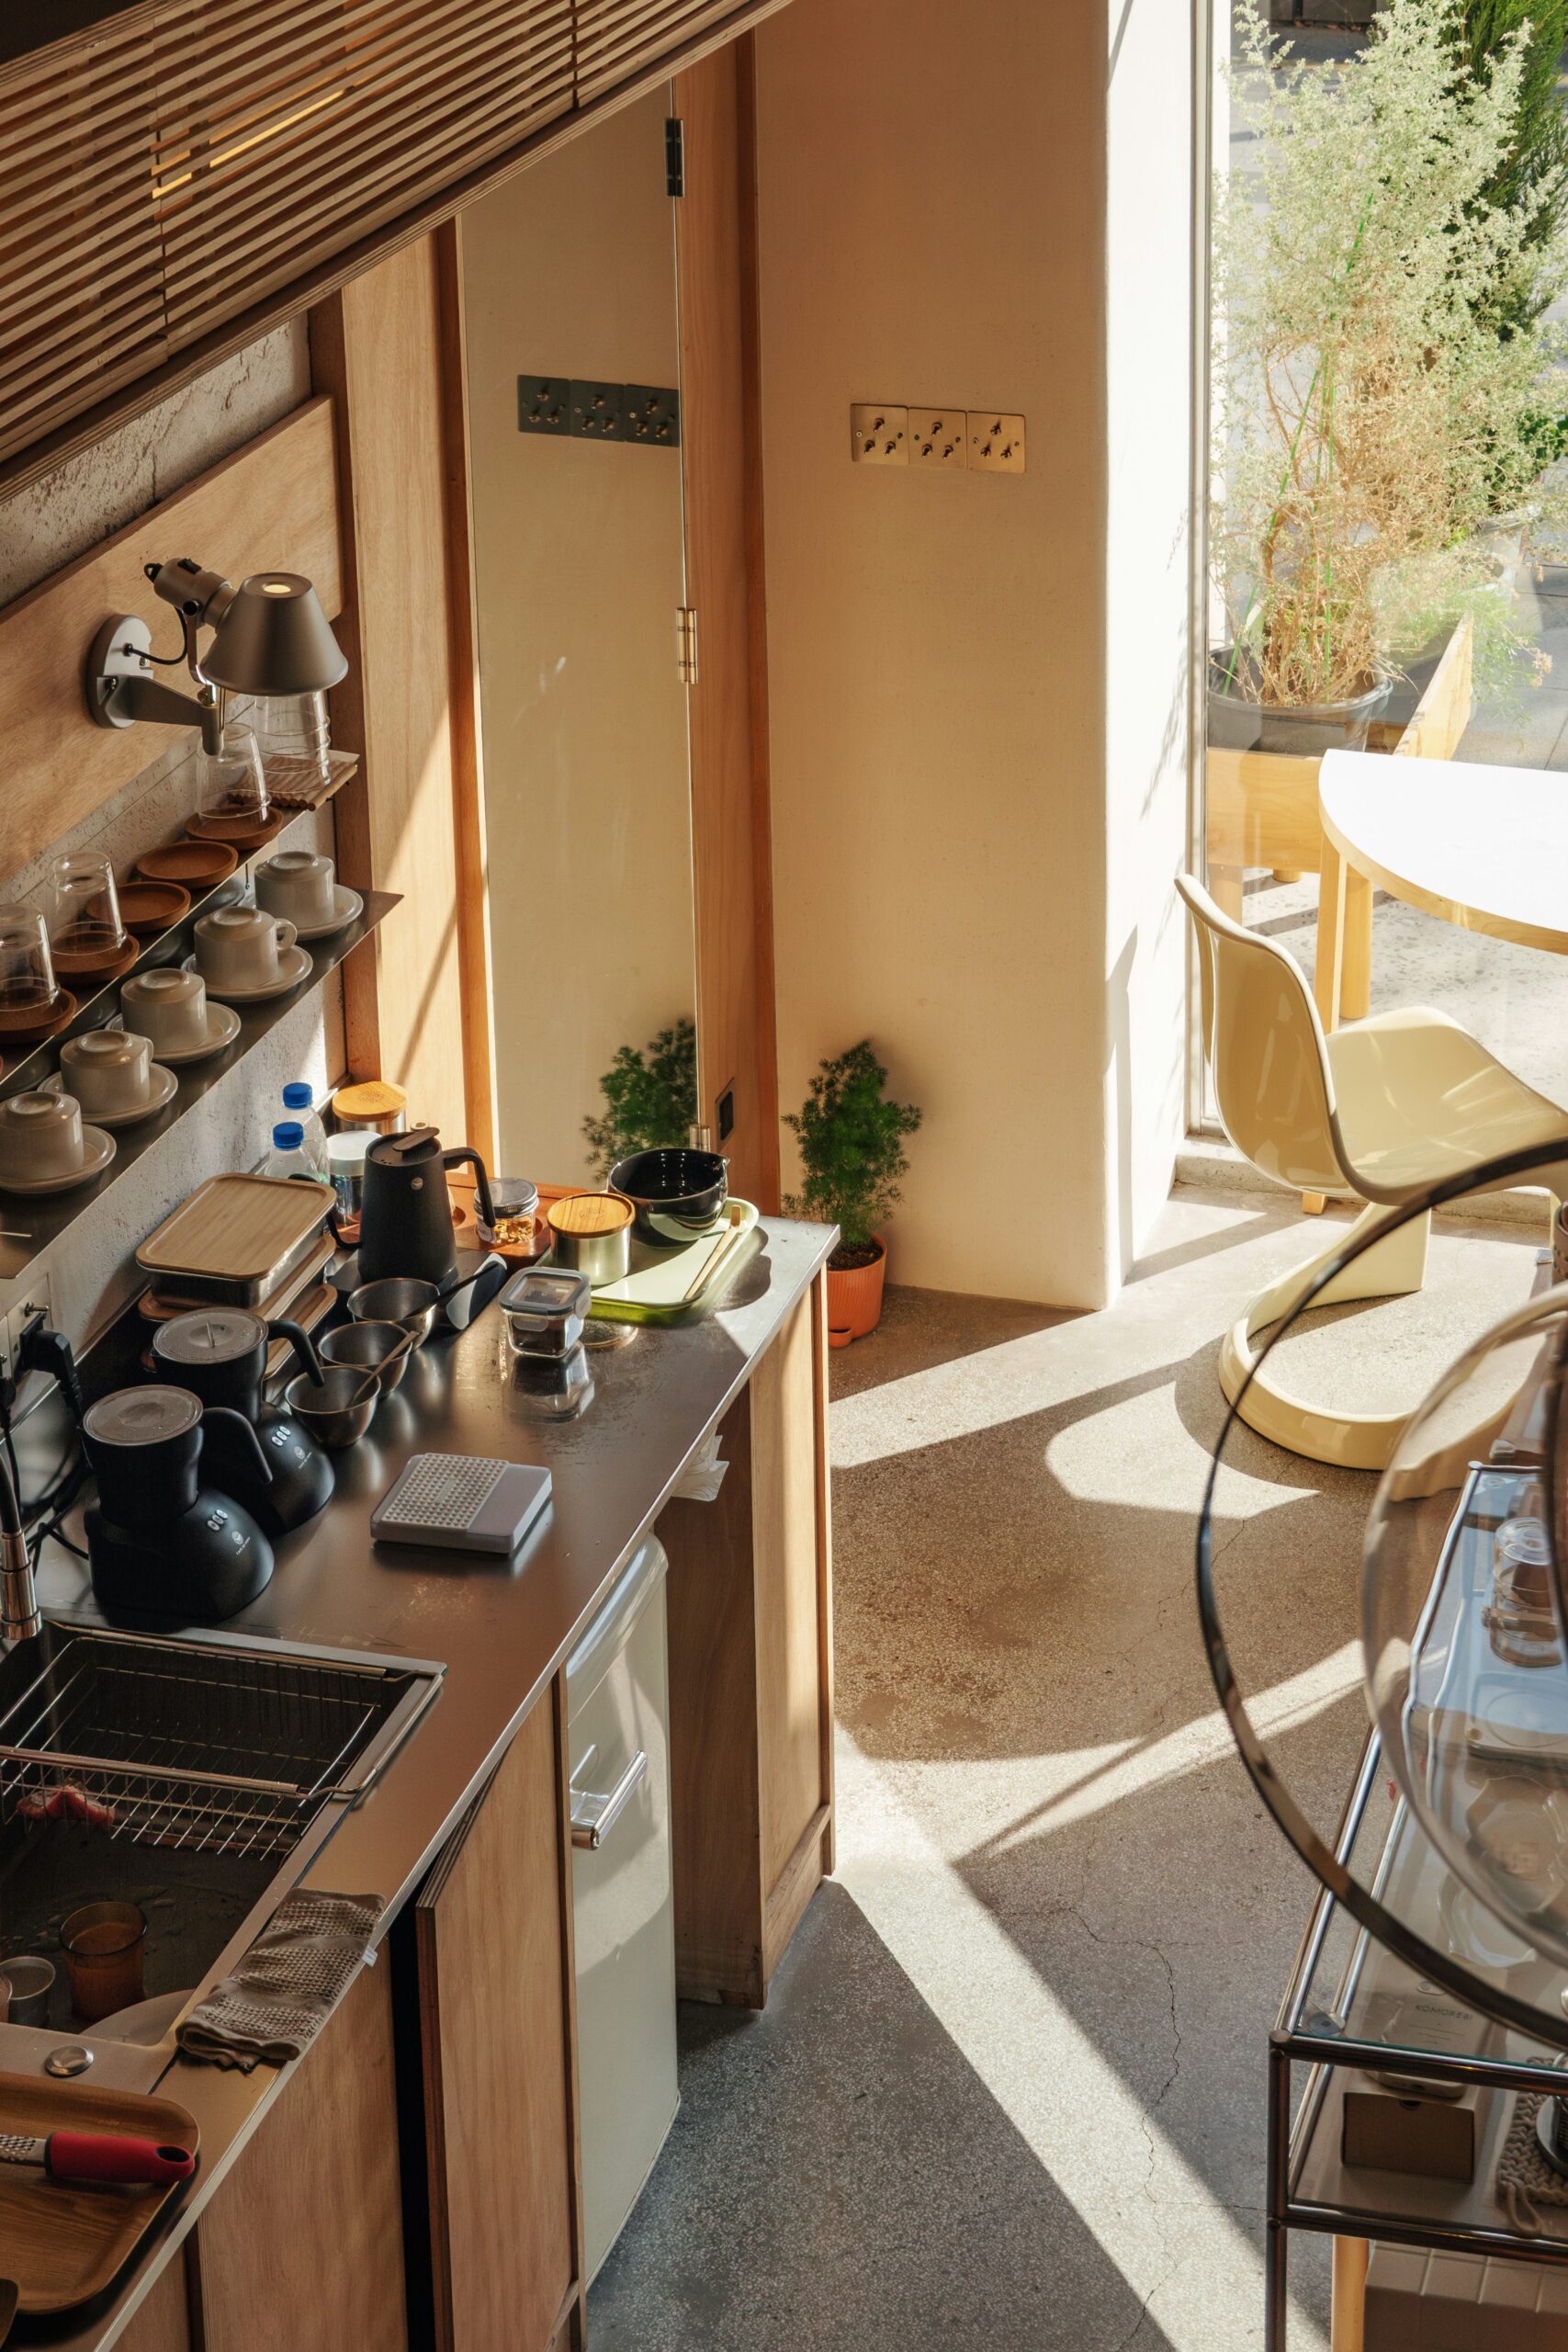
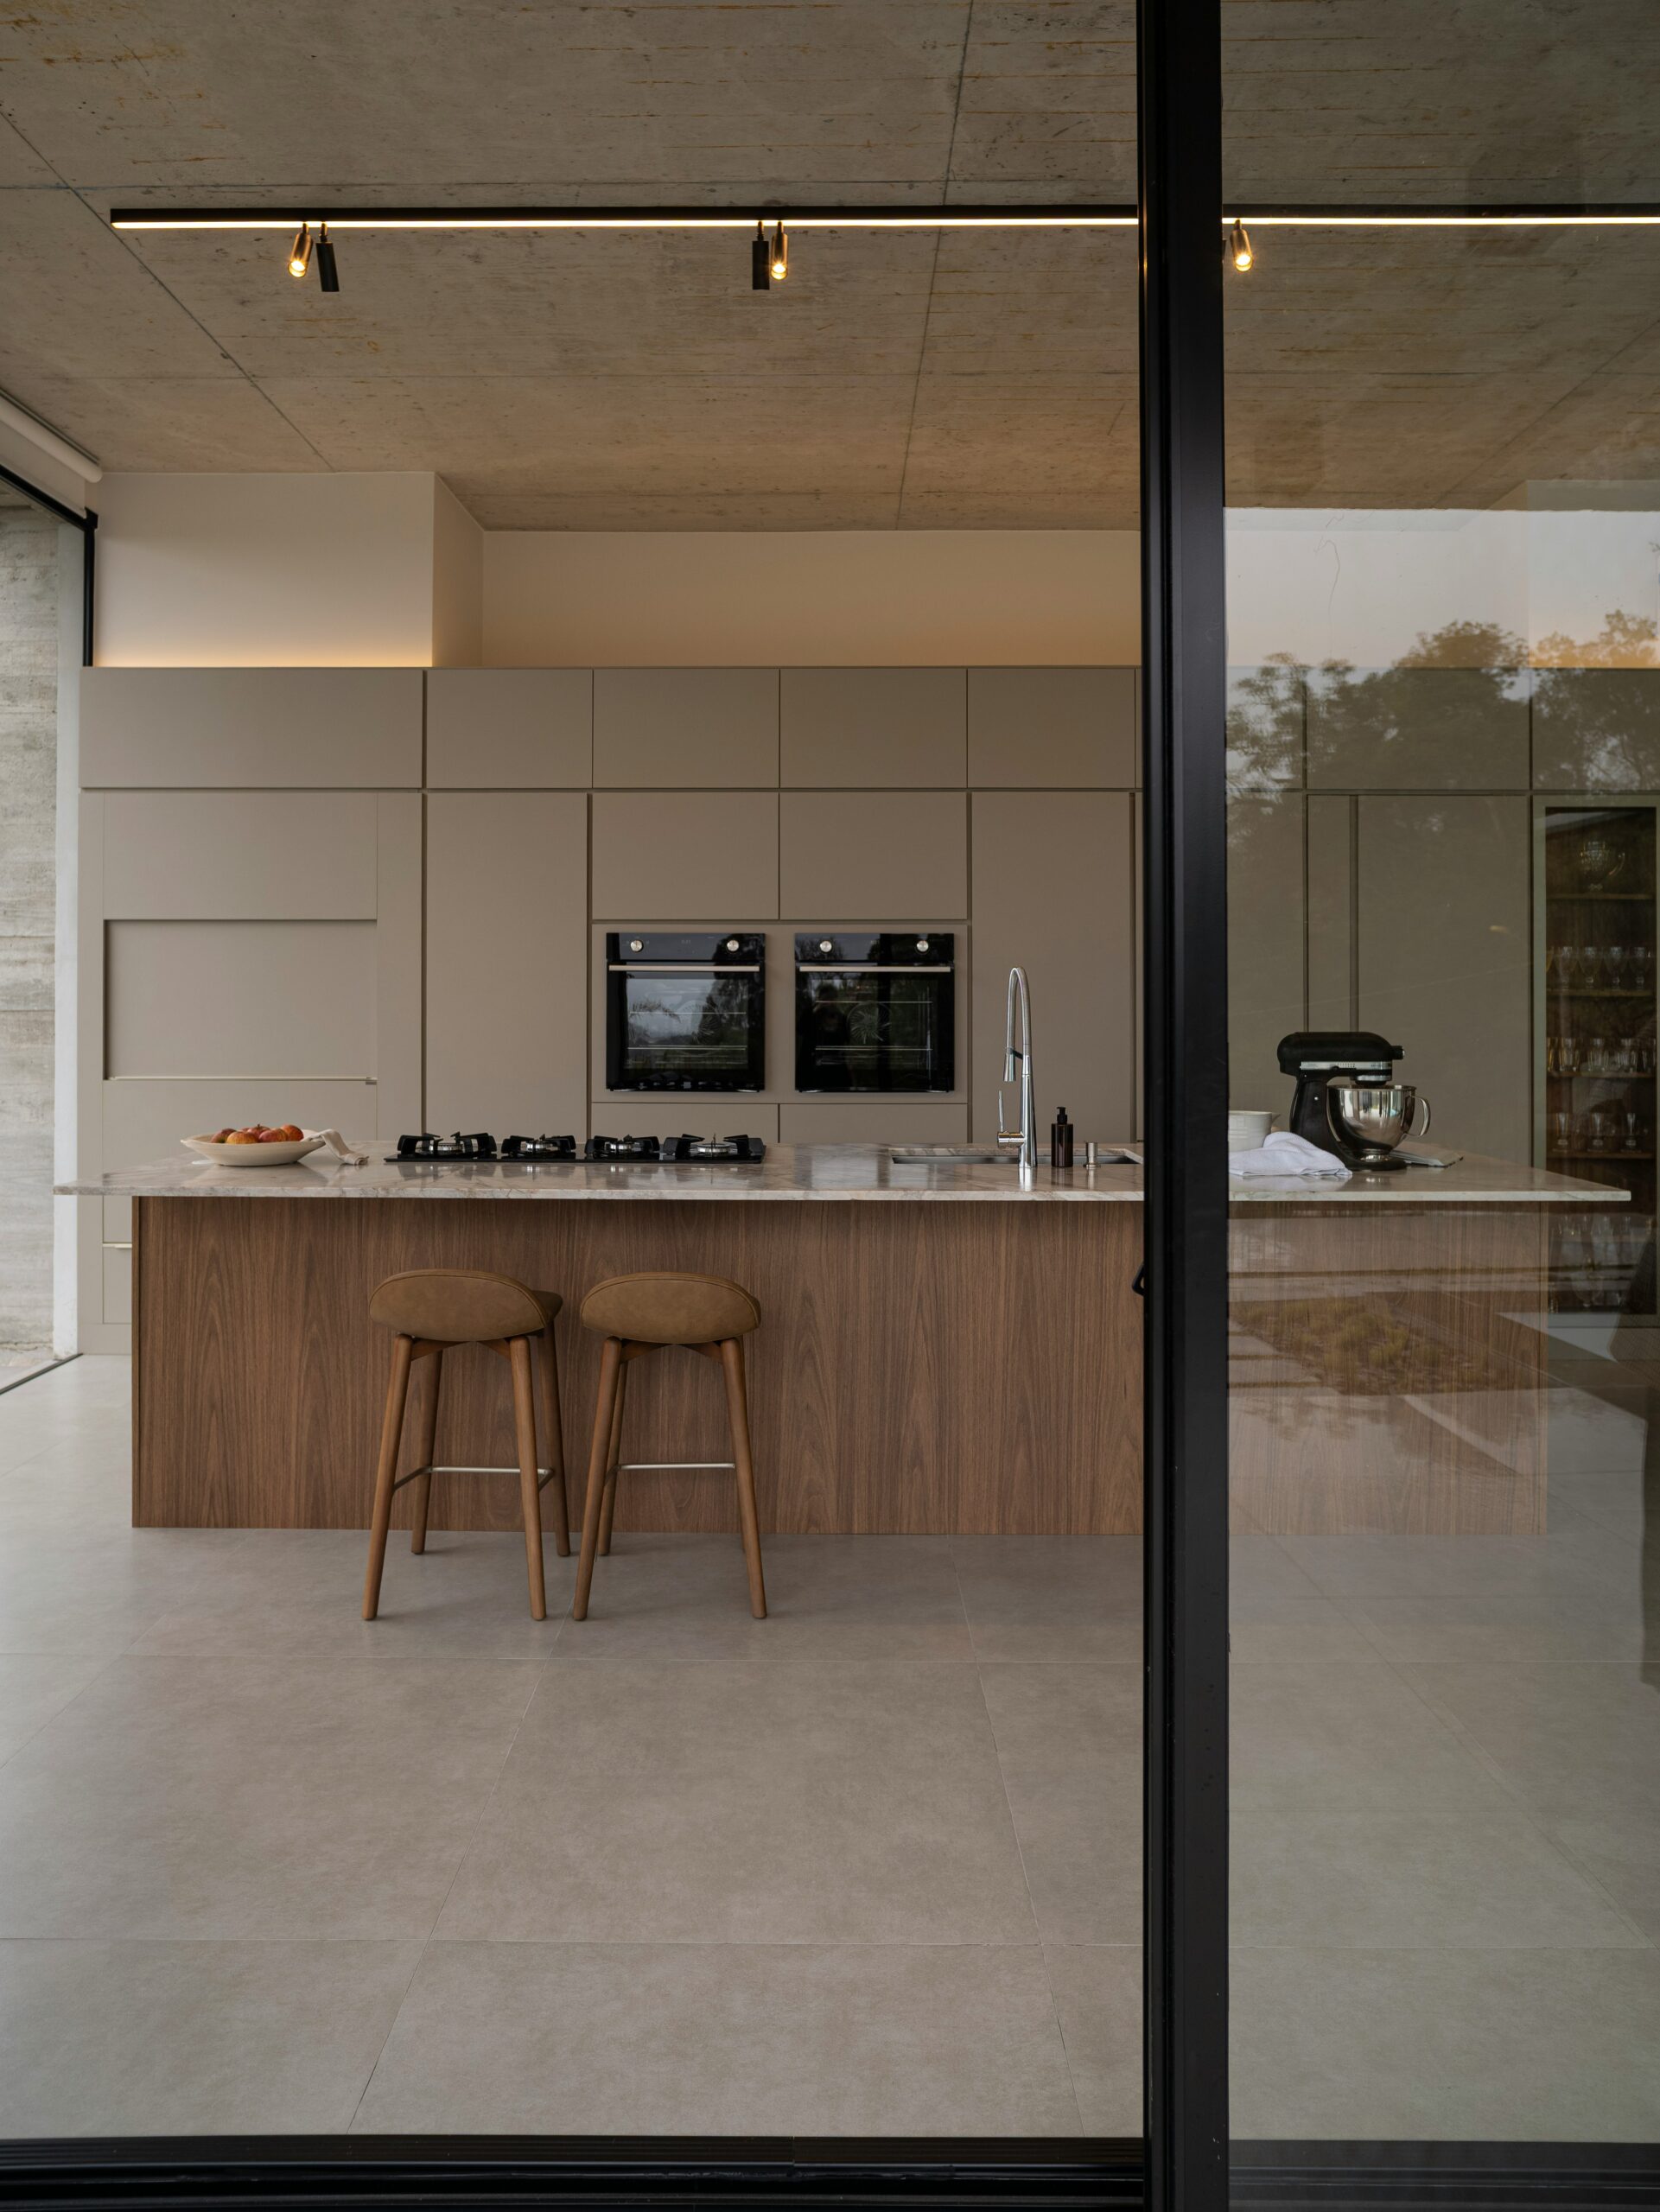
Cozy kitchen layout

What a “Kitchen Layout Renovation” Really Is

When people say they’re “renovating the kitchen,” they often mean new cabinets, countertops, and appliances. A layout renovation is different. It’s about changing how the kitchen works: where you walk, where you prep, where you cook, where you clean up, and how storage supports all of that.

A better layout can make a modest kitchen feel bigger than a glamorous one that’s awkward to use. It can also reduce daily friction: bumping into someone at the fridge, stacking groceries on the floor because there’s no landing space, or doing a lap around the island every time you need a knife.

The good news: you don’t always need to gut the room to improve the layout. Some of the highest-impact layout upgrades come from fixing traffic flow, adding continuous prep space, and reorganizing zones so the kitchen matches how you actually live.

Key terms you’ll hear

  • Work triangle: The classic idea that the sink, stove, and fridge form a triangle for efficient movement. Helpful concept, but many modern kitchens work better with “zones” (below).

  • Work zones: Grouping tasks into areas—prep, cooking, cleanup, storage, serving—so each task has what it needs close by.

  • Landing space: A spot of counter next to something you use a lot (fridge, oven, sink) where you can set things down safely.

  • Rough-in: The stage when plumbing, electrical, and ventilation (ductwork) are installed or moved inside open walls before finishes go back in.

Planning & Preparation

A kitchen layout renovation succeeds or fails in planning. This is where you decide what matters, what can realistically move, and how to avoid spending money on changes that don’t actually improve daily use.

1) Start with your “why”

Before you think about islands or open shelving, write down what’s not working right now.

Common layout pain points to look for:

  • You can’t open the dishwasher and walk past it.

  • The fridge blocks the main path when it’s open.

  • You have nowhere to put groceries down when you walk in.

  • Prep space is broken into tiny sections.

  • Trash/recycling is far from where you prep.

  • The cooktop is in a high-traffic zone, so people brush past hot pans.

  • Corners and narrow cabinets swallow items and waste storage.

  • Two people can’t work without colliding.

Now translate those pain points into layout goals.

Examples:

  • Pain point: “Everyone crowds the fridge.”
    Goal: “Move the fridge so it’s accessible from the kitchen entry without cutting through the cooking zone.”

  • Pain point: “We prep on the table because counters are cramped.”
    Goal: “Create one uninterrupted prep run with good lighting and outlets.”

  • Pain point: “Cleanup takes over the whole kitchen.”
    Goal: “Keep the sink/dishwasher zone out of the main walkway and add a nearby landing area.”

Keep goals simple. If you try to solve everything at once, layouts get overcomplicated.

2) Decide how far you’re willing to go (scope)

Layout renovations usually fall into three buckets:

Cosmetic refresh (no layout change)

You keep sink, stove, and major cabinet locations. You’re improving finishes and maybe swapping cabinet sizes within the same footprint.

Best when: Your workflow is mostly fine and traffic flow is acceptable.

“Layout tweak” renovation (small moves with big payoff)

You keep most plumbing and appliances in roughly the same area, but you change how the kitchen functions. This might include:

  • Removing a bulky peninsula to open a walkway

  • Replacing a door with a wider opening

  • Relocating a fridge or pantry cabinet within the same wall run

  • Reconfiguring base cabinets to add drawers and better storage

Best when: Your kitchen is close to working well, but one or two issues ruin it daily.

Full reconfiguration (walls and systems may move)

You relocate major items or change the room shape:

  • Moving the sink to an island

  • Relocating the range and adding a dedicated hood vent

  • Removing or adding walls/openings

  • Rebuilding most cabinet runs

Best when: The current layout fundamentally doesn’t match your home or how you use the kitchen.

A practical rule: if you’re unsure, plan as if you’ll do a “tweak,” then only escalate if you can clearly explain what the bigger move will fix.

3) Measure, map, and document what you have

You don’t need professional drawings to start, but you do need accurate information.

What to measure and note:

  • Wall lengths (to the nearest 1/8″ if you can)

  • Ceiling height

  • Window and door sizes, and their distance to corners

  • Door swing directions

  • Any soffits (boxed-in ceiling drops), bulkheads, or odd bumps

  • Existing appliance sizes and the space they occupy

  • Where plumbing currently is (sink, dishwasher, fridge water line)

  • Where gas is (if applicable)

  • Where the current hood vents (outside duct, recirculating, or none)

Quick, high-value step: Take photos of every wall, including under the sink and behind appliances if possible. That’s often where you’ll spot constraints like vent pipes or electrical panels.

4) Identify constraints early (the “can’t easily move” list)

Some items are easy to reposition. Others can balloon complexity.

Often harder to move:

  • Load-bearing walls: Walls that support the structure above. They can sometimes be altered, but it’s a bigger project.

  • Main plumbing stack: The vertical drain/vent lines that serve bathrooms/kitchens. Moving far from these can be tricky.

  • Vent routes: A good hood needs a path for ductwork to exit the home; not every spot can vent easily.

  • Electrical service/panels: You don’t want cabinetry fighting for space with critical access.

  • Radiators/floor vents: Moving them can be disruptive and affects comfort.

You don’t need to solve these yet—you just need to know they exist so you don’t design a dream layout that can’t be built.

5) Think in zones (how modern kitchens actually work)

Instead of only focusing on the sink-stove-fridge triangle, plan around work zones. A zone is simply a task area with the tools and storage nearby so you’re not constantly crossing the room.

Core zones:

  • Storage zone: Pantry food, dishes, cups, and everyday items.

  • Prep zone: Where you chop, mix, season, and assemble.

  • Cooking zone: Range/cooktop, oven, microwave, and cooking tools.

  • Cleanup zone: Sink, dishwasher, trash/recycling, and cleaning supplies.

  • Serving zone: Plates/platter storage and a place to stage food or drinks.

What a good zone plan does:

  • Keeps prep and cleanup from fighting for the same counter.

  • Prevents traffic from cutting through the cooking zone.

  • Places trash/recycling near prep (because that’s where most mess happens).

  • Gives the fridge a sensible relationship to both storage and prep.

Simple self-test: Imagine making pasta: get ingredients, fill pot, chop, cook, drain, plate, load dishwasher. If your path crisscrosses the kitchen repeatedly, zones need work.

6) Map your traffic flow (the “paths people take”)

A kitchen isn’t just for cooking. People pass through it, grab drinks, do homework, and unload groceries. If you don’t plan for this, even a beautiful layout will feel stressful.

Mark these on your sketch:

  • The main entry path into the kitchen

  • The path to the fridge for quick snacks

  • The route to the sink (often used constantly)

  • The route through to adjacent rooms (if it’s a pass-through kitchen)

A helpful principle: Try to keep “drive-by” traffic (kids, guests, anyone not cooking) away from the hot zone (range/oven) and away from the person loading the dishwasher.

7) List your appliances and realities (sizes matter)

Layout plans fall apart when appliance specs show up late.

Make a list of:

  • Refrigerator type and width (and how far doors swing)

  • Range/cooktop size

  • Wall oven(s) or range oven

  • Microwave (over-range, drawer, built-in, countertop)

  • Dishwasher

  • Any specialty items: beverage fridge, warming drawer, trash compactor, etc.

Then list any “always-on-the-counter” items you want homes for: coffee maker, toaster, stand mixer, air fryer, etc. This influences whether you need an appliance garage, a coffee station, or simply more outlets and a dedicated counter stretch.

8) Storage planning: inventory before you design

Storage is a layout issue, not just a cabinet issue. A kitchen can have “lots of cabinets” and still store poorly if the cabinets don’t match what you own.

Do a fast inventory:

  • Pots/pans and lids

  • Baking sheets and cutting boards

  • Pantry staples and bulk items

  • Glassware, mugs, kid cups

  • Serving platters, holiday items

  • Trash/recycling needs (including compost if you do it)

Outcome you want: a clear picture of what should live near prep, near cooking, and near serving, instead of stuffing everything wherever it fits.

9) Make a “layout brief” (your decision filter)

This is the one-page summary that keeps you from drifting into random ideas.

Include:

  • Your top 3 goals (e.g., “more prep space,” “better traffic flow,” “better storage”)

  • Your top constraints (e.g., “sink must stay on this wall,” “can’t move exterior vent”)

  • Your must-haves (e.g., “seating for two,” “pantry storage,” “good ventilation”)

  • Your household needs (kids, pets, mobility, entertaining style)

  • Your non-negotiables (e.g., “no walking path behind the cooktop,” “dishwasher must open without blocking the room”)

When you evaluate layout options later, you’ll use this brief to choose the one that supports your real life—not just the one that looks best in a rendering.

10) Know what can trigger permits and approvals (and plan for it)

Rules vary by region, and your local building department (and HOA/condo board if you have one) has the final say. But as a general planning guide, permits are commonly required when you:

  • Move or significantly change plumbing

  • Add or change electrical circuits, especially for kitchens

  • Alter walls (especially if structural)

  • Add or change venting through an exterior wall/roof

  • Do a renovation that affects safety items like GFCI outlets (kitchen-required in many places)

Even if you’re not ready to file anything, this matters now because it helps you decide whether a “tweak” layout is smarter than a full reconfiguration.

Design & Material Considerations

This is where you turn your goals (“more prep space,” “stop the traffic jams,” “better storage”) into a layout that actually works in real life. The trick is to design the function first and use materials and cabinet choices to support that function—not fight it.

Modern Kitchen Layout

Layout & Functionality: The Principles That Make Any Kitchen Work

Think in clearances (so the kitchen feels effortless)

A kitchen layout can look perfect on paper and still feel tight if you don’t protect the space people need to move and work.

Clearance concepts to keep in mind:

  • Aisles/walkways: You want enough room for someone to pass while another person is at a counter or appliance.

  • Work aisles: The space where cabinets/appliances face each other (common in galleys, U-shapes, and around islands).

  • Appliance door “conflict zones”: The space needed for the fridge door, oven door, dishwasher door, and nearby traffic.

Practical layout rules that prevent regret:

  • Avoid placing the dishwasher so it blocks a main walkway when open.

  • Make sure the fridge has clear door swing and nearby landing space (a counter spot to set items down).

  • Keep the cooking zone out of the “through traffic” line as much as possible.

  • Ensure there’s at least one continuous prep run (even if it’s not huge). Broken-up counters are one of the biggest day-to-day frustrations.

If you’re unsure, do a “tape test”: tape the island/peninsula outline on the floor and pretend to open the dishwasher and fridge while someone walks behind you.

Zones beat the triangle in many real homes

The classic work triangle can still be useful, but it breaks down in open layouts, busy households, and kitchens with multiple cooks. Zones are more flexible.

A strong zone plan usually looks like this:

  • Fridge + pantry near the kitchen entry (easy grocery drop-off).

  • Prep zone between fridge storage and cooking.

  • Trash/recycling within one step of prep.

  • Cleanup zone (sink + dishwasher) placed so it doesn’t dominate the main prep space.

  • Serving zone positioned so guests can help themselves without entering the hot zone.

Common zone mistakes to avoid:

  • Prep space far from sink (you end up carrying wet produce across the kitchen).

  • Trash on the opposite side of the room from where you chop and peel.

  • Dishwasher positioned so unloading blocks the kitchen pathway.

  • Cooktop placed right in a traffic corridor.

The Big Layout Options: Ideas, Pros/Cons, and Who They’re For

Below are the most common kitchen layouts, with “best for / not ideal for” guidance and practical upgrades that make each one work better.

1) One-Wall Kitchens

A one-wall kitchen puts all cabinets and appliances along a single run. It can be sleek and efficient in small spaces, but it requires careful planning to avoid feeling cramped.

Best for

  • Small homes, apartments, studios

  • Open-plan rooms where you want the kitchen to blend in

  • Households that don’t need a lot of cooking surface at once

Not ideal for

  • Serious cooks who need multiple work zones

  • Homes needing lots of pantry/storage

  • Multiple cooks working simultaneously

Layout ideas that improve function

  • Go tall: pantry cabinets to the ceiling to make up for fewer base cabinets.

  • Prioritize continuous prep space: keep a long section clear between sink and cooktop if possible.

  • Add a mobile island cart if you need flexible prep space without permanent clearance issues.

  • Use more drawers in base cabinets (they’re easier than deep shelves).

Material/cabinet tips

  • Consider a cabinet finish that’s durable and easy to clean; one-wall kitchens often live in high-traffic spaces.

  • Use a backsplash material that can handle splashes across a longer exposed run.

2) Galley Kitchens

A galley has two parallel runs facing each other (or one full run and one shorter run). It can be extremely efficient—if the aisle width and door swings work.

Best for

  • Efficient cooking (everything within a few steps)

  • Smaller spaces where storage is needed

  • Households that cook frequently

Not ideal for

  • Very narrow spaces where two people can’t pass

  • Layouts where appliance doors collide (fridge vs dishwasher)

  • Homes that want the kitchen to be a social hangout

Layout ideas that improve function

  • Put cooking on one side and cleanup on the other to reduce conflict.

  • Choose appliance locations so doors don’t fight:

    • Example: place dishwasher away from the main path or at the end.

  • If possible, open one end (widen the entrance) to reduce the “tunnel” feel.

  • Use shallow-depth cabinets on one side (where possible) to widen the aisle without losing all storage.

Material/cabinet tips

  • Use light-reflective finishes (not necessarily glossy) to avoid the “hallway” feel.

  • Under-cabinet lighting matters more in galleys because counters are often shadowed.

3) L-Shaped Kitchens

An L-shape is one of the most adaptable layouts: good flow, flexible dining integration, and it can work in both open and closed kitchens.

Best for

  • Most medium-size kitchens

  • Open-plan layouts where you want one side open to a dining/living space

  • Homes that want an island later (if space allows)

Not ideal for

  • Layouts where the corner becomes wasted space

  • Kitchens needing a lot of continuous cabinetry on one wall (limited wall length)

Layout ideas that improve function

  • Make the corner work with smart storage:

    • Lazy susan, pull-out corner system, or “blind corner” pull-outs

  • Place the sink or prep area near the corner only if you can keep it functional (avoid tiny corner counters).

  • Keep a meaningful prep run on one leg of the “L” and put tall storage (pantry/fridge) on the other.

Material/cabinet tips

  • Corner solutions are worth investing in if the kitchen relies on that storage.

  • Consider durable counter materials for the main prep leg (that’s your highest-use surface).

4) U-Shaped Kitchens

U-shapes can deliver excellent storage and counter space, but they can also feel confining if clearances aren’t respected.

Best for

  • Homes that cook a lot and want strong separation of zones

  • Kitchens where you want maximum counter and storage

  • Households that don’t need the kitchen to be a hangout space

Not ideal for

  • Narrow kitchens where the “U” creates a tight working box

  • Homes with lots of through-traffic passing through the kitchen

  • People who want seating in the kitchen but don’t have space

Layout ideas that improve function

  • If the kitchen feels tight, make one side a shallower run (like 12–15″ depth storage) where possible.

  • Keep the cleanup zone on one leg and the prep/cooking on the other legs to avoid crowding.

  • Consider a “broken U” (one end opened) to improve flow into adjacent rooms.

Material/cabinet tips

  • U-shaped kitchens benefit from consistent finishes to prevent visual clutter.

  • Don’t overuse open shelving; too much visual noise makes U-shapes feel smaller.

5) Peninsula Kitchens

A peninsula is an attached “arm” of cabinetry/counter that can add seating and define the kitchen boundary. It’s a smart alternative to an island in many homes—if it doesn’t block circulation.

Best for

  • Kitchens that need seating but can’t fit an island

  • Homes where you want a boundary between kitchen and living space

  • Layouts where you want extra storage and counter area

Not ideal for

  • Kitchens where the peninsula creates a choke point

  • High-traffic routes that pass through the peninsula area

  • Homes that need wide circulation paths (kids, mobility needs)

Layout ideas that improve function

  • Use the peninsula as a serving zone and keep the cooktop off it in most cases.

  • Build storage on the kitchen side and plan seating on the outside.

  • If it currently blocks movement, replacing it with a shorter peninsula or a different orientation can transform the feel.

Material/cabinet tips

  • Choose an edge detail and surface that holds up to stool scuffs, spills, and daily use.

  • Consider durable, easy-to-clean seating-side materials.

6) Island Kitchens

Islands are popular because they add prep space, storage, and social seating—but they’re also one of the easiest ways to ruin flow if they’re oversized or placed too close to other elements.

Best for

  • Kitchens with enough space to maintain good aisle clearances

  • Multiple cooks (if zones are planned well)

  • Homes that use the kitchen as a gathering space

Not ideal for

  • Small kitchens where an island becomes an obstacle

  • Kitchens where an island forces narrow aisles

  • Layouts where the island blocks access to fridge/sink/cooktop

Island purpose comes first
Before you choose island size, decide its job:

  • Prep island: best with a clear counter and outlets; optional prep sink.

  • Seating island: needs comfortable knee space and a logical guest path.

  • Storage island: great for pots, pans, small appliances.

  • Combination: common, but don’t try to do everything if space is tight.

Island layout ideas that improve function

  • Keep the island out of the primary traffic line (don’t force people to squeeze between hot zone and seating).

  • If you add a prep sink, keep it aligned with prep storage and trash.

  • Be cautious with cooktops on islands: they put heat and splatter into guest space and often complicate venting.

Material/cabinet tips

  • Use a surface that suits heavy use (cutting, spills, hot items).

  • Put the “hard-working” storage (drawers, pull-outs) on the prep side, not the seating side.

“Best for / Not Ideal for” Quick Decision Guide (at a glance)

Layout TypeBest ForNot Ideal For
One-wallSmall spaces, minimal disruptionHeavy cooking, multiple cooks
GalleyEfficiency, lots of storage in small spaceSocial gathering kitchens, very narrow aisles
L-shapeFlexibility, open-plan livingPoor corner storage planning
U-shapeMax storage/counter spaceTight rooms, heavy through-traffic
PeninsulaSeating + boundary in tighter spacesCreating choke points, busy pass-through paths
IslandPrep + gathering (if space supports it)Small kitchens where it blocks circulation

Material Pros/Cons That Directly Affect Layout Success

This isn’t a finishes guide—but a few material choices strongly influence how well your layout performs.

Cabinets: drawers vs doors (function over tradition)

  • Drawers (base cabinets): Easier access to pots, pans, and dishes; less bending and digging.

  • Doors with shelves: Fine for some items, but deep shelves often become clutter traps.

Best for

  • Drawer-heavy bases: most households, aging-in-place planning, serious cooks
    Not ideal for

  • Very tight budgets (drawer hardware adds cost) or kitchens where you already have functional storage and don’t need a major rework

Countertops: prioritize durability in the prep zone

Your main prep area takes the most abuse. A beautiful but delicate surface can turn into daily stress if you’re constantly worried about stains or heat damage.

How to choose strategically

  • Put the most durable option where you prep and cook most.

  • If you’re mixing materials (common on islands), keep maintenance realistic—two materials can mean two cleaning routines.

Flooring: continuity supports flow

If your layout renovation opens walls or expands the kitchen footprint, flooring transitions become a “layout feel” issue.

Pros

  • Continuous flooring makes the space feel larger and calmer
    Cons

  • Matching older flooring can be difficult; you may need to replace more than expected

Energy Efficiency Considerations (Built Into Layout Decisions)

Energy efficiency isn’t just about buying efficient appliances. Layout affects comfort and how hard your systems work.

High-impact layout choices

  • Ventilation planned early: A well-placed, properly vented hood improves air quality and helps keep grease from coating surfaces.

  • Lighting by zone: Task lighting (like under-cabinet lighting) reduces the need for overly bright whole-room lighting.

  • Appliance placement: Keeping fridge away from major heat sources (when possible) can help it operate efficiently.

Accessibility & Future-Proofing (Without Making It Look “Medical”)

A layout can be more comfortable for everyone without feeling specialized.

Future-proofing ideas that still look normal

  • Wider clearances where feasible (especially in pinch points)

  • More drawers and pull-outs (less bending and reaching)

  • Lever handles and easy-grip pulls

  • A small “landing zone” at key points (fridge, oven, sink)

  • A workspace that isn’t only tall seating—some people need a stable prep surface

Best for

  • Homes you plan to stay in long-term

  • Multi-generation households

  • Anyone who values comfort and ease of use

Not ideal for

  • Very tight footprints where every inch is critical (you can still incorporate some elements, just selectively)

Execution & Construction Process

A layout renovation is part design and part coordination problem. You’re not just choosing where things go—you’re making sure walls, plumbing, electrical, ventilation, cabinets, and appliances all agree with that plan in the real world.

The goal of this section is to help you understand the typical sequence, where layout projects go off the rails, and what to check so you catch problems early—before they’re covered by drywall and cabinets.

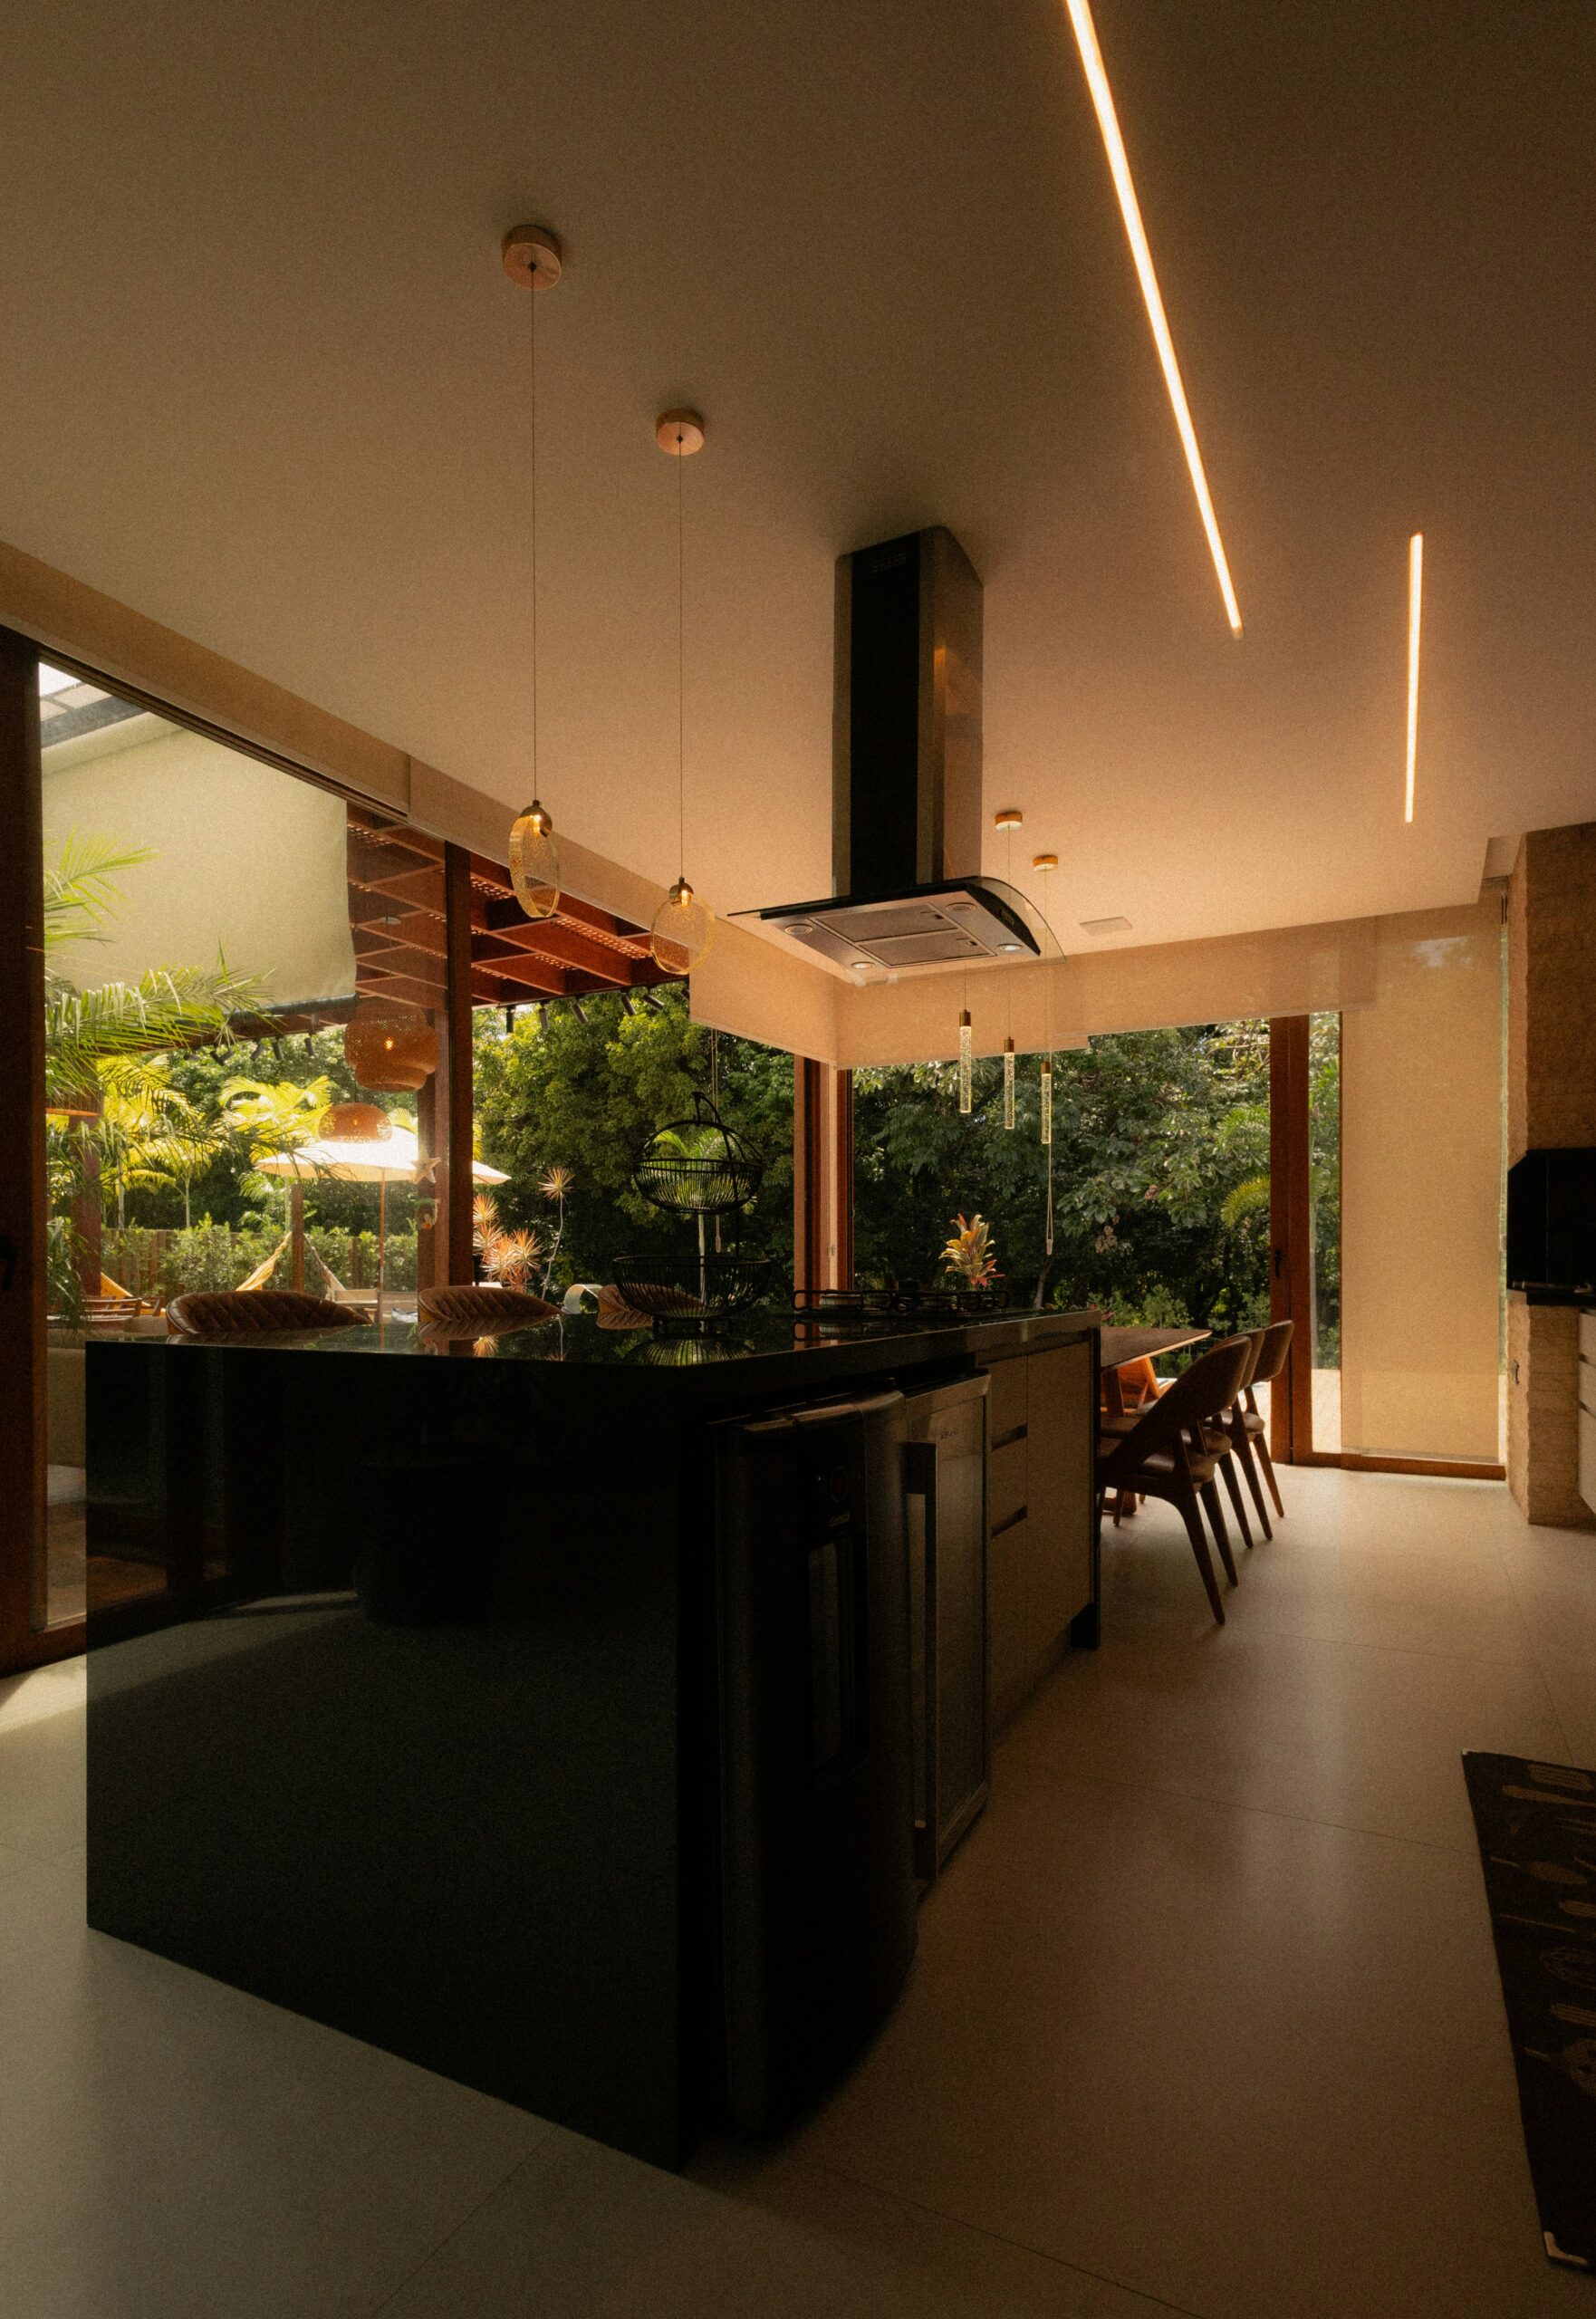
Modern kitchen island with pendant lights and direct view of greenery outside

Contractor Considerations: Who You Need and When

Kitchen layout changes usually involve multiple trades. Even if you’re hiring one general contractor (GC), it helps to understand who is doing what.

Common roles

  • Kitchen designer (or design-build firm): Creates layout options, cabinet plans, and often the most detailed drawings. Useful when you’re changing workflow, adding an island, or maximizing storage.

  • General contractor (GC): Manages the project timeline and coordinates trades. Especially valuable when walls move or multiple systems change.

  • Cabinet supplier/installer: Measures, orders, and installs cabinets; may generate shop drawings.

  • Plumber: Moves water supply and drain lines, installs sink/dishwasher hookups, possibly gas piping (in some areas gas requires a specialist).

  • Electrician: Adds/relocates circuits, outlets, lighting, and appliance connections.

  • HVAC/ventilation specialist: Routes hood ductwork, handles make-up air requirements (where applicable), and ensures proper vent termination.

  • Framer/carpenter: Adjusts walls/openings, builds soffits, reinforces structures, repairs subflooring.

  • Tile/flooring/finish trades: Backsplash, flooring, paint, trim.

When to bring people in

  • Bring your designer/cabinet provider in early if you’re changing cabinet runs, adding an island, or doing anything complex with storage.

  • Bring your GC in early if you might move walls, relocate major systems, or want a realistic build sequence.

  • Confirm your appliance specs early (before cabinet orders) so clearances and openings are designed correctly.

Good sign: Your contractor/designer talks about door swings, landings, and rough-in requirements as much as they talk about finishes.

Project Phases: What Happens in What Order

Most layout renovations follow a general flow. Some steps overlap, but the sequence matters. Layout decisions must be locked before rough-ins.

1) Pre-construction: Finalize the layout and “the details that break layouts”

This stage prevents expensive rework later.

What should be finalized here:

  • Cabinet plan with exact sizes (not “we’ll figure it out later”)

  • Appliance specification sheet (model numbers if possible)

  • Sink size and faucet type (affects cabinet and plumbing rough-in)

  • Ventilation plan (duct route, hood size, termination location)

  • Lighting plan (recessed, pendants, under-cabinet, switches)

  • Outlet plan by zone (prep area outlets, island outlets, appliance circuits)

Critical layout checks before ordering cabinets:

  • Fridge doors open without hitting walls/cabinets.

  • Dishwasher can open while someone can still pass (or it’s out of the main path).

  • Oven door clearance doesn’t collide with an island or walkway.

  • You have landing space near fridge/oven/sink.

If you’re doing an island or peninsula, do a floor tape mockup at this stage. It’s a fast way to catch “this feels too tight” before it becomes permanent.

2) Site prep and protection

Layout renovations are disruptive. Protecting the home reduces stress and damage.

Typical steps:

  • Dust barriers, floor protection, pathway protection

  • Temporary kitchen plan (microwave, coffee, dishwashing setup)

  • Shutoffs planned (water, power, gas) with clear communication

3) Demolition: Remove what’s changing and discover surprises

Demo is when you learn what the house is hiding.

What can be uncovered:

  • Old wiring methods or insufficient circuits

  • Plumbing that isn’t where you thought it was

  • Venting that’s undersized or poorly routed

  • Rot, mold, or water damage near sink/dishwasher

  • Uneven floors or damaged subflooring

  • Hidden soffits or framing that limits duct routing

How to handle it well:

  • Treat discovery as normal, not a crisis.

  • Make decisions based on your layout brief: “Does this change affect function?”

  • Keep changes documented so they don’t cascade into random layout compromises.

4) Framing and structural work (if applicable)

If you’re altering openings or removing walls, this happens before rough-ins.

Examples:

  • Widening a doorway to improve traffic flow

  • Opening a wall to create a better kitchen-to-dining connection

  • Building a new pantry wall or shallow storage wall

  • Adjusting soffits or ceiling framing for ductwork

Quality check:

  • Confirm new openings align with your planned cabinet runs and appliance placements.

  • Confirm the “new traffic path” is actually clear and logical.

5) Rough-in phase: Plumbing, electrical, and ventilation

This is the most layout-sensitive phase. Once walls are closed, moving things becomes harder and more expensive.

Plumbing rough-in (layout implications)
  • Sink location determines drain and vent routes.

  • Dishwasher needs correct hookup location and a path for the drain line.

  • Fridge water line needs a safe, accessible route.

  • Pot fillers and prep sinks add complexity (and more potential leak points).

Quality checks:

  • Shutoff valves are accessible (not buried behind fixed shelving).

  • Drain and supply lines are positioned to fit the cabinet design.

  • Under-sink space remains usable (avoid placing key lines where drawers need to go).

Electrical rough-in (layout implications)

Kitchen power needs are real. Layout changes often require new circuits and repositioned outlets.

Things that should be planned, not improvised:

  • Dedicated appliance circuits where required

  • Countertop outlets aligned to where you’ll actually use appliances

  • Island/peninsula outlet placement

  • Lighting circuits and switch locations that make sense when you enter the kitchen

Quality checks:

  • Switches are reachable and logically grouped.

  • Under-cabinet lighting wiring is included now (not added as an afterthought).

  • Outlets aren’t blocked by backsplash features or open shelving supports.

Ventilation rough-in (layout implications)

Ventilation is often the biggest “wish vs reality” clash in layout renovations.

Key considerations:

  • Ductwork needs a route to the exterior (wall or roof termination).

  • Long duct runs, too many bends, or undersized ducts reduce performance.

  • Recirculating hoods are sometimes the only option—but they’re not the same as venting outside.

Quality checks:

  • Confirm the duct route matches the hood plan and doesn’t conflict with framing.

  • Confirm exterior termination location won’t create issues with windows, doors, or outdoor seating areas.

6) Inspections (if required)

Many regions require inspections for electrical, plumbing, and structural work. Even if permits aren’t required, you still want inspection-like checks.

What you’re looking for:

  • Rough-ins meet local requirements (GFCI/AFCI, venting, shutoffs, etc.)

  • Work is neat, secure, and accessible for maintenance

  • No obvious conflicts with cabinet plans (a common and costly mistake)

7) Close the walls: insulation, drywall, and paint prep

Once rough-ins are approved/checked, walls get closed.

Quality checks before closing:

  • Photograph everything (stud bays with plumbing/electrical).

  • Confirm blocking is installed where you need it (for wall cabinets, hood support, heavy shelves).

  • Confirm island/peninsula floor penetrations are correctly placed.

8) Flooring (timing depends on your plan)

Flooring can happen before or after cabinets depending on material, project approach, and budget.

Layout-related tip: If your renovation changes the footprint, plan flooring transitions early. Awkward transitions can make a layout feel chopped up.

9) Cabinet installation: where layout becomes real

Cabinet install is when small layout errors become obvious. This is why detailed plans matter.

What happens:

  • Base cabinets installed and leveled

  • Wall cabinets installed and aligned

  • Panels, fillers, and trim fitted

Quality checks:

  • Cabinets are level and plumb (prevents countertop issues).

  • Drawer/door clearances are correct (no collisions).

  • Fillers are sized appropriately (tiny fillers can make doors unusable).

  • Appliance openings match spec (especially fridge and dishwasher).

10) Countertops: template, fabricate, install

Countertops are usually templated after cabinets are installed.

Quality checks:

  • Seam placement makes sense (avoid seams in the main prep area when possible).

  • Overhangs match seating plan (comfort and knee space).

  • Sink cutout matches your actual sink model and installation type.

11) Finish work: backsplash, plumbing/electrical trim-out, appliances

This is when everything gets connected and functional.

Examples:

  • Install backsplash and finalize outlet covers

  • Install sink, faucet, disposal (if used)

  • Connect dishwasher, fridge water line

  • Install hood and verify it runs properly

  • Install lighting fixtures and verify switch logic

  • Set appliances and confirm they’re level and aligned

Quality checks:

  • Hood performance: it should capture steam/smoke effectively.

  • Dishwasher door opens fully without hitting handles or nearby cabinets.

  • Fridge doors and drawers open fully without smashing into walls or islands.

  • Under-cabinet lighting is even and placed correctly for task areas.
Inspections & Quality Checks You Should Do (Even if the City Doesn’t)

Think of these as your “layout success checklist.”

Door swing and collision check

  • Open fridge, dishwasher, oven at the same time—can you still move?

  • Can a second person pass while one appliance is open?

  • Do cabinet pulls/handles create new collision points?

Landing space check

  • Is there a safe place to set hot dishes near the oven?

  • Is there space to set groceries down near the fridge?

  • Is there a clear, usable prep zone that isn’t constantly blocked?

Workflow check (real-life rehearsal)

Run through these scenarios:

  • Unload groceries

  • Make coffee/breakfast

  • Cook a weekday dinner

  • Load/unload dishwasher while someone else is prepping

  • Serve food to the dining area

If you’re weaving around obstacles or backtracking constantly, something needs adjustment before final punch-out.

Punch List: The final step that protects your investment

Before you call it done, walk the kitchen slowly and write down issues.

Common punch list items:

  • Misaligned doors/drawers

  • Stiff or uneven drawer slides

  • Gaps at backsplash or countertop caulking

  • Loose handles, pulls, or hinges

  • Outlet or lighting issues

  • Hood noise/vibration or poor capture

  • Paint touch-ups around new trim

Keep documentation for appliances, cabinets, and any installed systems, including warranty details and the photos you took before the walls closed.

Costs & Budget Breakdown

Kitchen layout renovations vary widely because the biggest cost drivers aren’t “pretty” choices—they’re the moves: relocating plumbing, changing electrical capacity, reworking ventilation, and altering walls. Two kitchens can look similar at the end and cost very different amounts based on what had to change behind the scenes.

Below is a practical way to think about budget in ranges, with the levers that push you toward the lower or higher end.

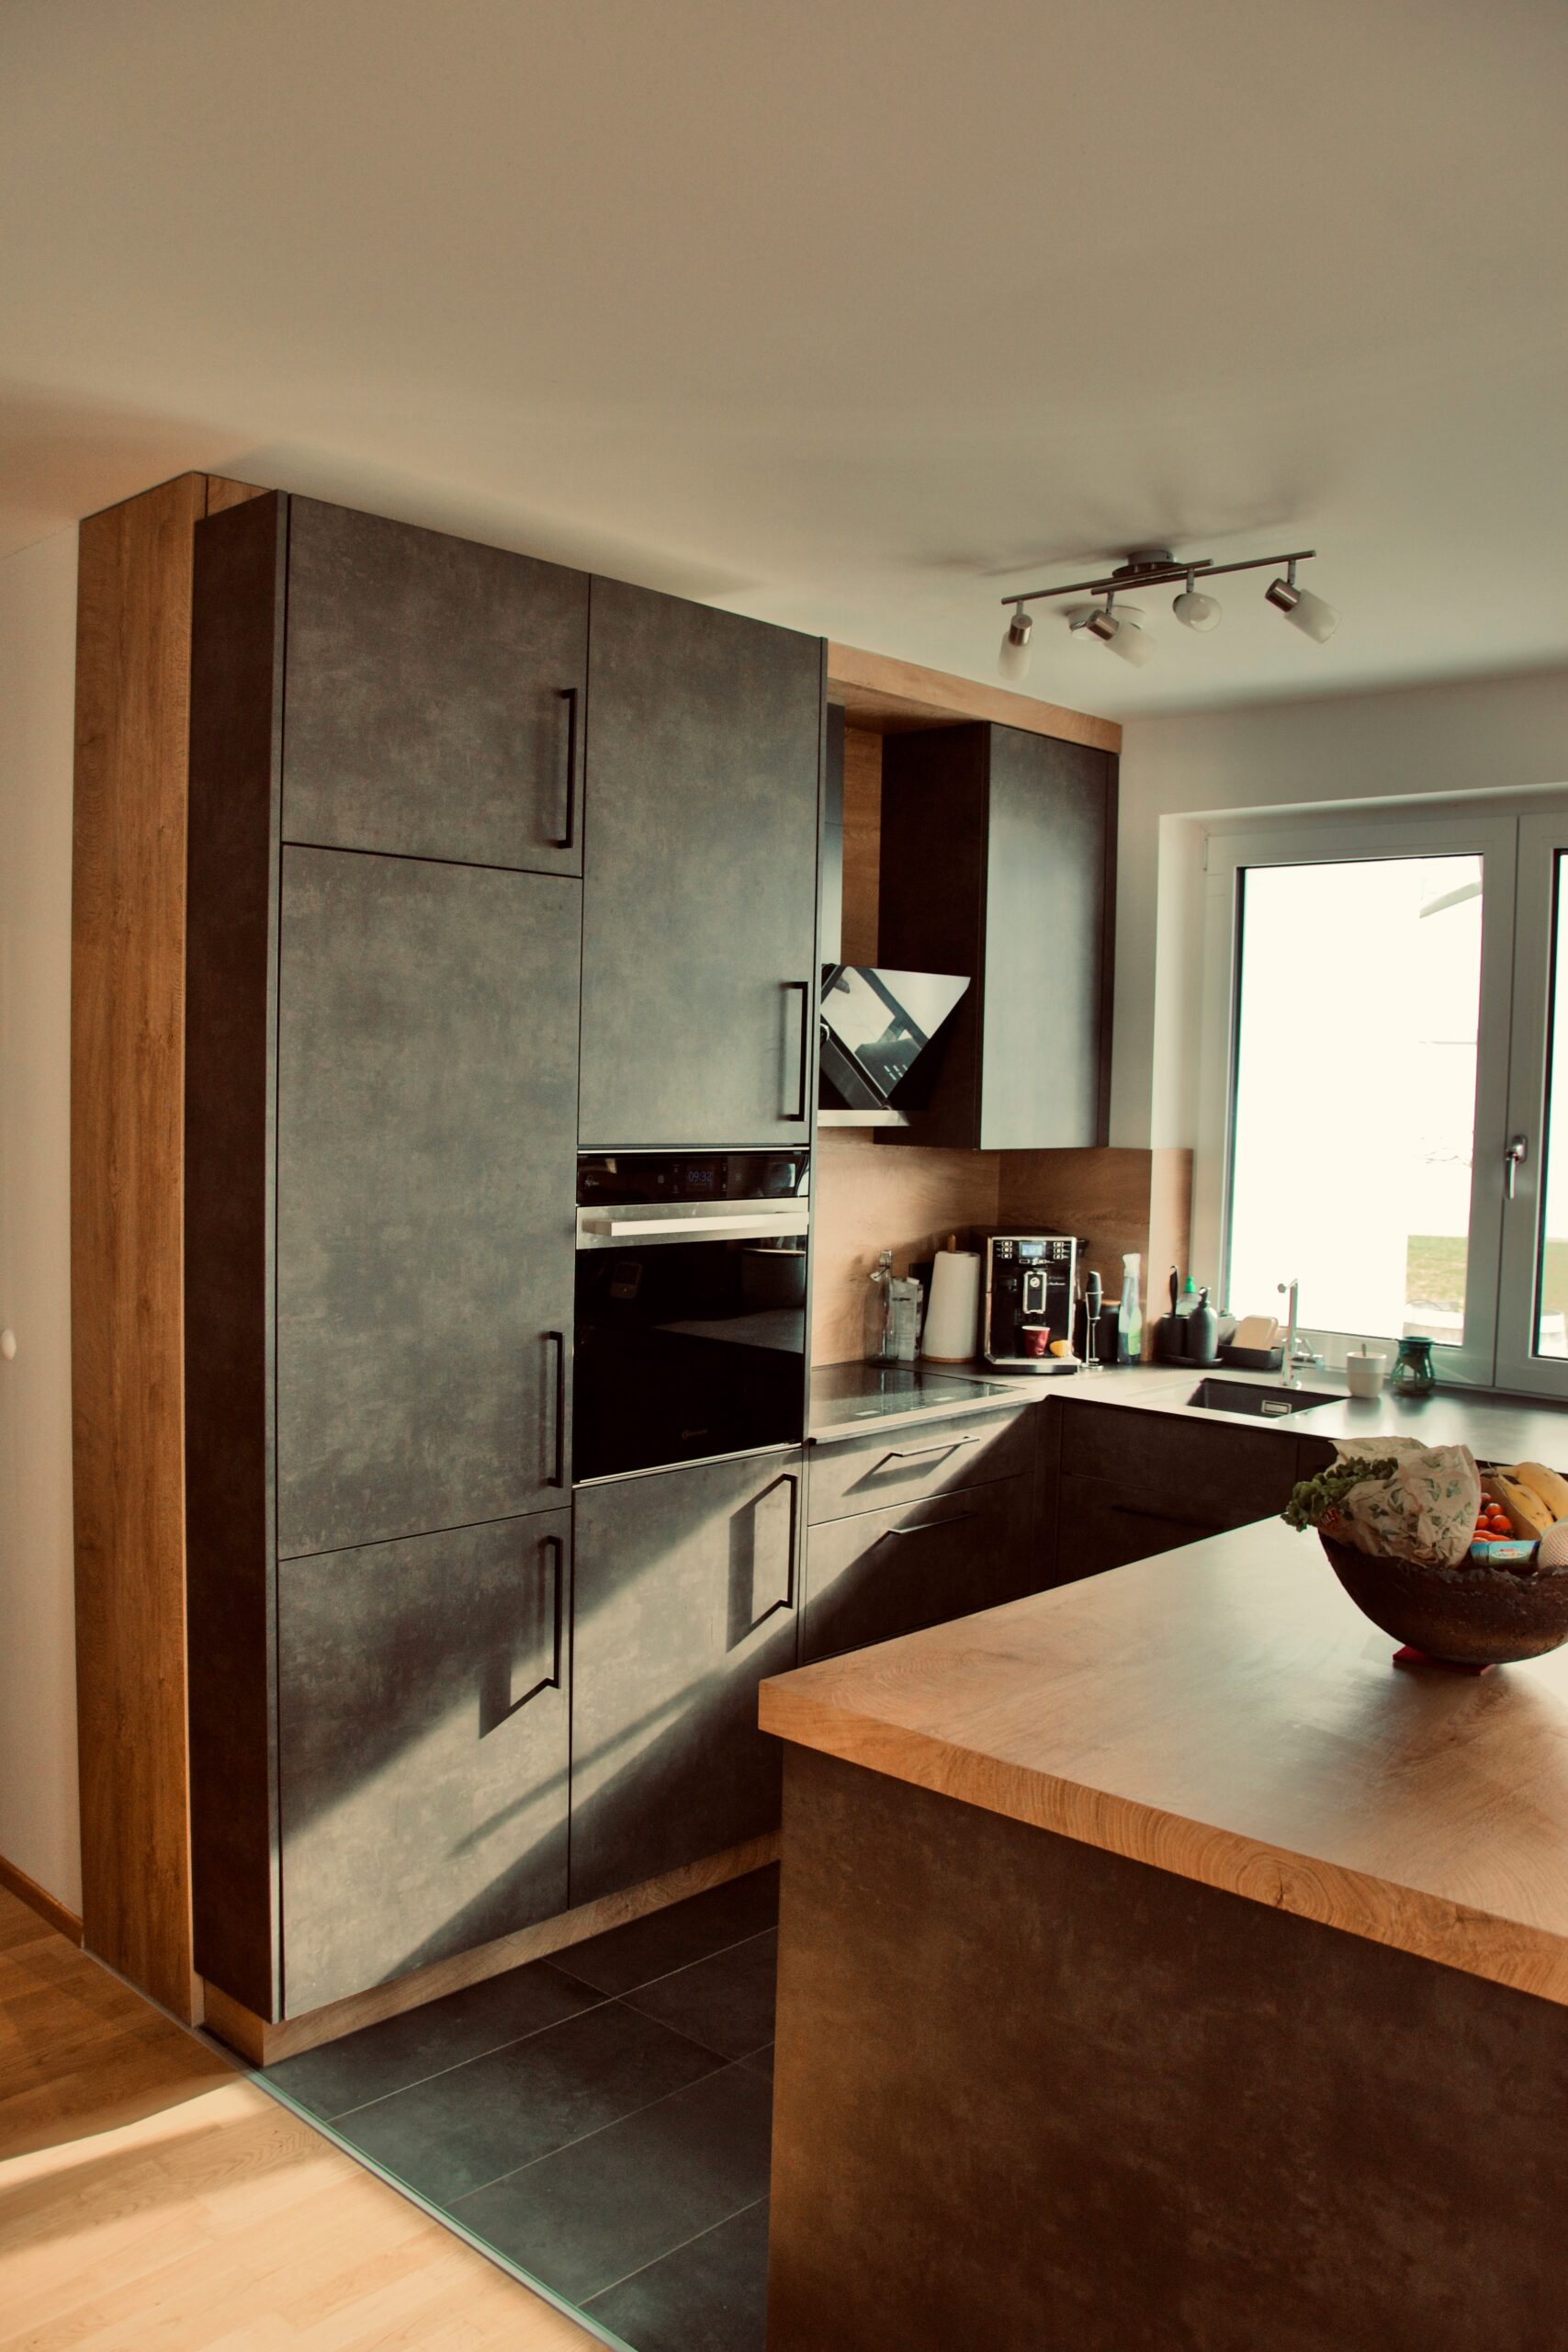
A kitchen with a bowl of fruit on the counter photo

The Biggest Cost Drivers (What Actually Moves the Budget)

1) Moving plumbing (especially the sink)

Keeping the sink and dishwasher near existing plumbing is often the difference between a “layout tweak” and a major reconfiguration.

What increases cost/complexity:

  • Moving the sink across the room (especially to an island)

  • Adding a prep sink or pot filler

  • Difficult drain/vent routing (common in condos and slab foundations)

2) Electrical upgrades and kitchen power needs

Kitchens often need new circuits for modern appliances and code-required safety outlets. Layout changes can mean more outlets, more lighting zones, and more dedicated appliance power.

What increases cost/complexity:

  • Adding multiple new circuits

  • Upgrading an older electrical panel or service

  • Complex lighting plans (layers, under-cabinet, multiple switch locations)

3) Ventilation (hood ducting and make-up air)

A properly vented hood is one of the most meaningful performance upgrades, but it can be tricky if there isn’t an easy path to the exterior.

What increases cost/complexity:

  • Long duct runs with multiple bends

  • Roof venting vs wall venting

  • Requirements for make-up air (region-specific)

4) Walls and structural changes

Opening up a kitchen, widening doorways, or changing wall locations often improves flow—but it’s a bigger build.

What increases cost/complexity:

  • Removing or altering a load-bearing wall

  • Relocating HVAC vents or returns in the process

  • Repairing floors/ceilings where walls used to be

5) Cabinets (where most budgets live)

Cabinet cost is driven by size, construction quality, internal hardware, and customization. Layout changes often increase cabinet count (pantry towers, more drawers, taller uppers).

What increases cost/complexity:

  • Custom sizes to fit quirky walls

  • Lots of drawers and pull-outs

  • Tall pantry cabinets and integrated panels

  • Specialty storage solutions (good ones are worth it, but they add up)

6) Footprint changes and “hidden repairs”

Older kitchens sometimes require upgrades once opened:

  • Outdated wiring

  • Plumbing that doesn’t meet current standards

  • Subfloor damage around sink/dishwasher

  • Leveling floors for cabinets and tile

This is why contingency planning matters.

Budget Ranges by Scope (Planning Anchors)

These ranges are meant to help you categorize your project. Actual numbers vary by region, home age, finish level, and contractor market.

1) Cosmetic refresh with little/no layout change: low to mid five figures

Typically includes

  • New cabinets (or refacing), counters, backsplash, paint

  • Appliances may be replaced in the same locations

  • Minimal plumbing/electrical movement

Often stays lower when

  • You keep sink/range locations

  • Ventilation stays similar

  • Cabinet layout is straightforward (fewer custom pieces)

2) Moderate layout change (“one major move”): mid five figures to low six figures

Typically includes

  • Reconfiguring cabinet runs (maybe new peninsula/island)

  • Moving one major element (often fridge or sink short distance)

  • Noticeable electrical changes (more outlets/lighting)

  • Possible ductwork improvements

Often climbs when

  • The sink moves to a new wall or island

  • You add a pantry wall or change openings

  • The kitchen is in an older home with required upgrades

3) Full reconfiguration (multiple systems + possible wall work): six figures and up

Typically includes

  • Significant plumbing, electrical, and ventilation changes

  • Wall removal/structural work or major opening changes

  • New cabinet layout across multiple walls, often with island

  • Flooring changes beyond the kitchen footprint

Often climbs further when

  • Load-bearing modifications are involved

  • You’re in a condo/HOA environment with stricter requirements

  • High-end appliances/cabinetry and premium finishes are chosen

Cost Category Breakdown (Use This as Your Budget Map)

Use this table to make sure you’re accounting for the “invisible” work that layout changes require.

CategoryWhat it CoversWhat Pushes It Higher
Design & PlanningDesigner, drawings, layout iterationsComplex layouts, custom cabinetry, multiple revisions
Permits & InspectionsLocal approvals and required inspectionsMoving plumbing/gas, structural work, condo approvals
Demolition & DisposalTear-out, hauling, protectionHard-to-access sites, heavy materials, asbestos/lead protocols
Framing/CarpentryWall changes, blocking, repairsStructural changes, leveling floors, soffit work
PlumbingRelocations, hookups, valvesMoving sink far, island sinks, old pipe replacement
ElectricalCircuits, outlets, lighting rough-inPanel upgrades, extensive lighting, new appliance circuits
Ventilation/HVACHood ducting, make-up air, vent terminationsLong duct runs, roof venting, make-up air requirements
Cabinets & HardwareBoxes, doors, drawers, pull-outsMore drawers, tall pantries, custom sizes, specialty hardware
CountertopsMaterial + fabrication + installPremium stone, complex edges, multiple cutouts
FlooringNew flooring, patching, transitionsExtending into other rooms, subfloor repair, leveling
Backsplash/TileTile, setting, grout, trimIntricate patterns, full-height coverage, specialty tile
Painting & TrimWalls, ceilings, base/trim, touch-upsRepairs, complex trim, color changes across open plans
AppliancesRange, fridge, dishwasher, hoodPremium tiers, built-ins, specialty appliances
Fixtures & FinishesSink, faucet, lighting fixtures, hardwareHigher-end fixtures, multiple sinks, statement lighting
ContingencyUnplanned issuesOlder homes, unknown conditions, aggressive timelines

Where to Save vs Where to Invest (Layout-Focused)

Spend where it protects daily function

These choices affect how the kitchen works for years.

Invest in:

  • Good storage function: drawer-heavy bases, sturdy slides, pull-outs where they truly help

  • Lighting plan: especially task lighting at prep areas and sink

  • Ventilation: the best feasible hood/duct solution for your home

  • Layout problem-solvers: anything that eliminates bottlenecks (doorway widening, better aisle widths, fixing appliance collisions)

  • Durable work surfaces in the prep zone: less stress, longer life

Save where you can upgrade later (or where it won’t change function)

Often safe to save on:

  • Decorative hardware (easy swap later)

  • Trend-driven finishes that don’t improve workflow

  • Overly complex cabinet accessories (choose a few that matter most)

  • Statement backsplash choices that add labor complexity without functional benefit

Smart compromises that keep layouts affordable

  • Keep the sink/dishwasher near the current plumbing wall whenever possible.

  • Move the fridge before you move plumbing—fridge relocation often delivers big traffic-flow wins with less disruption.

  • If you want an island but space is tight, consider a smaller island plus better perimeter storage instead of forcing a cramped layout.

  • Consider semi-custom cabinets with strategic upgrades (like a few key pull-outs) rather than full custom everywhere.

Contingency Planning (How You Protect Yourself)

Layout renovations—especially in older homes—often uncover things you can’t see until demo. A contingency isn’t “extra spending.” It’s your buffer against stress and rushed decisions.

A realistic contingency range

  • Smaller, low-risk projects: high single-digit %

  • Moderate to major layout changes: around 10–20% is commonly used as a planning buffer, especially in older homes

What contingency often covers

  • Outdated wiring or insufficient circuits

  • Subfloor repairs near sink/dishwasher

  • Plumbing upgrades once walls are open

  • Unexpected venting limitations

  • Wall/floor leveling for cabinet install

How to keep contingency from disappearing into chaos

  • Define how changes are approved (written change orders)

  • Separate “must-fix” issues (safety, leaks, structural) from “nice-to-add” upgrades

  • Use your layout brief as a filter: “Does this change improve function or protect the build?”

A Simple Budgeting Method That Actually Works

If you’re unsure where your project falls, do this:

  1. Decide your scope category (cosmetic / moderate / full reconfiguration).

  2. Identify your “big moves” (sink relocation? wall removal? new vent route?).

  3. Allocate money first to the systems and layout fixes, then to finishes.

  4. Add contingency based on home age and how much you’re moving.

This keeps your budget tied to what matters: a kitchen that works better every day.

Common Mistakes & How to Avoid Them

A kitchen with a refrigerator, stove, microwave, and cabinets

Most kitchen layout regrets aren’t about picking the “wrong” countertop. They’re about small planning misses that create daily friction: blocked walkways, awkward door swings, not enough prep space, and storage that looks plentiful but doesn’t function.

The goal here isn’t to scare you—it’s to help you spot the traps early, when they’re easy to fix.

Mistake 1: Designing for looks, then trying to “make it work”

What it looks like

  • You choose an island size because it looks right in a photo.

  • You commit to a layout before confirming appliance sizes and door swings.

  • The kitchen looks open, but basic tasks are annoying.

How to avoid it

  • Design around tasks (prep, cook, clean, store, serve), then style it.

  • Tape the island/peninsula on the floor and act out:

    • unloading groceries

    • opening fridge + dishwasher

    • carrying a hot tray from oven to counter

  • Keep your layout brief visible while making decisions.

Mistake 2: Too-tight clearances (the #1 way to make a kitchen feel stressful)

What it looks like

  • Two people can’t pass behind someone at the counter.

  • The kitchen becomes unusable when one appliance door is open.

  • Seating crowds walkways.

How to avoid it

  • Prioritize comfortable circulation over oversized features.

  • If the layout forces tight aisles, consider:

    • a smaller island

    • a peninsula instead of an island (or vice versa)

    • shallow storage on one side to widen walk space

    • relocating the fridge or pantry to reduce congestion

Supportive reality check: If you have to “squeeze sideways” in your current kitchen, don’t build a new version of that problem.

Mistake 3: Ignoring appliance door swings and “collision zones”

What it looks like

  • Fridge doors hit a wall, cabinet, or island.

  • Dishwasher blocks the main path when open.

  • Oven door opens into a tight aisle.

  • Two appliance doors can’t be open at once without conflict.

How to avoid it

  • Confirm actual appliance specs (not just “it’s a 36-inch fridge”).

  • Plan landing space:

    • near the fridge (groceries, drinks)

    • near the oven (hot pans)

    • near the sink (dirty dishes, rinsed produce)

  • Use a simple test: “Can I open the dishwasher and still walk past?”

Mistake 4: No real prep zone (or prep space chopped into tiny pieces)

What it looks like

  • You prep on the dining table.

  • You’re always moving cutting boards around.

  • The only counter space is next to the stove (hot, crowded) or next to the sink (wet, cluttered).

How to avoid it

  • Protect one primary prep run:

    • ideally between fridge storage and cooking

    • with good lighting and easy outlet access

  • Put trash/recycling within one step of prep.

  • Don’t “spend” your best counter space on decorative items that don’t support cooking.

Mistake 5: Trash/recycling placed too far from where the mess happens

What it looks like

  • You drip and trail scraps across the kitchen.

  • The bin ends up out in the open because the built-in location is inconvenient.

How to avoid it


  • Place trash/recycling where you do most peeling/chopping—usually in or next to the prep zone.

  • Consider a pull-out base cabinet near prep, but make sure it doesn’t conflict with dishwasher traffic.

Mistake 6: Trying to do too much with one feature (especially islands)

What it looks like

  • The island has a sink, cooktop, seating for four, storage, and a microwave… in a kitchen that’s not big enough.

  • The island becomes a clutter magnet and blocks flow.

How to avoid it

  • Give the island one primary job, two at most.

    • Prep + storage

    • Seating + serving

    • Prep sink + prep storage (only if space supports it)

  • If you want seating but also need prep space, consider:

    • a two-level strategy (not always ideal, but sometimes solves function)

    • a smaller seating area plus a better perimeter prep run

    • moving the serving function to a separate beverage/coffee station

Mistake 7: Open shelving overload (visual clutter + lost function)

What it looks like

  • Shelves look great in photos but collect dust/grease.

  • You lose the storage you needed for everyday items.

  • The kitchen always looks messy.

How to avoid it

  • Use open shelves selectively:

    • one or two sections for frequently used, attractive items

  • Keep the rest as closed storage, especially near the cooking zone.

  • If you love the look, balance it with:

    • ceiling-height uppers elsewhere

    • a pantry cabinet to absorb the “not pretty” items

Mistake 8: Corner storage and narrow gaps wasted

What it looks like

  • Deep corner cabinets become black holes.

  • You end up with odd skinny cabinets that don’t store much.

  • You lose space that could hold everyday items.

How to avoid it

  • Use corners intentionally:

    • lazy susan or pull-out corner solutions for cookware

    • blind-corner optimizers if needed

  • Prefer fewer, better cabinets over many awkward ones.

  • Use narrow spaces for purposeful storage (tray dividers, spice pull-outs) only when they truly fit your habits.

Mistake 9: Ventilation treated as an afterthought

What it looks like

  • You choose a cooktop location that’s hard to vent.

  • Smoke and grease linger even after the renovation.

  • You end up settling for a recirculating hood when you expected exterior venting.

How to avoid it

  • Plan hood placement and duct route early in the layout stage.

  • If ducting is difficult, consider:

    • relocating the cooktop/range to an exterior wall

    • choosing a layout that allows a straighter duct run

  • Make sure ventilation goals match what your home can reasonably support.

Mistake 10: Not planning lighting and outlets by zone

What it looks like

  • The kitchen has “enough light,” but the prep area is shadowy.

  • You rely on extension cords because outlets aren’t where you use appliances.

  • Switches feel random and inconvenient.

How to avoid it

  • Plan lighting in layers:

    • ambient (overall)

    • task (prep/sink)

    • accent (optional)

  • Put outlets where you actually work:

    • prep counter

    • coffee station

    • island (if applicable)

  • Place switches logically at entries and key work points.

How to Stress-Test Your Layout Before You Build (The Best Advice in This Guide)

Do this before cabinet orders, and again after rough-ins if anything changes.

1) The “day in the life” walk-through

Stand in the space and physically simulate:

  • groceries in → fridge/pantry

  • breakfast routine (coffee, toaster, kids’ snacks)

  • dinner cooking (prep → cook → serve)

  • cleanup (scrape → rinse → dishwasher → trash)

If you repeatedly cross paths or backtrack, zones need adjustment.

2) The “two cooks” test

  • One person pretends to prep at the main counter.

  • Another pretends to load the dishwasher or grab items from the fridge.
    If that feels like a dance routine, you’ll feel it every day.

3) The “appliance door test”

Pretend these are open at the same time:

  • dishwasher

  • oven

  • fridge
    Now ask: can someone still pass safely?

4) The “landing space” test

Ask yourself:

  • Where do I set down groceries?

  • Where do I place a hot pan?

  • Where do dirty dishes stack?
    If the answer is “on the only prep space,” you’ll fight clutter forever.

Fixes That Often Solve Multiple Mistakes at Once

If your layout feels stuck, these adjustments often create big improvements:

  • Move the fridge out of the main cooking lane (often easier than moving plumbing).

  • Replace a bulky peninsula with a shorter peninsula or a small island (only if clearances improve).

  • Add a tall pantry cabinet to reduce counter clutter.

  • Shift the dishwasher so it opens into a less-traveled area.

  • Create one dedicated prep run and protect it from becoming a landing zone for everything.

Maintenance & Long-Term Value

A smart kitchen layout doesn’t just feel good on day one—it stays functional when life gets busy. The layout should help you keep surfaces clear, keep traffic moving, and keep mess contained to the right zones. Maintenance is mostly about protecting the hard-working areas and building small habits that match your new layout.

Black and white kitchen, with busy counters and cabinets

Maintain the layout by maintaining the zones

Keep the prep zone clear on purpose

Your layout works best when your main prep run isn’t constantly occupied by mail, school bags, or small appliances.

Simple habits that preserve function

  • Give “drop zone” items a home outside the prep zone (a nearby console, a basket, or a drawer).

  • Store your most-used prep tools (knives, cutting boards, mixing bowls) within arm’s reach of the prep area.

  • If you added seating at an island/peninsula, use a rule like: “The seating side stays clear.”

Protect the cleanup zone from taking over

The sink area naturally attracts clutter. That’s normal—but a little structure keeps the clutter from spreading.

Easy wins

  • Keep dish soap, sponge, and cleaning spray in one organized caddy or under-sink pull-out.

  • If you have a dishwasher, keep everyday dishes and glasses in cabinets closest to it. That shortens unloading time and reduces countertop pileups.

  • Empty trash/recycling before it overflows—overflow defeats even the best placement.

Keep storage working the way it was designed

If your renovation added drawers, pull-outs, or a pantry wall, those features stay useful when you “assign addresses” to categories.

A layout-friendly storage system

  • Pantry: breakfast, snacks, baking, dinner staples (each on its own shelf zone)

  • Prep drawers: knives, measuring tools, wraps/foil, mixing tools

  • Cooking zone: oils/spices nearby, pans and utensils near the range

  • Serving zone: plates and serving pieces near where food is plated

This isn’t about perfection. It’s about making it easy to put things away where they belong.

Long-term maintenance: what to check (so small issues don’t become big ones)

Ventilation maintenance (often overlooked)

  • Clean or replace hood filters on a routine that matches how you cook.

  • If you have exterior venting, occasional checks help ensure airflow stays strong (especially if you cook frequently).

High-wear cabinet areas

  • Trash pull-out cabinets take a beating—tighten hardware if it loosens.

  • Sink base cabinets are the first place leaks show up. Check periodically for moisture or swelling.

  • Adjust cabinet hinges if doors start drifting out of alignment (normal settling can happen after installation).

Caulk and grout touch-ups

  • Re-caulk around sink and backsplash areas if you see gaps forming.

  • Address small grout cracks early so water doesn’t migrate behind tile.

Long-Term Value: What Future Buyers (and Future You) Actually Notice

Even if you’re renovating for yourself, it’s useful to know what tends to hold value.

High-value layout outcomes

  • Smooth traffic flow: no bottlenecks, no “squeeze points”

  • Usable storage: drawers and pantries that make sense, not just lots of cabinets

  • Clear prep space: one obvious, well-lit place to work

  • Good lighting: task lighting that makes the kitchen feel bright and functional

  • Ventilation that works: a kitchen that doesn’t hold onto smells and grease

What’s less valuable than people expect

  • Highly trendy features that don’t improve function

  • Over-customized niche layouts (beautiful, but not flexible)

  • Too much open shelving (often reads as “not enough storage”)

If your layout is comfortable and logical, it tends to appeal broadly—without needing to chase trends.

Frequently Asked Questions

Modern kitchen with white cabinetry and an island
1) Is an island always better than a peninsula?

No. An island is only “better” if you have enough space for comfortable clearances around it. A peninsula can provide similar prep space and seating while defining the kitchen boundary, often with fewer circulation problems in medium or smaller kitchens.

A layout that supports two cooks usually has:

  • a generous prep zone

  • a cooking zone that isn’t in the main traffic path

  • enough clearance so someone can pass behind the other
    Galley, larger L-shape with an island, and roomy U-shapes can work well—if appliance doors and aisles are planned carefully.

Focus on function and visual continuity:

  • Improve traffic flow (remove or shrink a blocking peninsula if needed)

  • Use more drawers and better storage so counters stay clearer

  • Add strong task lighting and under-cabinet lighting

  • Consider taller cabinets to increase storage without expanding footprint

It’s worth it when the current sink location fundamentally breaks workflow—like forcing prep to happen far from water, or placing cleanup directly in the busiest traffic line. If your main problem is congestion, moving the fridge or reworking cabinetry sometimes solves more with less disruption than relocating the sink.

The right clearance depends on whether the aisle is a main walkway and whether appliances open into it. A comfortable island layout usually allows enough space to:

  • open appliance doors

  • pass behind someone working

  • seat people without blocking traffic
    If you’re unsure, floor tape mockups are the fastest way to confirm whether an island will improve flow or choke it.

Often it’s improving zones without moving plumbing:

  • relocating the fridge to reduce congestion

  • switching to drawer-heavy base cabinets

  • adding a tall pantry cabinet

  • creating one continuous prep run with better lighting/outlets
    These can dramatically improve daily use without a full reconfiguration.

They can be—when used selectively. One or two sections can look great and be practical for frequently used items. Too many open shelves often reduce functional storage and make the kitchen look cluttered, especially near the cooking zone where grease and dust collect.

If you’re moving plumbing, changing walls, adding an island, or trying to maximize a tricky space, a designer can prevent expensive layout mistakes (like door collisions and unusable clearances). If you’re doing a simpler “layout tweak,” you may be able to manage it with careful planning and a strong cabinet plan—especially if your cabinet provider offers solid design support.

Conclusion & Next Steps

A kitchen layout renovation is ultimately about making your daily routines easier. When you plan around zones, protect clearances, and stress-test door swings and traffic flow, you end up with a kitchen that feels calmer, safer, and more functional—no matter the style you choose.

Key takeaways to keep in mind

  • A good layout supports how you move: it reduces bottlenecks and keeps traffic out of the cooking zone.

  • Zones (prep, cooking, cleanup, storage, serving) usually create a better real-life kitchen than chasing a perfect triangle.

  • The biggest layout wins often come from protecting prep space, planning landing areas, and avoiding appliance collisions.

  • Your budget is most affected by what you move behind the walls—plumbing, electrical, ventilation, and structural changes—not just finishes.

  • The best way to prevent regret is to mock it up and act it out before you build.

Practical next steps

  1. Write your layout brief (top goals, constraints, must-haves).

  2. Measure and sketch your current kitchen, including doors, windows, and appliance sizes.

  3. Choose 2–3 layout options and run the same “day in the life” walkthrough on each.

  4. Tape the plan on the floor (especially islands/peninsulas) and test door swings and traffic paths.

  5. Lock down appliance specs and confirm they work with clearances and cabinet plans.

  6. If you’re moving plumbing, walls, or venting, bring in the right help early (designer/GC/trades) and plan for approvals that may apply in your area.

  7. Build your budget using category planning and include a contingency appropriate to your home and scope.

This is the heading

Lorem ipsum dolor sit amet consectetur adipiscing elit dolor