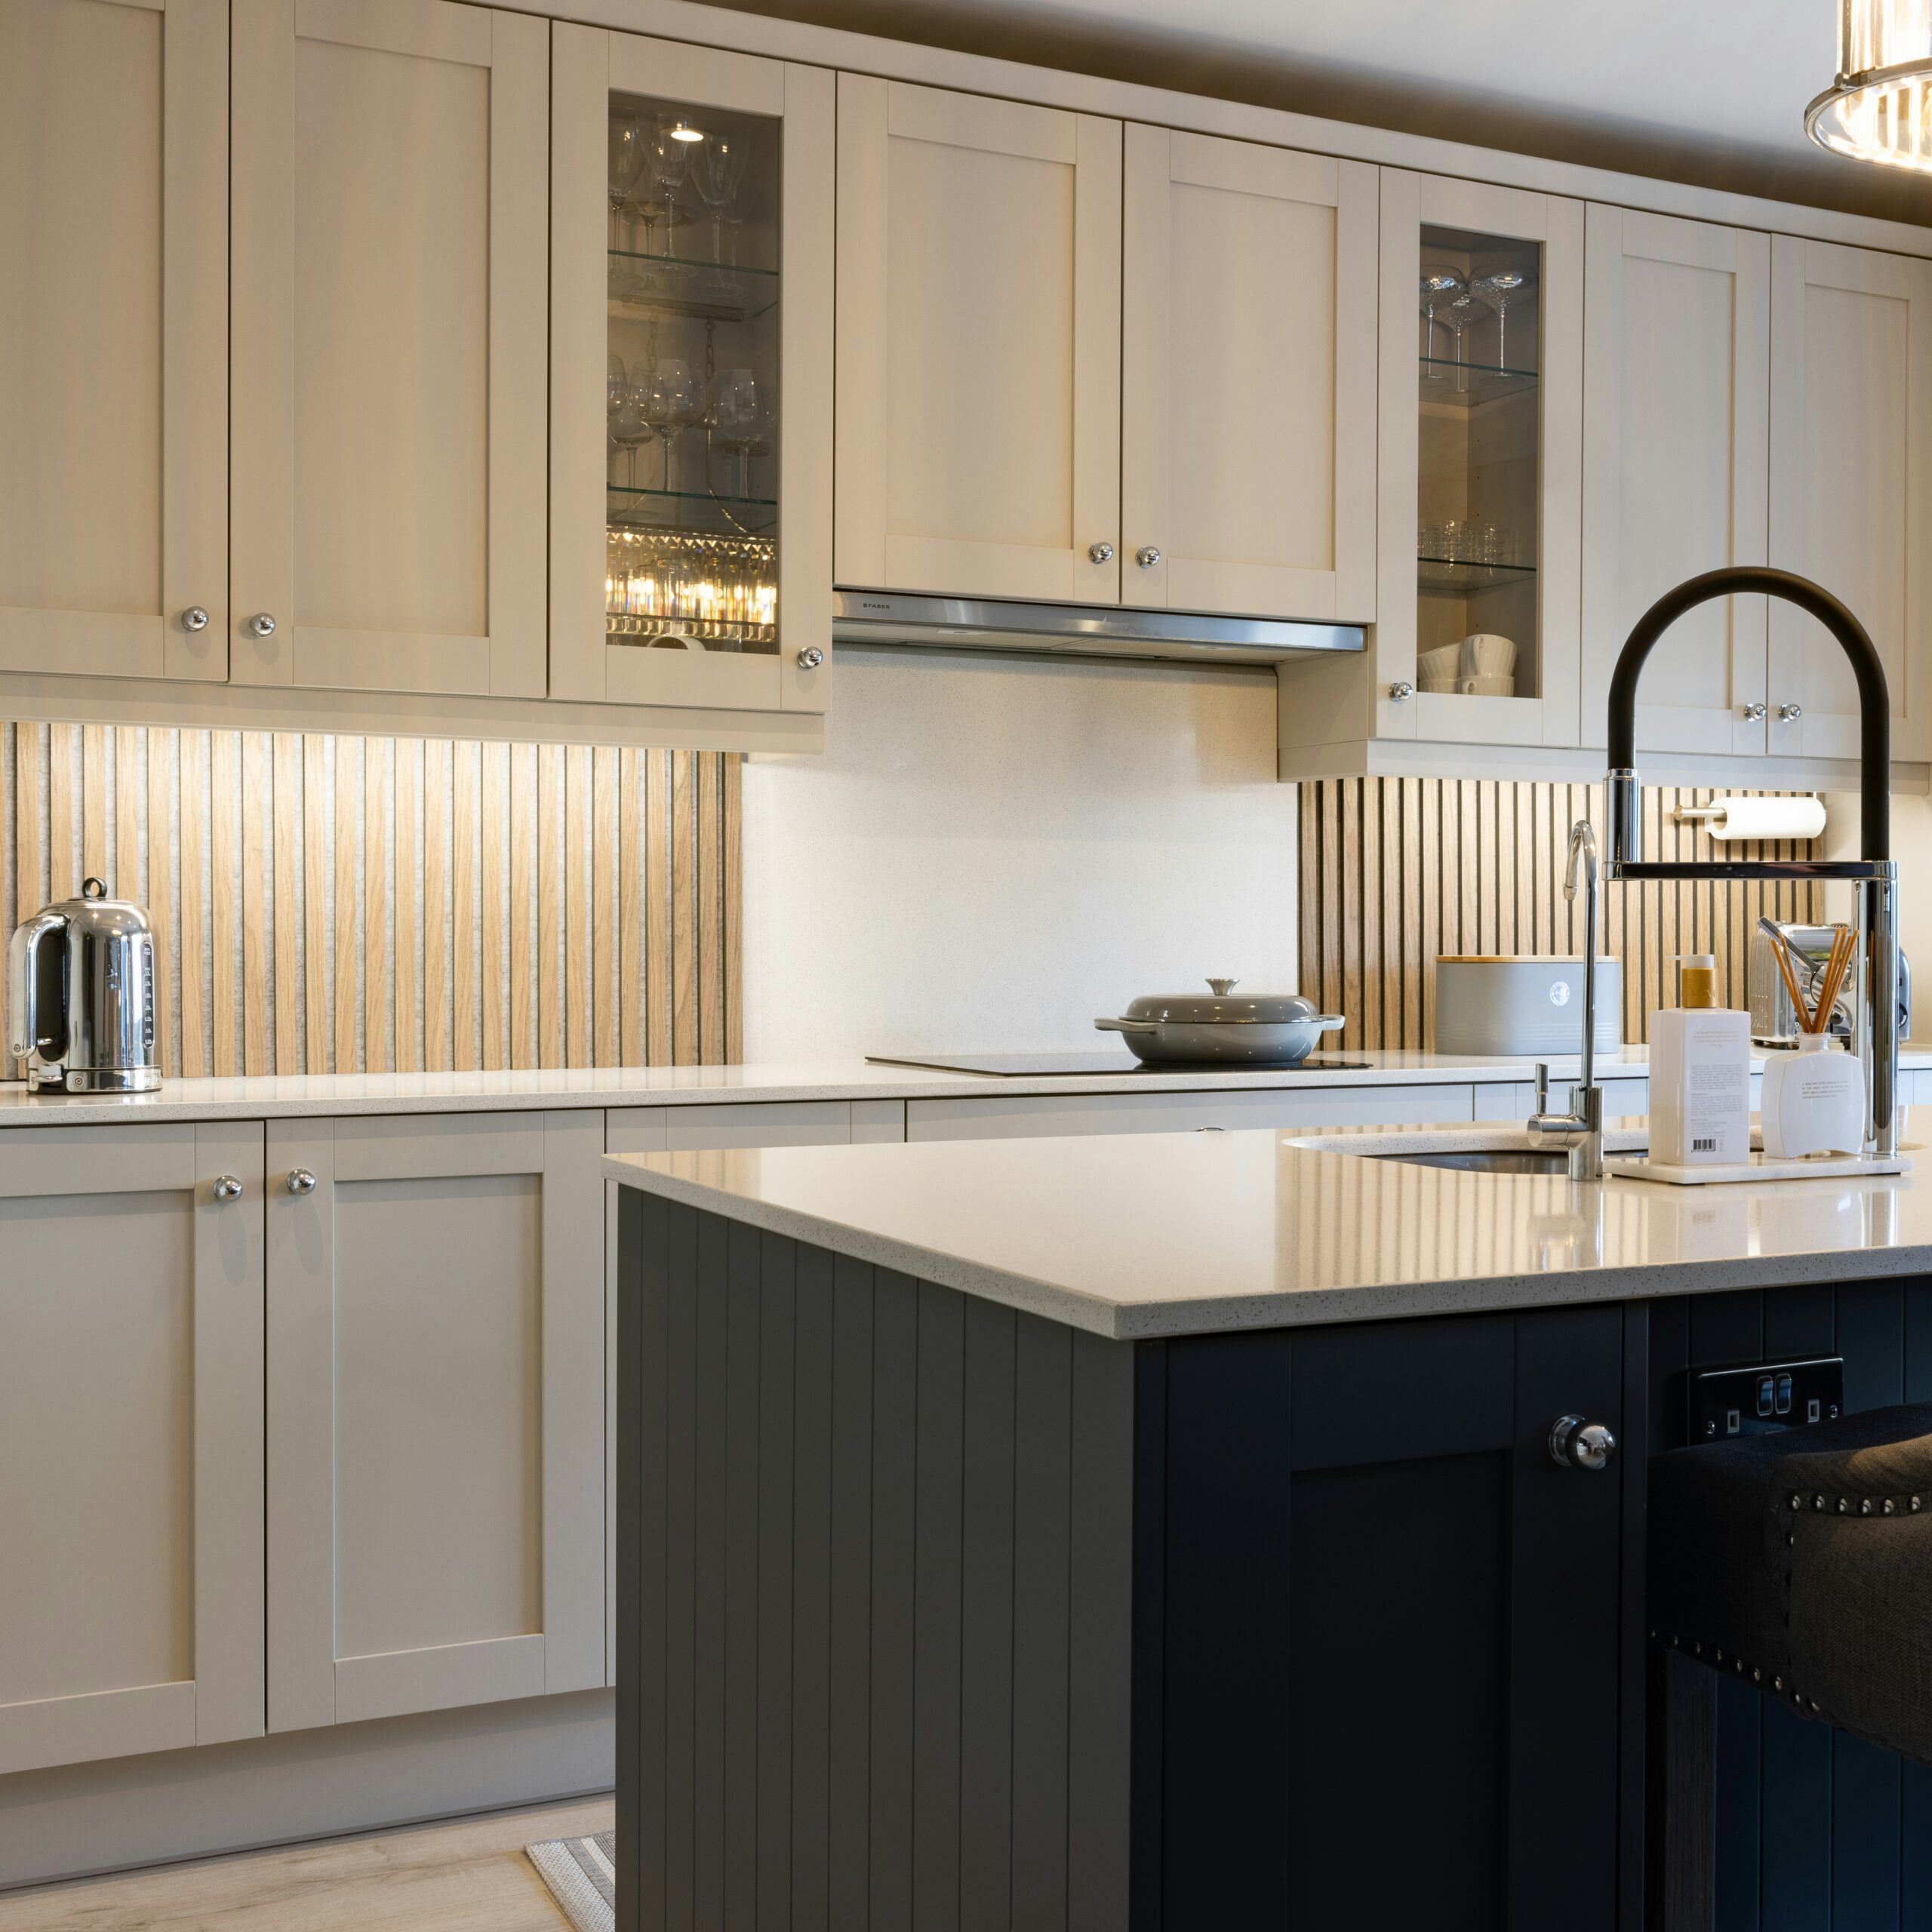
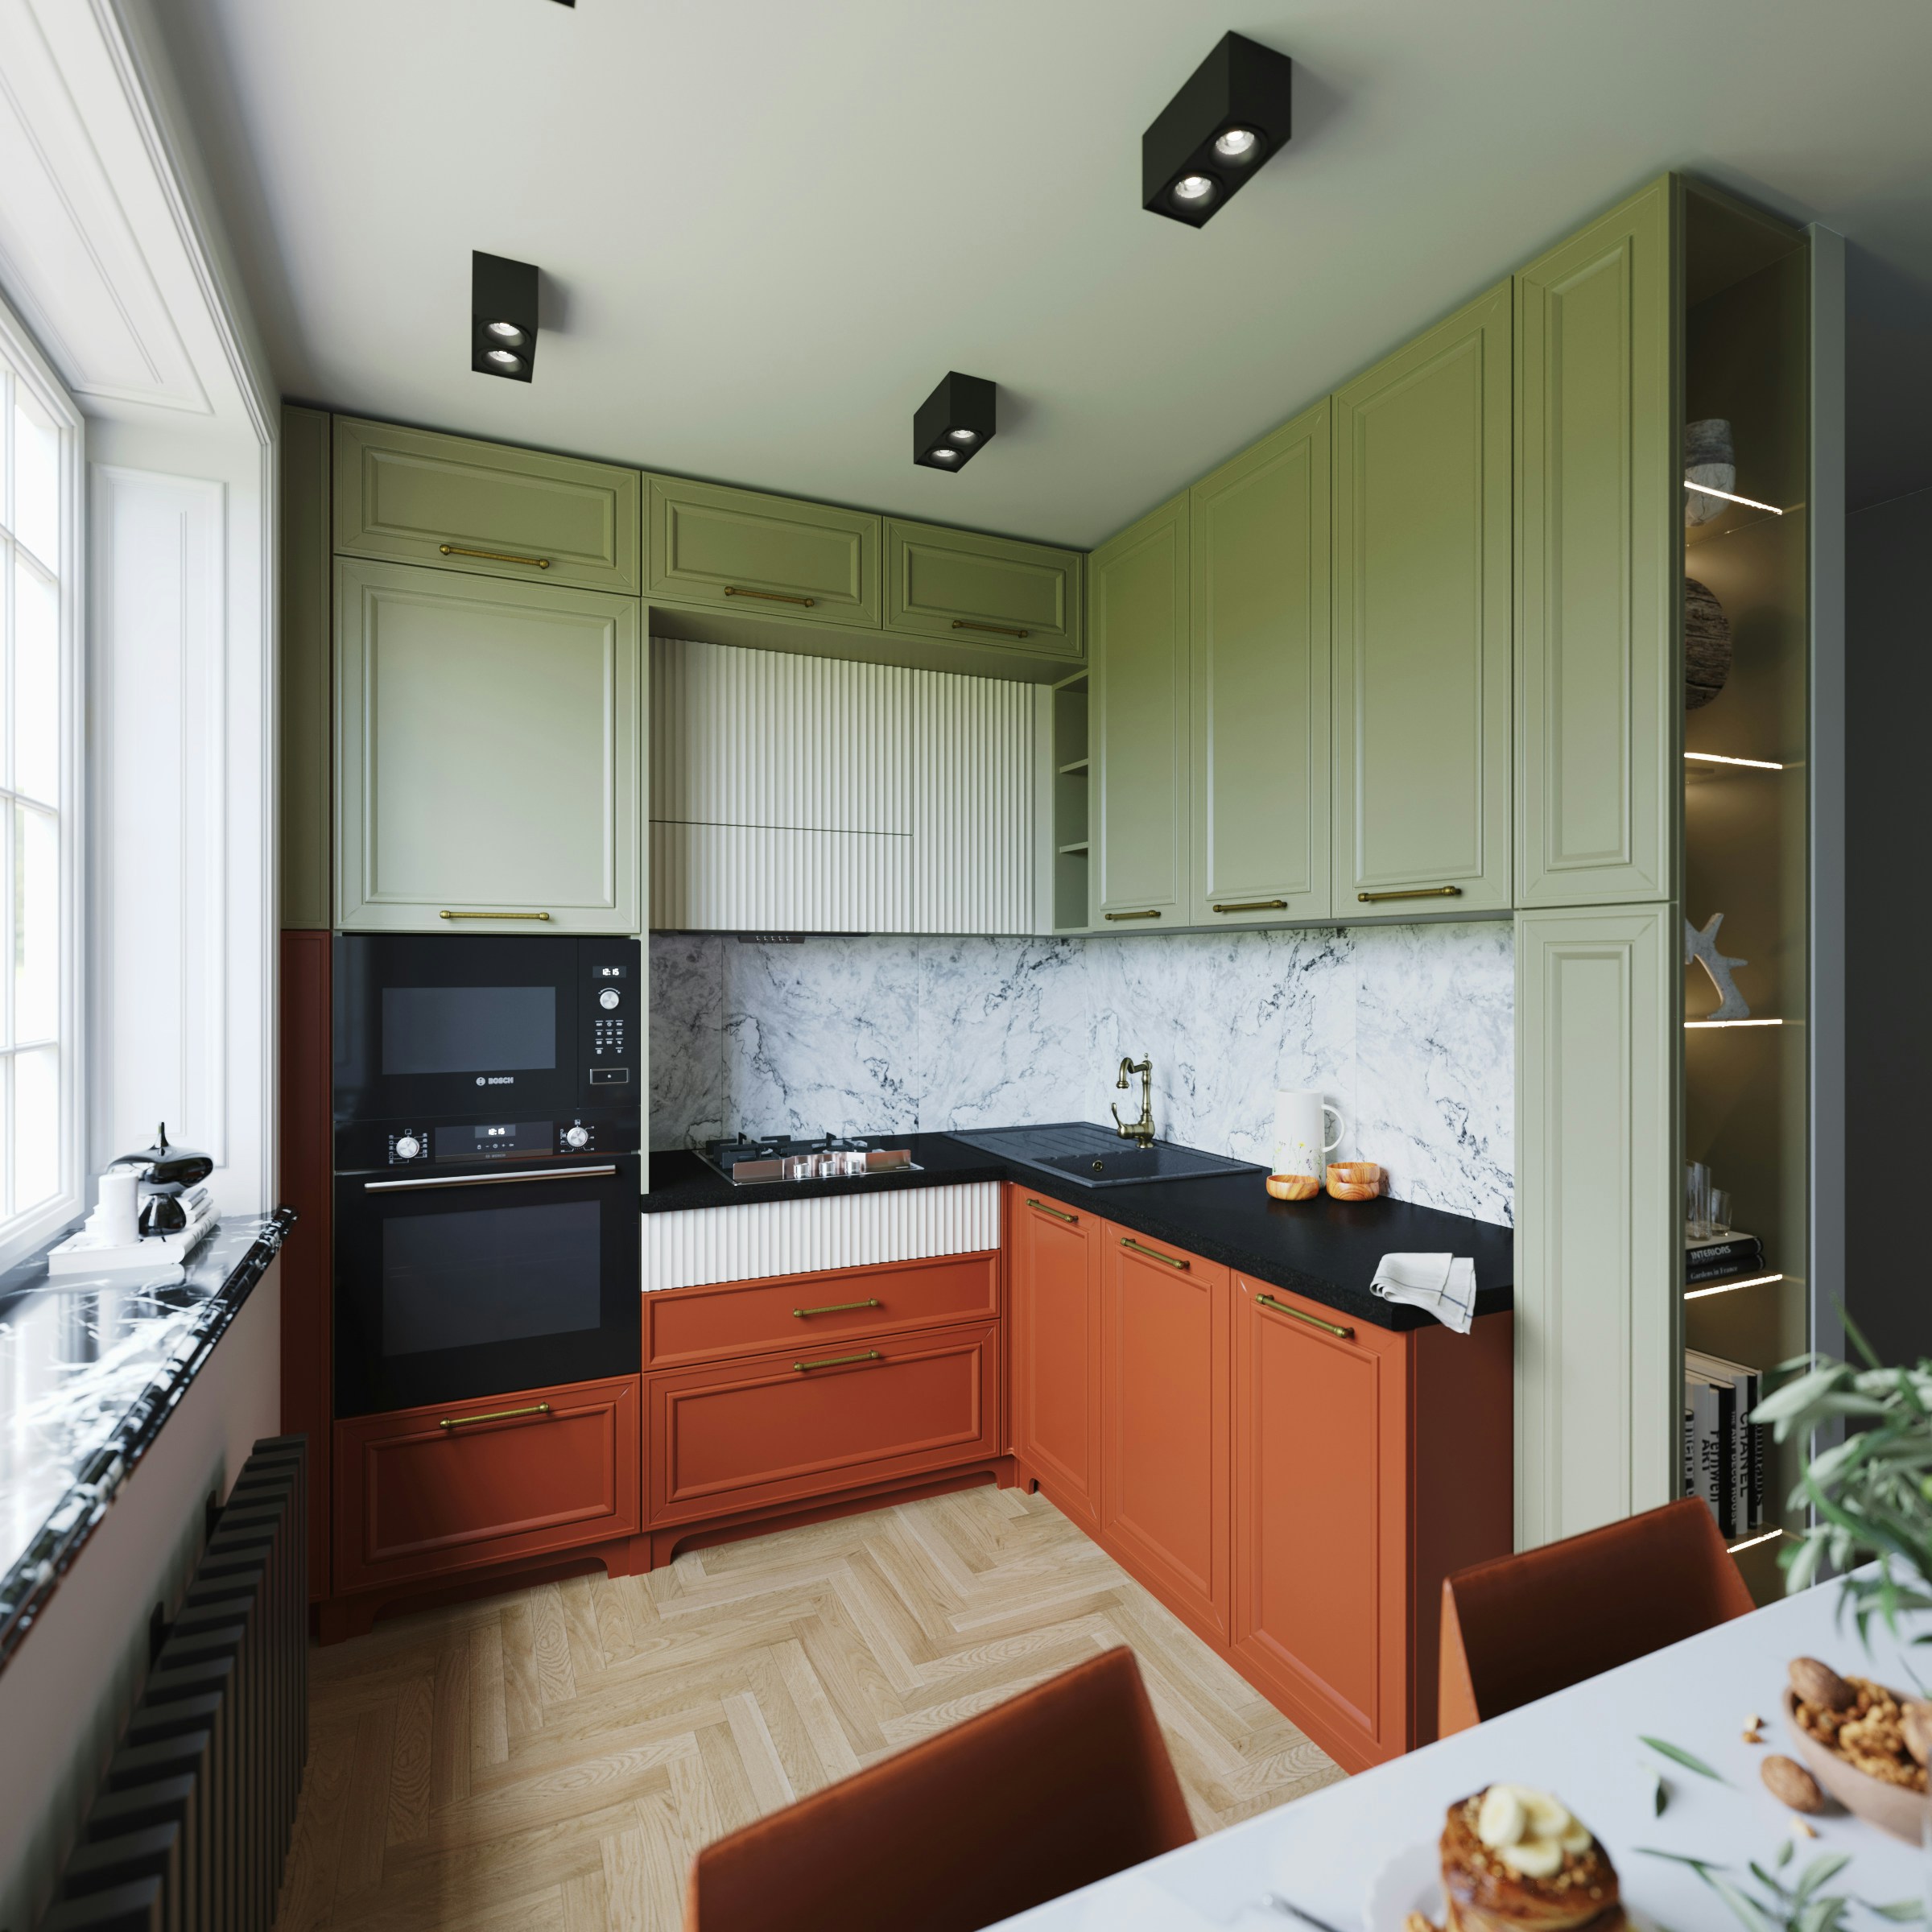
Kitchen cabinets do a lot of work. They store heavy items, get slammed shut, and sit right next to heat, steam, grease, and spills. So when your kitchen feels dated or frustrating, cabinetry is usually the biggest lever you can pull—either by changing how it looks, how it functions, or both.

The good news is you don’t have to jump straight to a full tear-out. Many kitchens can be dramatically improved by keeping what’s solid (like sturdy cabinet boxes) and upgrading what you touch every day (doors, drawers, hardware, lighting, and storage features). A smart cabinetry renovation starts with an honest assessment of what you have now, then matches the right renovation “path” to your goals, timeline, and tolerance for disruption.

In this guide, you’ll get practical cabinetry renovation ideas—from quick cosmetic updates to deeper upgrades—plus a planning approach that helps you avoid the most common missteps (like choosing a finish that won’t hold up, or spending money on new doors when the cabinet boxes are failing).

Planning & Preparation

Start with the three big decisions

Before you fall in love with a door style or paint color, decide which direction you’re truly going. Most cabinetry renovations land in one of these categories:

1) Refresh (cosmetic changes)

You keep cabinet boxes and doors, and focus on appearance.

  • Examples: paint or stain, new hardware, new lighting, adding trim details

  • Best when: the cabinets work well and are in good shape, but look dated

2) Upgrade (hybrid changes)

You keep the cabinet boxes (and often the layout), but replace key components.

  • Examples: refacing (new doors + skins), door-only swap, converting shelves to drawers, adding pull-outs and organizers

  • Best when: layout is mostly fine, but function and finish need a big leap

3) Replace (full cabinet replacement)

You remove the old cabinets and install new ones (often with layout changes).

  • Examples: stock/semi-custom/custom cabinets, new layout, better storage plan

  • Best when: boxes are damaged, layout is wrong, or you’re changing plumbing/electrical/appliances significantly

A simple rule: If the cabinet boxes are solid and the layout works, you’ll usually get the best value by upgrading what you see and use (doors, drawers, hardware, interiors). If boxes are water-damaged or the layout fights you daily, replacement is often the safer long-term move.

Do a fast cabinet condition check

You’re looking for whether your cabinet boxes (the “carcass”) are worth saving.

Cabinet boxes are usually worth keeping if:

  • They feel rigid (no wobble when you push on the sides)

  • Shelves aren’t sagging badly

  • The bottom panels aren’t swollen or soft (especially under the sink)

  • Doors and drawers can be aligned reasonably (even if they’re currently off)

Red flags that often point toward replacement:

  • Water damage: swollen particleboard, peeling laminate, soft spots, moldy smell

  • Delamination: layers separating on sides, bottoms, or face edges

  • Out-of-square boxes: doors never line up because the box is twisted

  • Serious structural weakness: loose frames, crumbling screw holes, failing mounting points

Tip: Pull out the sink-base items and use a flashlight. The sink cabinet tells the truth about the whole kitchen’s wear.

Identify what’s really not working

Cabinet renovations feel “successful” when daily annoyances disappear. Do a quick audit:

Function pain points (common culprits)

  • Too many shelves, not enough drawers

  • Corner cabinets you can’t use

  • No good home for trash/recycling

  • Pantry items hidden behind other pantry items

  • Upper cabinets that are hard to reach

  • A “countertop pile” of appliances because cabinets don’t support your routine

Create a simple storage map

For each zone, list what you store and what you wish was easier:

  • Prep zone: knives, cutting boards, mixing bowls, oils, utensils

  • Cook zone: pots, pans, spices, sheet pans, lids

  • Clean-up zone: trash, recycling, detergents, dish towels

  • Serve zone: plates, glasses, serving bowls

This map prevents you from spending money on pretty cabinets that still don’t work.

Choose your renovation path (with realistic expectations)

Path A: Paint or stain (high visual impact, depends on prep)

Painting can make old cabinets look completely different, but it’s not forgiving. Kitchens are harsh environments, so the finish needs to be durable.

Plan for:

  • Heavy cleaning/degreasing

  • Surface prep (sanding or deglossing)

  • Priming (especially if tannins or stains can bleed through)

  • Adequate dry time and cure time (cure time is when paint reaches full hardness, which is longer than “dry to touch”)

Staining works best when:

  • The wood grain is attractive

  • You want a warmer, more natural look

  • You’re okay with some variation (stain highlights imperfections rather than hiding them)

Not ideal when:

  • Doors are made of slick thermofoil (a plastic-like wrap) or damaged laminate

  • Boxes are swollen or failing (paint won’t fix structural problems)

Path B: Reface or swap doors (major transformation without full replacement)

If your cabinet boxes are solid, new doors and drawer fronts can deliver a “new kitchen” look without tearing everything out.

Key terms to understand:

  • Refacing: new doors/drawer fronts + covering exposed box surfaces with veneer/laminate skins

  • Door-only swap: new doors/drawer fronts, but boxes aren’t skinned (works best when box surfaces are already in good shape)

This path is usually strong when:

  • You like your current layout

  • You want a big style upgrade with less demolition

  • You want better hinges/slides and more modern door styles

Path C: Function-first upgrades (the everyday-life winners)

These upgrades can be more satisfying than cosmetic ones because you feel them constantly:

  • Convert lower cabinets (doors + shelves) into deep drawers

  • Add a trash/recycling pull-out

  • Install roll-out trays for base cabinets

  • Add vertical dividers for sheet pans and cutting boards

  • Upgrade to full-extension drawer slides so you can access the entire drawer

  • Improve corner cabinets with solutions like a Lazy Susan or blind-corner pull-out

If you can only do one functional upgrade, prioritize drawers in base cabinets. Drawers reduce bending, prevent “lost items,” and make small kitchens feel larger.

Path D: Replace cabinets (best for layout changes or failing boxes)

Replacement becomes more likely when:

  • The layout needs to change (moving sink, adding pantry, changing appliance sizes)

  • Cabinets are damaged or poorly built

  • You want different cabinet heights/depths, or better accessibility options

Even if you’re replacing, planning still starts the same way: storage map, zone planning, and clear priorities.

Nail down your “fixed elements” before picking finishes

Cabinet colors and styles must coordinate with things that are staying put:

  • Flooring

  • Countertops

  • Backsplash tile

  • Major appliances

  • Wall color (or planned wall color)

A common mistake is picking cabinet paint first, then realizing it clashes with warm-toned floors or busy stone countertops. Instead:

  1. Identify your fixed elements

  2. Determine whether your kitchen “reads” warm or cool

  3. Choose cabinet finishes that support that direction

Measure and document (even if you’re hiring it out)

Good measurements save you from expensive surprises.

What to measure and photograph

  • Overall kitchen wall lengths

  • Locations of plumbing and electrical (outlets, switches)

  • Appliance widths and door swing needs

  • Depths of uppers and bases

  • Any soffits, bulkheads, or awkward corners

  • Close-up photos of hinges and drawer slides

Why this matters

  • If you’re replacing doors, hinge type and overlay style matter.

  • If you’re adding pull-outs, you need accurate internal cabinet widths and clearances.

  • If you’re replacing cabinets, you must plan for filler strips (narrow pieces that prevent doors/handles from hitting walls or appliances).

Decide what you’re DIY-ing vs hiring out

Be honest about time, dust tolerance, and precision.

Often realistic DIY tasks

  • Hardware replacement

  • Adding organizers and roll-outs (if you’re comfortable measuring and drilling)

  • Minor trim details

  • Some lighting updates (plug-in systems or battery options)

Often better for pros

  • Refacing (door alignment and skins need experience)

  • Sprayed finishes (for factory-smooth results)

  • Full cabinet installation (especially with uneven floors/walls)

  • Electrical changes that require permits or inspections (varies by region)

Plan the sequence to avoid rework

Cabinet work interacts with countertops, backsplash, and flooring. A common sequence:

If you’re keeping cabinets (paint/refacing/organizers)

  1. Remove doors/drawer fronts (if painting/refinishing)

  2. Do cabinet finish work

  3. Install organizers, slides, and hardware

  4. Then do backsplash/lighting touch-ups as needed

If you’re replacing cabinets

  1. Demo

  2. Rough-in plumbing/electrical as needed

  3. Install cabinets (leveling and scribing)

  4. Template/install countertops

  5. Install backsplash

  6. Final hardware and adjustments


The goal is to avoid doing something twice—especially finish work and tile.

Set your success criteria (so you don’t get lost in options)

Write down 3–5 “must-haves.”

Examples:

  • “More drawers in base cabinets”

  • “A real trash/recycling solution”

  • “Easier access to corner storage”

  • “Finish that’s easy to clean and not precious”

  • “A style that will still look good in 10 years”

These priorities guide every choice and keep your renovation focused.

Design & Material Considerations

This is where you turn “I want nicer cabinets” into a plan that actually improves your daily life. Good cabinetry design isn’t just door style and color—it’s layout logic, smart storage, durable materials, and details that make the kitchen easier to use, clean, and maintain.

Layout & Functionality

Think in zones, not just “where cabinets fit”

A cabinetry renovation is your chance to support how you actually cook and live. The simplest way is to plan around zones:

  • Prep zone (usually between sink and cooktop): cutting boards, knives, mixing bowls, prep tools, oils/spices you use constantly

  • Cook zone (around cooktop/oven): pots, pans, lids, utensils, sheet pans, spices

  • Clean-up zone (sink + dishwasher area): trash/recycling, detergents, dish towels, dishwasher pods, sponge storage

  • Serve zone (near dining/peninsula/island): plates, glasses, serving ware, napkins

If your cabinetry supports these zones, the kitchen feels bigger and calmer even if nothing moves.

Drawers beat shelves in most base cabinets

For lower cabinets, drawers tend to win because you can see and access everything without kneeling and digging.

Best drawer candidates:

  • Pots and pans (deep drawers)

  • Dishes (deep drawers near dishwasher)

  • Pantry items (wide drawers with dividers or bins)

  • Small appliances (deep drawers if you have clearance)

Shelves still make sense sometimes:

  • Very large/tall items (like a stock pot)

  • Rarely used items in a high cabinet

  • When budget or existing boxes limit drawer conversions

Make corners work—or simplify them

Corners are where storage goes to die if you don’t plan carefully.

Common corner approaches:

  • Lazy Susan: good for round-ish items, quick access, less expensive than complex pull-outs

  • Blind-corner pull-out: brings items out to you; more moving parts; needs good installation

  • “LeMans”-style swing-out: very usable, often pricier, requires precise fit

  • Avoid the corner: sometimes the best solution is a drawer bank on one side and a “dead” corner, especially in tight kitchens

Rule of thumb: If your corner solution will constantly jam, sag, or annoy you, you’ll stop using it. Choose reliability over cleverness.

Plan for clearances that protect cabinet doors and handles

Cabinetry fails early when doors bang into walls/appliances or handles collide.

Design details that prevent this:

  • Filler strips beside fridges and walls (so doors open fully)

  • Careful handle placement near tight corners

  • Avoiding cabinet doors that conflict with appliance doors (dishwasher, oven, fridge)


These details can look boring on paper, but they’re the difference between “looks great” and “works great.”

Door Styles, Overlays, and the “Look”

Door style sets the tone

  • Shaker: versatile, works in modern, transitional, and many traditional kitchens

  • Slab (flat panel): modern, minimal, easiest to wipe down

  • Raised panel: more traditional, more grooves = more cleaning

  • Beadboard / detailed profiles: cozy and cottage-like, but more dust/grease catch points

  • Glass-front: great for display or “lightening” uppers; requires neat storage

Practical note: The more grooves and edges, the more time you spend wiping.

Overlay vs inset (explained plainly)

  • Full overlay: doors cover most of the face frame/box front; cleaner, more modern look; good for maximizing opening size

  • Partial overlay: more visible frame; often a more traditional look; can be easier to match in older kitchens

  • Inset: doors sit flush inside the frame; high-end look; requires excellent precision; seasonal movement can affect gaps

Inset can be beautiful, but it’s less forgiving. If your home shifts seasonally or your walls are wavy, you’ll want a high-quality installer and realistic expectations.

Materials: Pros, Cons, and Where They Belong

Cabinet box materials

Plywood

  • Pros: strong, good screw-holding, generally more moisture-tolerant than particleboard

  • Cons: can vary in quality; edges usually need finishing; costs more

  • Best for: long-term durability, heavy use kitchens

Particleboard

  • Pros: flat, inexpensive, common in many cabinets

  • Cons: swells easily with water; weaker screw-holding; damaged areas are hard to truly “fix”

  • Best for: dry areas, budget builds, when well-sealed and kept away from leaks

MDF (medium-density fiberboard)

  • Pros: flat, stable, paints smoothly

  • Cons: heavy; water is its enemy unless well-sealed

  • Best for: painted panels and doors more than cabinet boxes (unless the product is specifically designed for it)

What matters most isn’t just the material—it’s edge sealing and moisture protection. A well-made particleboard cabinet with protected edges can outlast a poorly made plywood cabinet.

Door and drawer front materials

Solid wood

  • Pros: classic, repairable, stain-friendly, durable when built well

  • Cons: can move (expand/contract); paint may show grain unless filled

  • Best for: stained finishes, traditional looks, homeowners who want repairability

Paint-grade MDF doors

  • Pros: very smooth paint finish; stable; avoids wood grain telegraphing through paint

  • Cons: edges can chip if abused; must be sealed well

  • Best for: painted Shaker or slab doors, clean modern finishes

Thermofoil (vinyl-wrapped)

  • Pros: easy to wipe; often budget-friendly

  • Cons: heat and moisture can cause peeling at edges; repairs are tricky

  • Best for: low-fuss cleaning, but be cautious near ovens/dishwashers

Laminate / high-pressure laminate (HPL)

  • Pros: very durable surface; resists scratching; stable

  • Cons: edge quality matters; style options depend on supplier

  • Best for: high-use kitchens, modern looks, families who want toughness

Drawer box construction (a hidden quality marker)

If you’re upgrading, pay attention to the actual drawer boxes, not just the fronts.

Look for:

  • Full-extension slides (you can pull the drawer all the way out)

  • Soft-close if you want quieter operation

  • Good joinery (dovetail or strong dowel construction)

  • Thicker drawer sides and a solid bottom panel (especially for heavy drawers)

A gorgeous kitchen with weak drawers will feel disappointing fast.

Energy Efficiency and Kitchen Performance

Cabinetry itself isn’t an “energy” product, but your cabinetry plan can support efficiency and comfort.

Support better lighting (and you’ll waste less time)

  • Under-cabinet task lighting improves visibility so you’re not over-lighting the whole room.

  • Interior pantry lighting helps you find things quickly and avoid overbuying.

Improve ventilation and moisture control (cabinet longevity)

  • Cabinets near dishwashers, sinks, and cooktops suffer most.

  • Better range ventilation reduces grease film on cabinet surfaces.

  • Moisture control under the sink prevents swelling and odors.

Design implication: choose more durable materials and easy-wipe finishes near the cook zone, and protect sink bases.

Accessibility & Future-Proofing

Even if you’re not planning for accessibility right now, these choices tend to make kitchens better for everyone.

Smart accessibility upgrades that look “normal”

  • More drawers instead of deep base shelves

  • Pull-out trays (bring items to you)

  • Pull-down mechanisms for upper cabinets (useful for short users or anyone with shoulder issues)

  • D-shaped pulls or comfortable handles (easier grip than tiny knobs)

  • Storing heavy items between knee and shoulder height (less strain)

Future-proofing moves that pay off

  • A dedicated trash/recycling pull-out in a convenient spot

  • Wider drawers for flexible storage (pots today, pantry tomorrow)

  • A pantry setup that can adapt (adjustable shelves + pull-outs)

“Best for / Not Ideal for” Quick Guidance

Painting existing cabinets

Best for
  • Solid cabinet boxes with stable doors

  • Homeowners who want a dramatic style change without changing layout

Not ideal for
  • Swollen/water-damaged boxes

  • Peeling thermofoil or failing laminate surfaces

  • Anyone who can’t commit to thorough prep (prep is the whole game)

Refacing (new doors + skins)

Best for
  • Good boxes, tired-looking doors

  • Wanting a “new kitchen look” with less demolition

Not ideal for
  • Bad layout you plan to change soon

  • Boxes that are out of square, water damaged, or poorly anchored

Door-only swap

Best for
  • Boxes in good condition with acceptable exterior surfaces

  • Straightforward overlay setups

Not ideal for
  • Boxes with damaged face edges or mismatched exposed surfaces

  • Kitchens where you’ll still hate the storage after the swap

Drawer conversions and organizers

Best for
  • Improving daily function without major visual changes

  • People who cook a lot and want less frustration

Not ideal for
  • Weak cabinet boxes that can’t support pull-out loads

  • Very narrow or oddly sized cabinets without compatible hardware

Full replacement

Best for
  • Layout changes, accessibility upgrades, major damage repair

  • Long-term durability goals

Not ideal for
  • Very short timelines, minimal disruption constraints

  • Kitchens where boxes are fine and you mainly want a style update

Execution & Construction Process

This section walks you through how cabinetry renovations actually get done—whether you’re doing a light refresh (paint/hardware), a hybrid upgrade (refacing, door swap, drawer conversions), or a full replacement. The goal is to keep your project organized, protect your home, and avoid quality problems that only show up after everything is “finished.”

Pick the Right Level of Help

When DIY is realistic

DIY can work well when the tasks are contained and you can control quality:

  • Swapping hardware (with a drilling template)

  • Installing basic organizers and roll-out trays (if cabinet boxes are solid and square enough)

  • Simple trim additions (light rails, toe-kick skins, basic fillers)

  • Plug-in under-cabinet lighting systems

DIY painting can be successful too, but only if you can commit to prep, dust control, and curing time. If your kitchen can’t be out of commission for a while, a pro finish may be more realistic.

When a pro is usually worth it

Hire out cabinetry work when precision and durability matter most:

  • Refacing (door alignment + box skins)

  • Door fabrication and hinge boring (especially if you’re changing overlay type)

  • Sprayed cabinet finishing (for factory-smooth results)

  • Cabinet installation (leveling, scribing, fillers, paneling)

  • Any electrical or plumbing changes tied to cabinetry (codes/permits vary by region)

A practical dividing line: if a mistake would force you to re-buy doors, counters, or cabinets, it’s often pro territory.

Contractor and Shop Considerations

Who does what in a cabinetry renovation?

Depending on your scope, you might work with:

  • Cabinet painter/finisher (prep, spray/brush finish, reassembly)

  • Refacing company (new fronts + skins + hardware)

  • Cabinet shop (custom/semi-custom build, door styles, sizing solutions)

  • Carpenter/installer (install cabinets, panels, fillers, trim, scribing)

  • Electrician (lighting, relocation of outlets, code compliance)

  • Plumber (sink base changes, dishwasher hookups, water line changes)

What to ask before you hire

You want clear scope and clear standards. Ask:

  • What’s included in prep (degreasing, sanding/deglossing, filling, priming)?

  • How will you protect floors, counters, and appliances?

  • What finish system will be used and where will it be applied (on-site vs shop)?

  • What hardware brands/grades are being installed (hinges, slides)?

  • How will doors/drawers be aligned (what reveal tolerance are they targeting)?

  • What’s the plan for fillers, end panels, and scribing to walls?

  • Warranty details: what’s covered (finish, hardware, installation alignment)?

Red flags

  • Vague answers like “we’ll make it work” without describing steps

  • No discussion of curing time, ventilation, or dust control for finishes

  • No plan for protecting your home

  • Skipping measurements or insisting they “don’t need” to check appliance clearances

  • Poor documentation: no written scope, no drawings, no sign-off points

Project Phases by Renovation Type

Phase 1: Site prep and protection (all projects)

No matter the scope, protect and control the environment:

  • Cover floors and pathways

  • Mask off adjacent rooms if sanding/spraying

  • Set up dust containment (plastic walls/zip doors) if doing significant prep

  • Protect countertops (or remove if they’re being replaced later)

  • Create a temporary kitchen plan (coffee maker, microwave, dish tub, etc.)

Quality tip: Most “bad paint jobs” start with poor containment and rushed prep.

Phase 2A: Execution for a cosmetic refresh (paint/stain/hardware/trim)

Step 1: Remove and label everything
  • Remove doors, drawers, shelves (as needed)

  • Label each door/drawer and its location

  • Bag and label hardware separately

This seems tedious, but it prevents misalignment and wasted time later.

Step 2: Clean and decontaminate

Kitchens build up invisible grease. Proper cleaning helps finishes adhere.

  • Degrease thoroughly around the cook zone and handles

  • Rinse residue; let surfaces dry completely

Step 3: Surface prep (where durability is decided)
  • Scuff sand or degloss to improve adhesion

  • Fill dents and old hardware holes (if changing pulls/knobs)

  • Caulk small gaps in trim areas (don’t caulk where movement is expected)

  • Spot-prime any repaired areas

Step 4: Prime and topcoat
  • Prime based on substrate needs (especially for stain blocking or slick surfaces)

  • Apply topcoats evenly, keeping edges and profiles consistent

If spraying on-site, ventilation and masking quality become critical.

Step 5: Reassembly and adjustments
  • Reinstall doors/drawers

  • Align reveals (even gaps) using hinge adjustments

  • Install hardware using a template for consistency

Phase 2B: Execution for refacing or door/drawer-front replacement (hybrid)

Step 1: Confirm overlay type and measurements

Before anything is ordered or fabricated, confirm:

  • Full overlay vs partial overlay vs inset

  • Door thickness and hinge compatibility

  • Drawer front sizing and clearance

  • Any fillers/panels needed to prevent collisions

Small measurement errors show up as rubbing doors and uneven gaps.

Step 2: Door and drawer front fabrication / ordering
  • Doors are built (or ordered) to spec

  • Hinges may be bored (cup holes) based on your setup

  • Finishes are applied (either factory or shop finish)

Step 3: Box surface prep (refacing only)

Refacing typically includes covering exposed box surfaces with veneer or laminate skins.

  • Surfaces must be clean and stable

  • Edges and corners need careful wrapping/finishing

  • Heat/moisture zones need extra attention (dishwasher edges, sink area)

Step 4: Install doors, fronts, and hardware
  • Hang doors and adjust for consistent reveals

  • Install drawer fronts square and centered

  • Upgrade hinges and slides if included in scope

Step 5: Final fit and function check
  • Doors shouldn’t rub or spring open

  • Drawers should glide smoothly and close fully

  • Pull-outs should sit level and not rack side-to-side

Phase 2C: Execution for function-first interior upgrades (drawers, pull-outs, organizers)

This is the “make it work better” phase and it’s very measurement-sensitive.

Step 1: Validate cabinet box strength and squareness

Pull-outs and drawers add load and leverage. Confirm:

  • Mounting points are solid

  • Side panels aren’t loose

  • Base is stable (especially in sink cabinets)

Step 2: Install slides and frames
  • Slides must be level, parallel, and properly spaced

  • Some systems require mounting frames or rear brackets

  • Weight rating should match use (trash and pot drawers are heavy)

Step 3: Add organizers and dividers
  • Vertical tray dividers

  • Lid storage

  • Spice pull-outs

  • Under-sink caddies (planned around plumbing)

The best organizers match your storage map, not what looks cool online.

Phase 2D: Execution for full cabinet replacement (most disruptive)

Step 1: Demo and rough-in coordination
  • Remove old cabinets carefully (especially if you’re keeping floors or walls)

  • Address hidden issues: water damage, mold, uneven walls, bad wiring

  • Complete plumbing/electrical rough-ins as needed (permits vary by region)

Step 2: Layout verification

Before cabinets go in, confirm:

  • Appliance sizes and door swing clearances

  • Venting paths and outlet locations

  • Filler strip needs (especially at fridge and walls)

Step 3: Cabinet installation (precision phase)
  • Set and level base cabinets first

  • Shim as needed for uneven floors

  • Fasten to studs securely

  • Install uppers with correct height and level lines

  • Add fillers, panels, and scribe to walls for a built-in look

Step 4: Trim, panels, and finishing touches
  • End panels

  • Toe-kick

  • Crown or light rail

  • Any decorative posts/legs for islands (where appropriate)

Step 5: Doors/drawers/hardware and alignment

Even quality cabinets need adjustment after installation. This is normal.

  • Adjust hinges for consistent reveals

  • Ensure drawers are aligned and closing properly

  • Install pulls/knobs with a template

Inspections and Quality Checks (What to Verify Before You Sign Off)

Finish quality checks (paint/stain/refacing)

Look closely in good lighting:

  • Consistent sheen and color across doors

  • No sticky edges or rough overspray texture

  • Coverage on door edges and around profiles

  • Clean inside corners (no heavy drips)

  • Smooth-to-touch finish where you’ll grab daily

Important term: dry vs cure

  • Dry means it’s not tacky.

  • Cure means it’s hardened enough for real kitchen wear. Plan to treat surfaces gently until fully cured.

Installation checks (refacing or replacement)

  • Doors open and close without rubbing

  • Handles don’t hit walls or appliances

  • Drawers glide smoothly and stop evenly

  • Cabinet faces are level and straight (no “smile” or “wave” lines)

  • Fillers are tight and cleanly finished

  • Panels are flush and properly secured

Hardware checks

  • Soft-close works consistently (not slamming, not too slow)

  • Slides feel solid under load (test with heavy pots if appropriate)

  • Pull-outs don’t rack or wobble

  • Trash pull-out clears plumbing and opens fully

Practical Tips to Reduce Disruption During the Work

  • Set up a “temporary kitchen” station: kettle/coffee, microwave, dishes, a dish bin

  • Keep essentials in labeled bins so you aren’t opening 20 boxes daily

  • If finishing is happening on-site, plan for dust and ventilation

  • Protect any surfaces you’re keeping (floors, countertops, appliances) from day one

Costs & Budget Breakdown

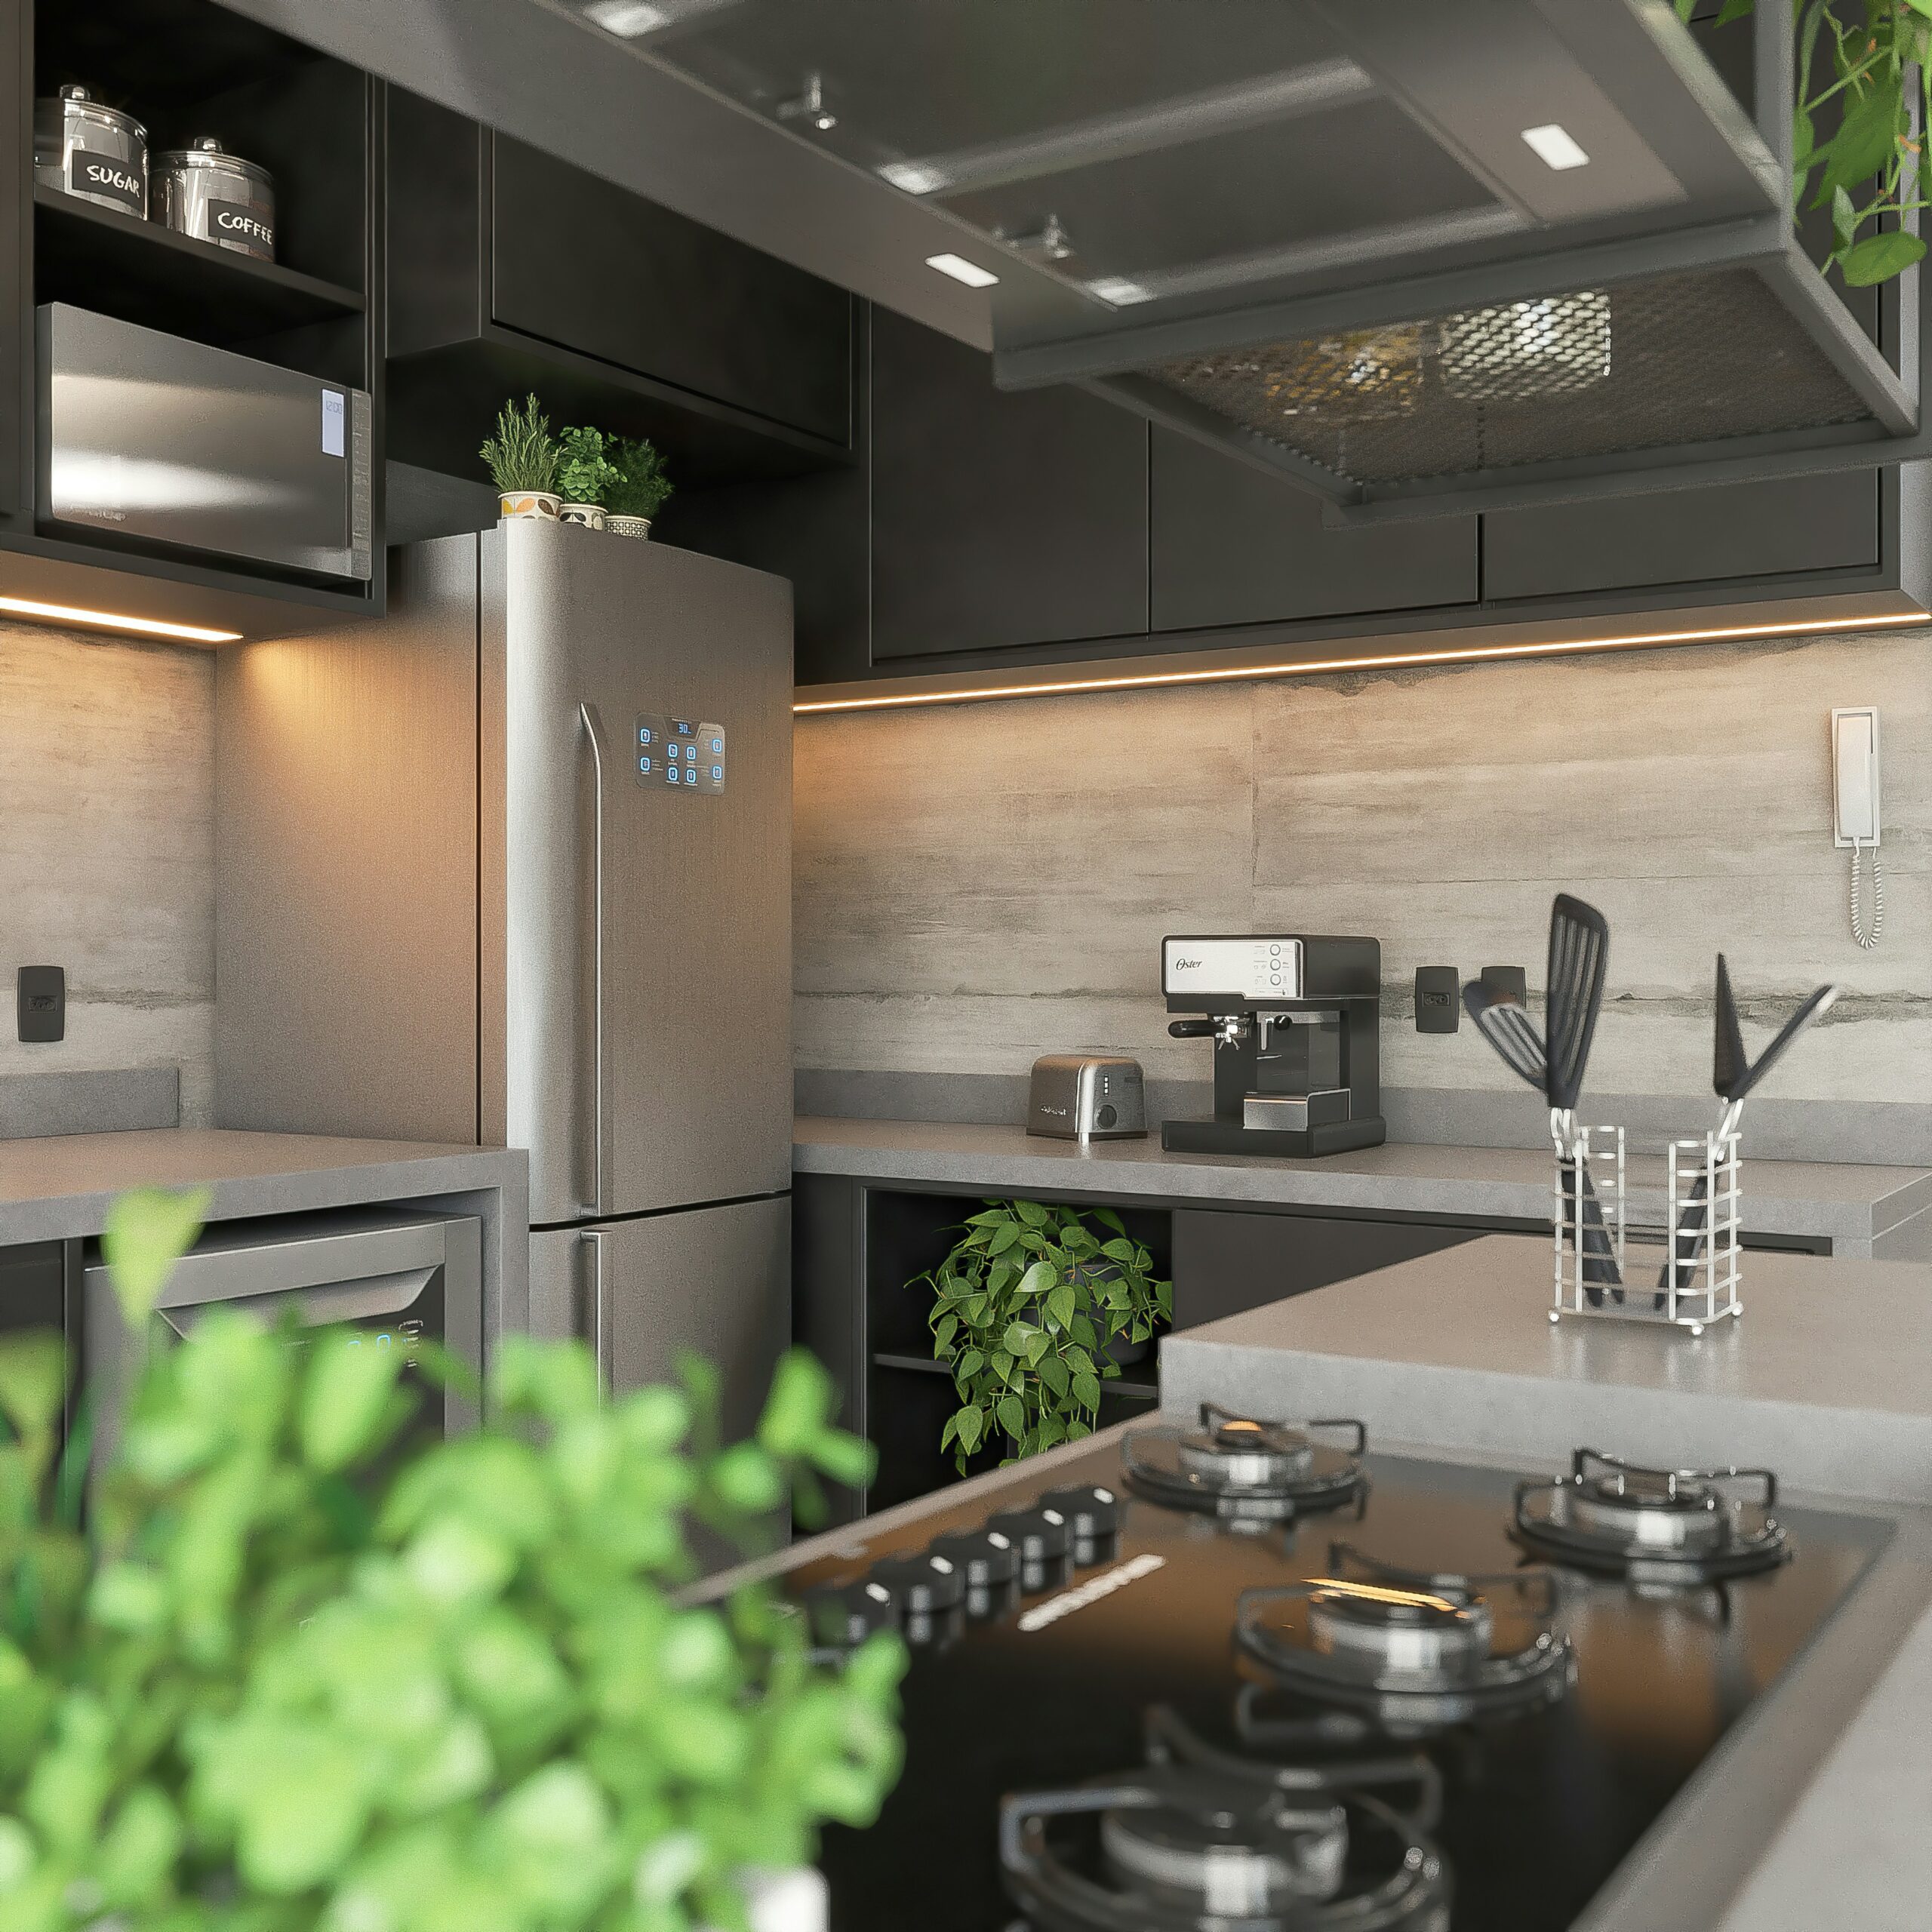
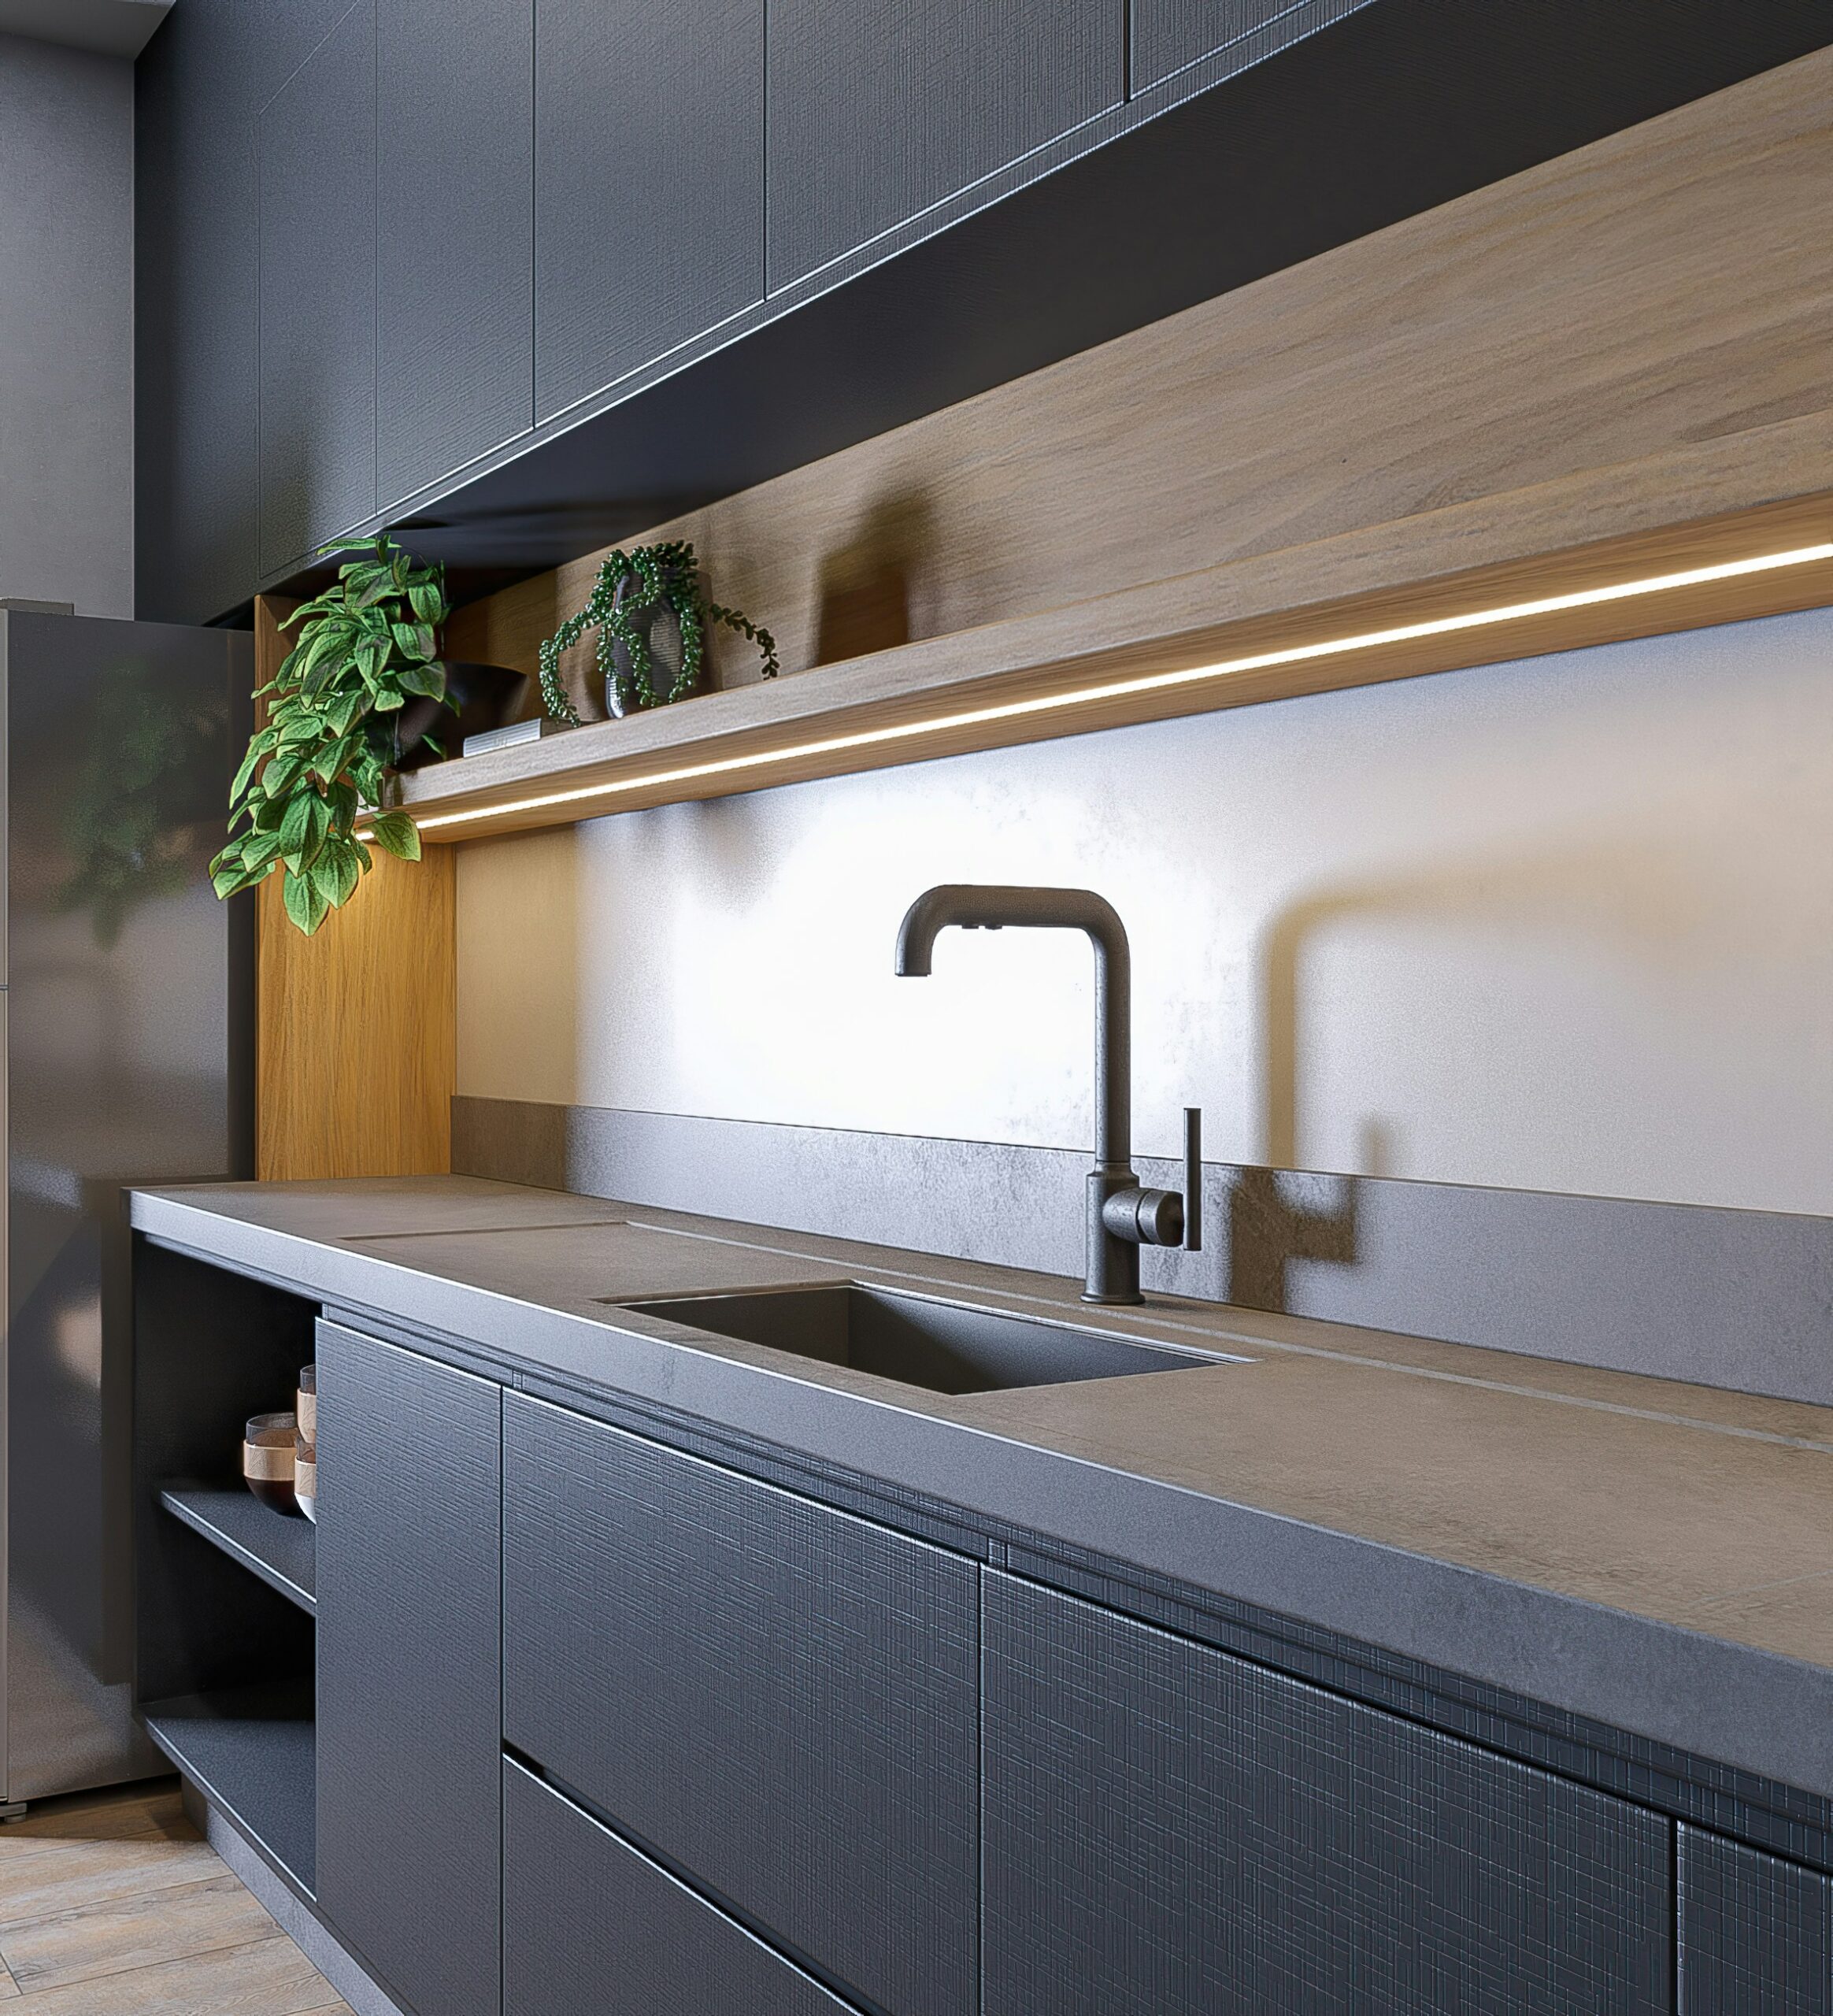
A kitchen with a stove top oven and a refrigerator

Cabinetry projects can swing wildly in price because “cabinets” can mean anything from a weekend hardware swap to a full tear-out with custom boxes, panels, and new layout. The ranges below are meant to help you budget and compare options, not predict an exact quote.

Important regional note: Most published cost guides are U.S.-based and priced in USD. Your local labor rates, materials availability, and tax/import factors can change totals substantially. Use these ranges as relative scale (paint < refacing < replacement), then confirm locally with itemized quotes. 

A quick way to think about cabinet pricing

Many contractors price cabinets by:

  • Per kitchen (common for painting/refacing)

  • Per “linear foot” of cabinets (a linear foot is 12 inches of cabinet run measured along the wall—useful for comparing kitchens of different sizes)

  • Per door/drawer front (common for painting and refacing)

Typical cabinetry renovation cost ranges

Scope (typical)What’s includedTypical range (USD)
DIY paint refreshSupplies + tools, you do prep/paintLow hundreds to under a couple thousand (varies by size/tools)
Pro cabinet paintingPrep + prime + durable topcoats; brush/roll or sprayHundreds to a few thousand+, depending on kitchen size/finish method
Cabinet refacingNew doors/drawer fronts + box “skins”/veneers + hardware (often)Several thousand to low five figures; commonly cited $4,000–$9,500 or $100–$250/linear ft
New cabinets (stock/semi-custom)Replace boxes/doors; installOften ~$100–$650/linear ft depending on level and layout
New cabinets (custom)Made-to-order cabinetry, more flexibility and laborCommonly ~$500–$1,200+/linear ft (and can go higher) 
Soft-close slide upgrades / pull-outsHardware + installation per drawer/pull-outLabor alone often tens to low hundreds per drawer plus materials/add-ons

How to use this table:
Pick the row that matches your scope, then adjust up/down using the cost drivers below.

The biggest cost drivers (what pushes you up or down)

1) Number of doors/drawers (more parts = more labor)

Painting and refacing scale with the number of pieces, not just kitchen size. More drawers, glass fronts, and detailed profiles increase time.

2) Prep work and repairs (especially under the sink)

  • Grease removal, sanding/deglossing, filling damage, fixing swollen edges

  • Repairing failing boxes can erase the savings of “keeping what you have”

3) Finish method and durability expectations

  • Sprayed finishes often cost more than brush/roll because of masking, equipment, and control needs—but they can look more factory-smooth.

  • Premium coatings and color matching add complexity. 

4) Layout changes vs keeping the layout

Keeping your existing cabinet footprint is usually the biggest money saver. Moving cabinets can trigger plumbing/electrical work and wall/floor repairs.

5) Door style complexity

  • Slab and Shaker-style doors are typically simpler.

  • Inset doors and ornate profiles demand tighter tolerances and more labor.

6) Hardware quality and “function upgrades”

Soft-close hinges/slides, heavy-duty pull-outs, trash systems, and pantry pull-outs add cost—but they’re also where you feel the upgrade every day.

7) Location and access

Local labor rates, parking/access, stair carries, and jobsite restrictions can shift totals significantly.

Where to save vs where to invest

Smart places to save (usually low regret)

  • Keep solid cabinet boxes and update doors/finishes instead of full replacement (when layout works).

  • Choose standard sizes and avoid custom-only dimensions unless necessary.

  • Pick a simple door style (Shaker/slab) and limit specialty doors.

  • Reuse what still works: cabinet interiors, some shelves, even some drawer boxes (if square and sturdy).

  • Do carefully scoped DIY: hardware swap, basic organizers, labeling/storage planning.

Places worth investing (durability + daily comfort)

  • Slides and hinges (smooth, adjustable, rated for the load). Cheap slides ruin the experience fast.

  • Drawer-heavy base cabinets (or conversions) in the most-used zones—this is one of the highest “quality of life” upgrades.

  • Moisture protection at the sink base (leak-resistant liners/mats, sealed edges, better organization).

  • Professional measuring and alignment for doors/refacing—bad reveals and rubbing doors are expensive to fix later.

  • Filler strips, panels, and proper scribing when replacing cabinets (this is what makes “new cabinets” look built-in, not slapped in).

Budget “recipes” (common real-world packages)

  • Cosmetic refresh: paint or stain + new pulls + under-cabinet lighting
    Best when boxes are solid and you mainly want a new look.

  • Hybrid upgrade: new doors/drawer fronts + soft-close hinges/slides + targeted pull-outs
    Best when layout is fine but function and style need a major lift.

  • Full replacement: stock/semi-custom cabinets + new panels/fillers + improved storage plan
    Best when boxes are failing or you’re changing layout/appliances.

Common Mistakes & How to Avoid Them

Cabinetry renovations go sideways for predictable reasons. The good news: most problems are preventable with a few “slow down here” checkpoints.

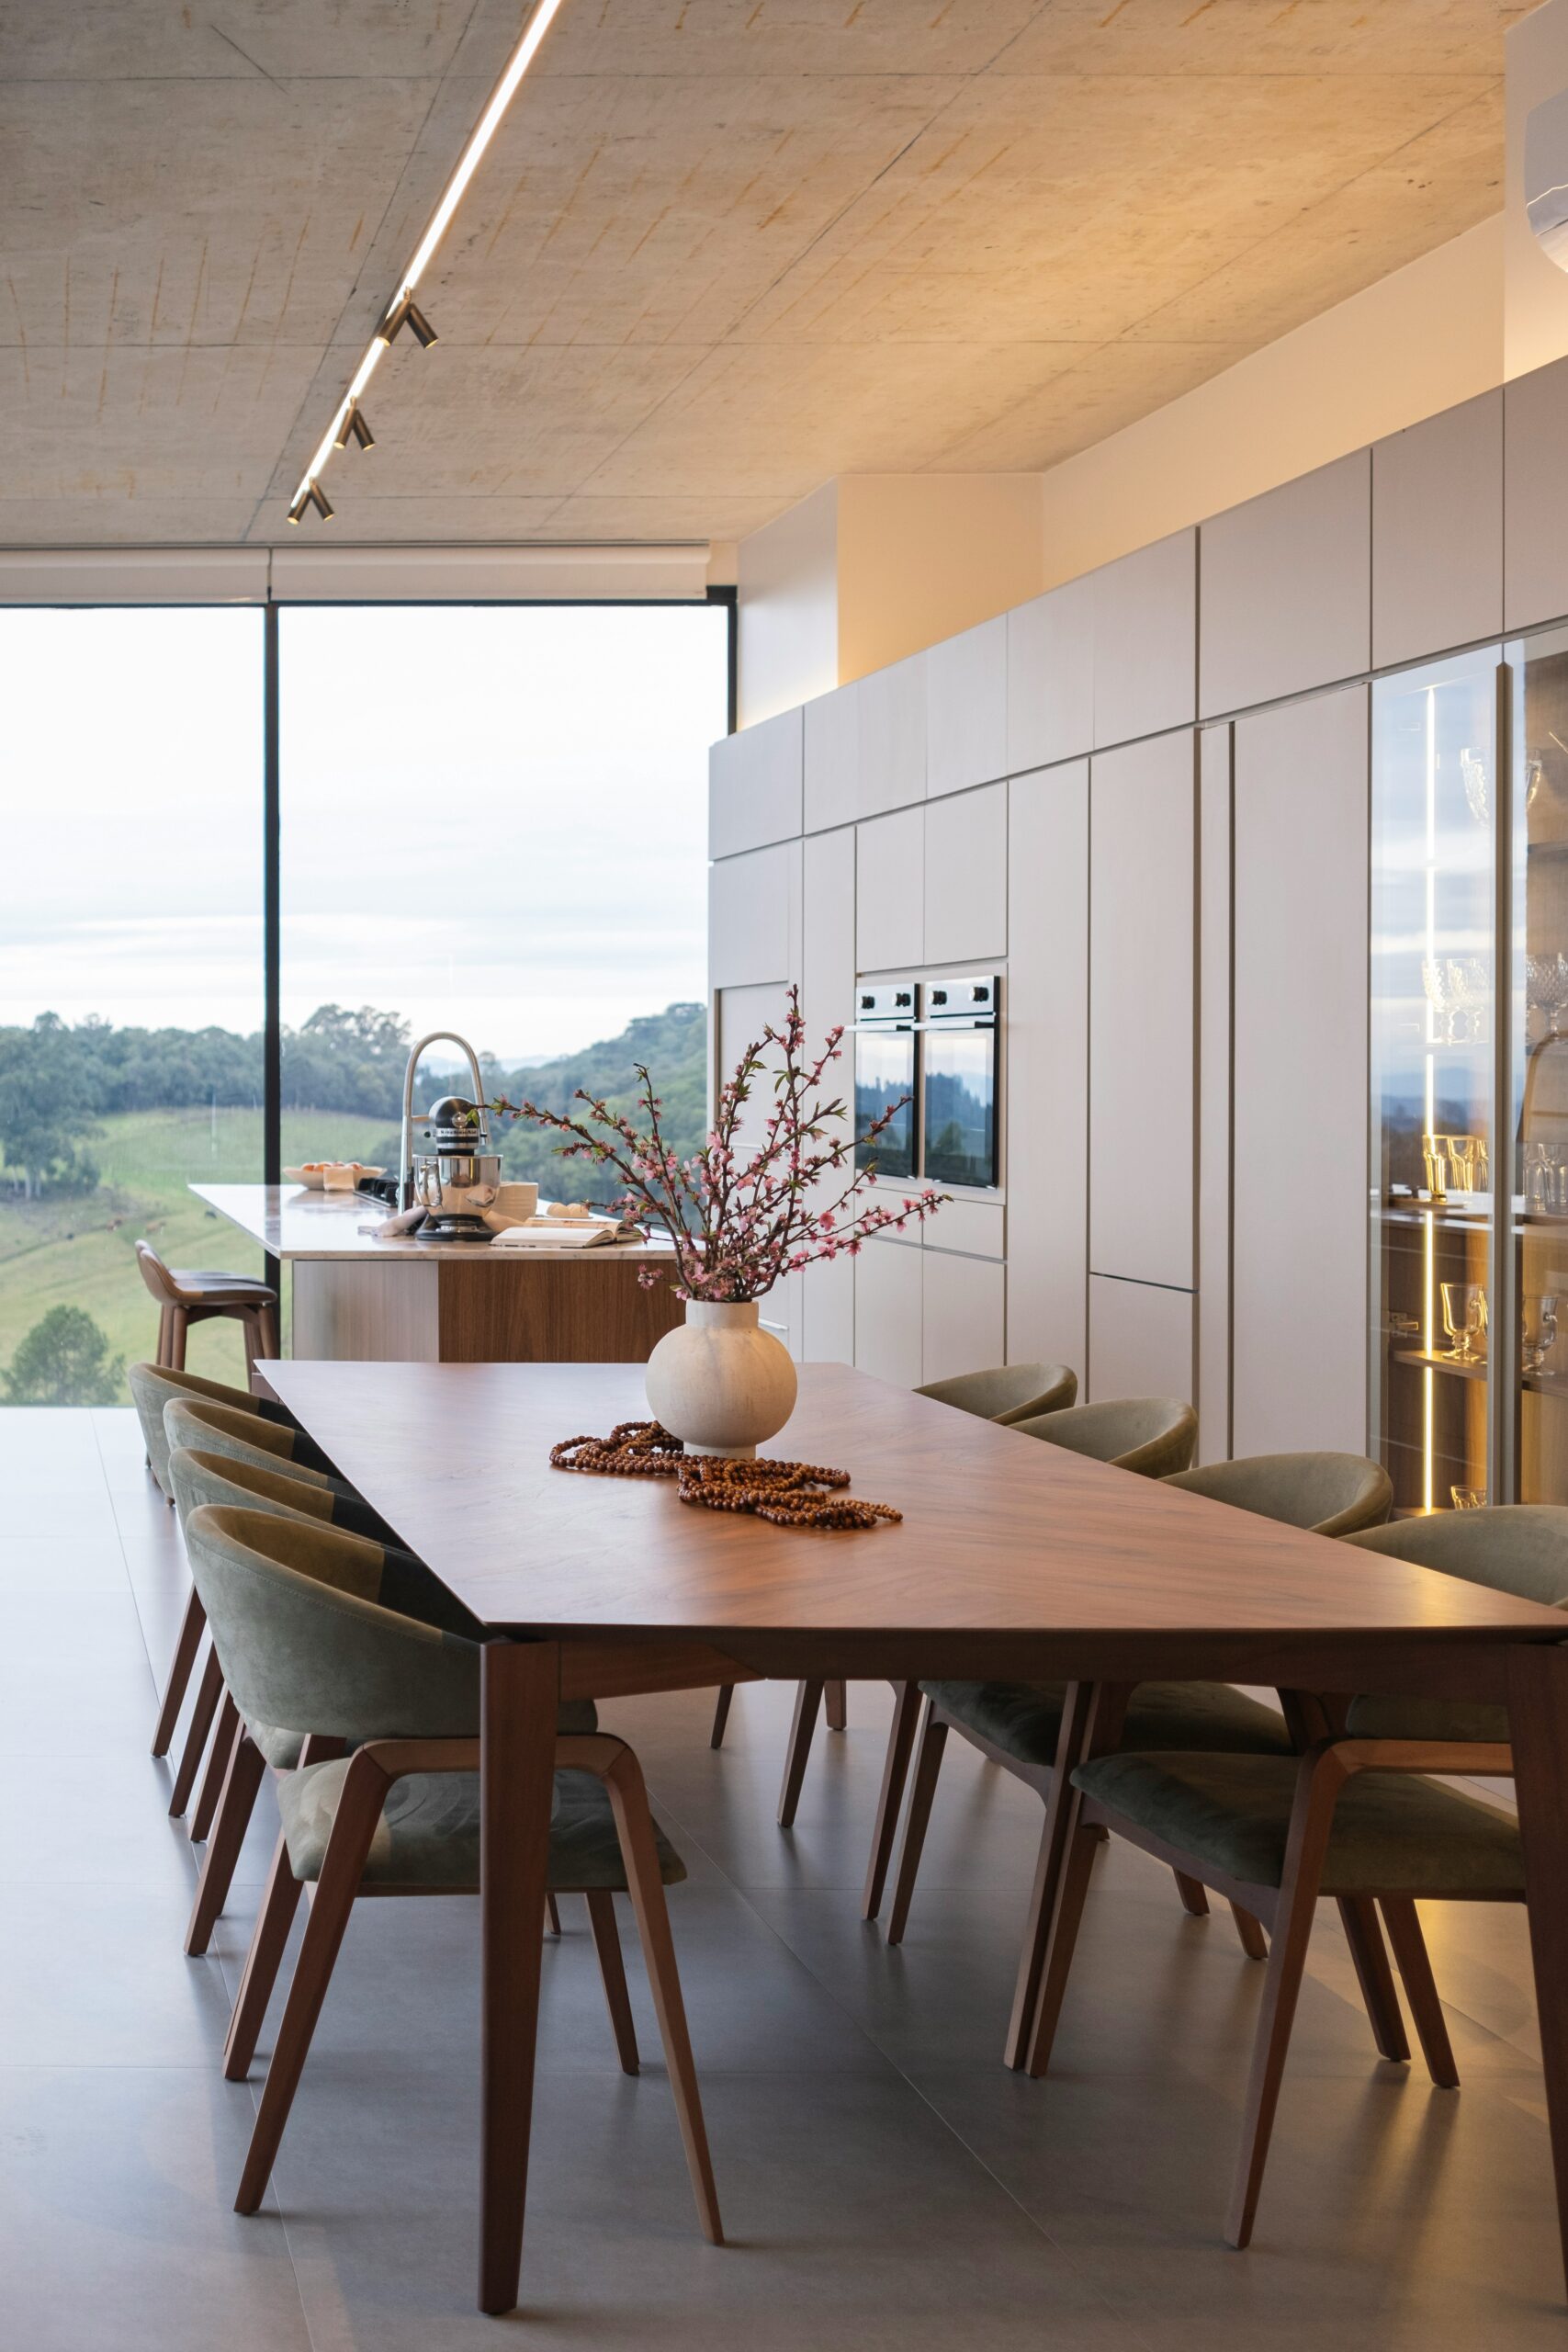
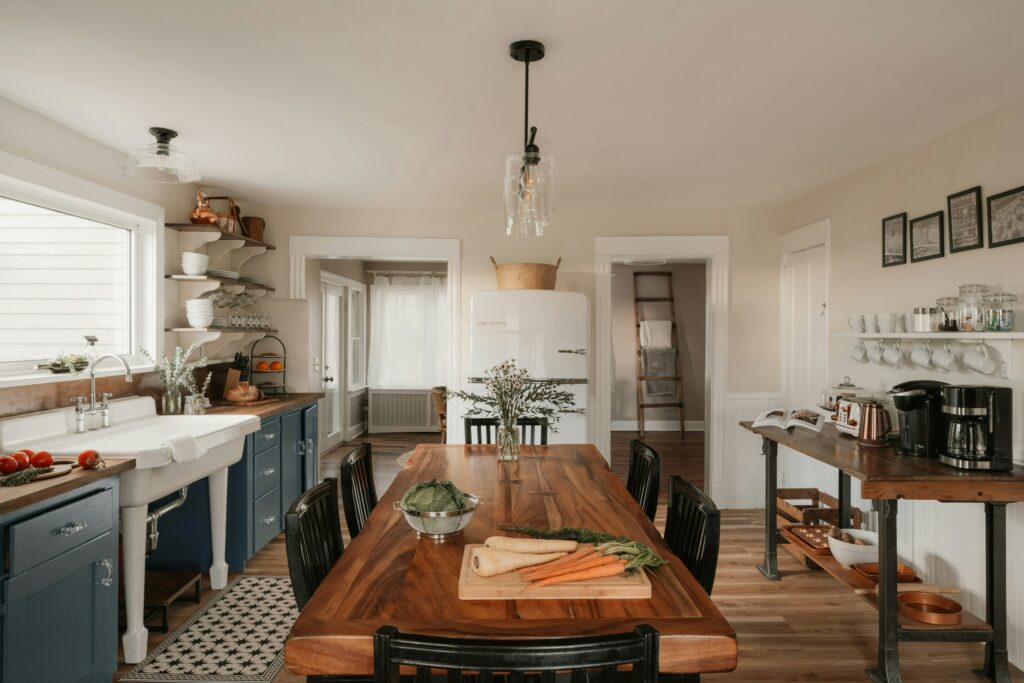
Farmhouse kitchen with dining table and island

Mistake 1: Choosing the renovation path before checking cabinet box condition

What happens: You spend time/money on doors or paint, then discover the boxes are swollen, loose, or out of square—so everything still looks crooked or starts failing.

How to avoid it

  • Do a sink-base inspection first (soft bottom panel, swelling, musty smell = warning).

  • Push on side panels and face frames: wobble = structural issue.

  • If boxes are compromised, prioritize repair or replacement over cosmetics.

Quick check: If you can’t get doors aligned no matter what, the box may be the problem—not the hinges.

Mistake 2: Underestimating prep for painted or refinished cabinets

What happens: Paint chips at edges, feels sticky, or peels near handles and cook zones.

How to avoid it

  • Treat prep like the project:

    • Degrease thoroughly (especially around knobs/pulls and near the stove).

    • Scuff sand or degloss for adhesion.

    • Fill dents and old holes cleanly.

    • Prime appropriately for the surface.

  • Respect dry time vs cure time (dry isn’t the same as hard).

Reality check: “Great paint” can’t fix poor prep.

Mistake 3: Picking a finish that fights your kitchen’s “fixed elements”

What happens: New cabinets look “off” because they clash with floors, counters, or backsplash you aren’t changing.

How to avoid it

  • Identify what’s staying: flooring, countertops, backsplash, appliances.

  • Decide if those elements read warm or cool.

  • Choose cabinet colors/woods that support that direction.

  • Test samples in your actual lighting (day + night).

Tip: Bright white can look gray/blue next to warm stone; warm creams can look yellow next to cool grays.

Mistake 4: Skipping a storage plan and buying “cool organizers” randomly

What happens: You end up with expensive pull-outs that don’t match what you store, or you still have cluttered counters.

How to avoid it

  • Do a simple zone list (prep, cook, clean-up, serve).

  • Prioritize upgrades that change daily life:

    • More drawers in bases

    • Trash/recycling pull-out

    • Vertical tray storage

    • Pantry pull-outs only where they truly help

  • Measure what you store (tall oils, big pans, appliances) before committing.

Tip: Organizers work best when they match your inventory—not your aspirations.

Mistake 5: Ignoring clearances until installation day

What happens: Cabinet doors hit walls, refrigerator doors can’t open fully, handles collide, drawers crash into appliance trim.

How to avoid it

  • Plan for filler strips near:

    • Refrigerators

    • Walls next to doors/drawers

    • Tight inside corners

  • Mock it up with painter’s tape or cardboard if needed.

  • Think about handle depth and door swing, not just cabinet width.

Checkpoint: If two things swing open in the same space, they will eventually collide.

Mistake 6: “Making corners work” with the wrong corner solution

What happens: You install a complicated corner pull-out that binds, sags, or becomes annoying—so you stop using it.

How to avoid it

  • Choose corner solutions based on reliability and what you store:

    • Lazy Susan for frequently used items you can group

    • Blind-corner pull-out only if the cabinet is solid and the hardware is robust

    • Consider a “dead corner” if it simplifies everything and improves adjacent storage

  • Avoid overstuffing corners—most systems hate overload.

Tip: A simple corner you actually use beats a fancy one you fight.

Mistake 7: Upgrading drawers/pull-outs without confirming cabinet strength

What happens: Heavy pull-outs rip out screws, rack side-to-side, or sag over time.

How to avoid it

  • Confirm the box is stable and anchored.

  • Use hardware rated for the load (especially for trash and pot drawers).

  • Keep heaviest items in wide, sturdy drawers with good slides.

  • Don’t overload pull-outs “because they can fit it.”

Practical rule: Your drawer should feel solid even when you yank it open quickly.

Mistake 8: Expecting soft-close hardware to “fix” misalignment

What happens: Doors still rub, gaps look uneven, and drawers don’t sit square—just more quietly.

How to avoid it

  • Treat alignment as its own task:

    • Level boxes (or shim as needed)

    • Adjust hinges in small increments

    • Square drawer fronts during installation

  • Fix the root cause (box issues, uneven floors/walls) rather than masking symptoms.

Mistake 9: Not planning for moisture and heat zones

What happens: Edges swell near the sink, finishes fail around the dishwasher, or doors warp near heat.

How to avoid it

  • Add moisture protection under the sink (liners/mats, leak checks).

  • Ensure dishwasher steam isn’t blasting raw edges.

  • Use durable, easy-clean finishes around the cook zone.

  • Keep good ventilation habits—grease film is the silent cabinet killer.

Mistake 10: Rushing final punch-list checks

What happens: You notice problems after the crew leaves—sticky drawers, rubbing doors, uneven handles, sloppy fillers.

How to avoid it

  • Do a slow walk-through with a simple checklist:

    • Every door opens/closes smoothly

    • No rubbing, no handle collisions

    • Drawer slides feel stable under load

    • Reveals (gaps) look consistent

    • Fillers/panels are tight and clean

    • Finish looks even in multiple lighting conditions

Tip: Check with doors open and closed—many issues only show up in motion.

Maintenance & Long-Term Value

A cabinetry renovation lasts (and keeps looking good) when you treat cabinets like the hardworking surfaces they are. The biggest enemies are grease film, moisture, heat, and repeated impact—all common in kitchens. A few simple habits and periodic checks can add years to finishes, hinges, and drawer slides.

Daily and weekly care that actually matters

Clean gently but consistently

  • Wipe high-touch areas (around pulls/knobs, near the cook zone) with a soft cloth and a mild cleaner.

  • Avoid harsh abrasives and aggressive scrubbing pads—those can dull finishes and wear through clear coats.

  • Dry surfaces after cleaning. Water left sitting at seams and edges is what causes swelling over time.

Control grease buildup

Grease isn’t always obvious. It forms a thin film that attracts dust and eventually makes cabinet fronts feel grimy.

  • Use your range ventilation consistently when cooking.

  • Spot-clean cabinet faces near the stove more often than the rest of the kitchen.

Moisture protection: the sink base is the priority

The sink cabinet is where most cabinetry failures start.

Do these small preventive steps:

  • Use a waterproof mat or liner under the sink.

  • Periodically check for slow leaks at the P-trap, faucet connections, and dishwasher line.

  • Keep cleaning products organized so you can see the cabinet bottom—clutter hides leaks.

If you ever find swelling or soft spots, address the leak first, then dry thoroughly. Cosmetic fixes won’t hold if moisture continues.

Heat and steam: protect edges and finishes

  • Steam from dishwashers and heat near ovens can stress edge banding and finishes.

  • Make sure dishwasher steam isn’t venting directly onto raw or damaged cabinet edges.

  • If you notice peeling at an edge, treat it as a “catch it early” repair—small fixes are easier before moisture gets under the surface.

Hardware longevity: hinges and slides need minor tuning

Cabinet doors and drawers often shift slightly over time due to seasonal movement, house settling, and everyday use.

Quick tune-ups to plan for

  • Hinge adjustments: Most modern hinges allow small tweaks to re-center doors and even out gaps.

  • Slide alignment: If a drawer starts rubbing or feels uneven, check for loose screws and minor misalignment.

  • Handle tightening: Pulls and knobs loosen over time—tighten before they wallow out the holes.

A 15-minute “cabinet tune-up” once or twice a year prevents the slow drift that makes a kitchen feel worn.

Protect your investment with a few smart habits

  • Don’t hang on open doors or let kids swing on them.

  • Use bumpers or soft-close hardware to reduce impact.

  • Store heavy items in drawers rated for the load, ideally around waist height.

  • Add felt pads or liners to reduce wear inside drawers and cabinets.

Long-term value: what buyers and appraisers notice

Even if you’re not selling soon, it helps to know what tends to hold value:

  • Consistent alignment: even door gaps and straight lines

  • Durable finishes: cleanable, not overly precious

  • Functional storage: drawers, pull-outs, pantry organization, trash solutions

  • A cohesive look: cabinets that coordinate with counters/floors without being overly trendy

Cabinetry that works well and looks intentional often reads as “updated kitchen,” even without a full remodel.

Frequently Asked Questions

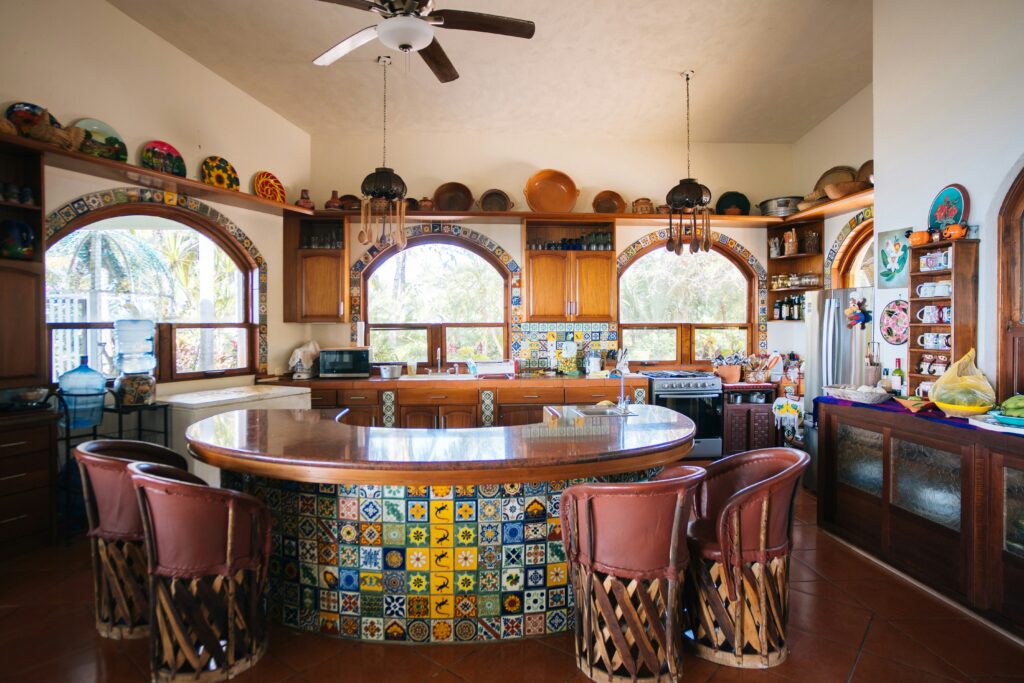
Spacious kitchen with large island and colorful tile details
1) Should I paint my cabinets or replace them?

Paint is usually a strong choice if your cabinet boxes are solid and you like the layout. Replace cabinets when boxes are water-damaged, unstable, or when the layout needs to change significantly (appliance sizes, workflow, accessibility).

Refacing is often worth it when you have sturdy boxes and a layout you don’t want to change. It delivers a major visual change with less disruption than full replacement. It’s less ideal if your boxes are out of square, damaged, or you’ll still hate the storage afterward.

For day-to-day function, adding drawers to base cabinets (or converting shelves to drawers) is one of the biggest wins. For appearance, new hardware plus improved lighting can change the look faster than most people expect.

Often yes—if the boxes are in good condition and you’re careful about measurements and hinge compatibility (overlay type, hinge boring, door thickness). If the boxes are damaged or badly out of square, new doors can highlight those flaws.

They can be, especially for smooth painted finishes, as long as edges are well sealed and you manage moisture (particularly at the sink area). They’re less forgiving of repeated impacts on corners/edges than some solid-wood options.

Focus on the “built-in” details:

  • Use proper fillers (so doors don’t crash into walls/appliances)

  • Add finished end panels

  • Scribe panels/trim to uneven walls

  • Consider crown or light rail trim (where appropriate)

  • Keep hardware placement consistent and aligned

The best “value” organizers are the ones you use constantly:

  • Trash/recycling pull-out

  • Roll-out trays for deep base cabinets

  • Vertical tray dividers for sheet pans and cutting boards

  • A utensil drawer system near prep
    Corner solutions are worth it only if they’re reliable and match what you store.

Use your ventilation when cooking, wipe cabinet fronts regularly with a mild cleaner, and avoid greasy aerosol buildup by spot-cleaning around handles and near the cook zone more often than the rest of the kitchen.

Conclusion & Next Steps

A cabinetry renovation goes best when you match the solution to your actual kitchen—not just the look you want. If your cabinet boxes are solid and your layout works, you can often get a “new kitchen” feel by upgrading doors, finishes, hardware, and storage. If the boxes are failing or the layout fights you daily, full replacement is usually the more durable path.

The projects that tend to feel most successful combine a cohesive design choice (door style, finish, hardware) with function upgrades you’ll use every day (drawers, pull-outs, better corner access, and a real trash/recycling plan). And regardless of scope, durability comes down to the unglamorous basics: correct prep, accurate measurements, clearance planning, and final alignment checks.

Next steps you can take now

  1. Decide your path: refresh, upgrade, or replace—based on cabinet box condition and whether your layout works.

  2. Make a quick storage map by zones (prep, cook, clean-up, serve) so your upgrades match how you live.

  3. List 3–5 must-haves (more drawers, trash pull-out, corner solution, easy-clean finish, etc.).

  4. Document measurements and constraints (appliances, clearances, walls that aren’t straight) to avoid surprises.

  5. Gather finish and hardware samples and view them in your real lighting next to floors/counters that are staying.

  6. If hiring help, get itemized quotes and confirm prep/finish standards, hardware specs, and the plan for fillers/panels and alignment.

  7. Build in time for a final quality walk-through and a simple maintenance plan (especially under the sink and around heat/steam zones).

This is the heading

Lorem ipsum dolor sit amet consectetur adipiscing elit dolor