Design & Material Considerations
Layout & functionality: design your light where you stand
A kitchen lighting plan succeeds or fails based on one simple thing: where the light lands. You want light on the countertops, sink, and cooktop—not just bright ceilings.
Start with your “primary prep” location
Most people do the majority of prep in one spot (often near the sink, trash, and fridge). Prioritize this area first.
If you have wall cabinets above the counter, you almost always need under-cabinet task lighting.
If your main prep is on an island, you’ll need over-island lighting that actually reaches the surface (often paired with good ambient light).
Plan by kitchen type
Galley kitchen
L-shape
U-shape
Island kitchen
Fixture choices: what to use where (and why)
Below are common kitchen lighting options, with practical pros/cons so you can choose based on your goals and finishes.
1) Under-cabinet lighting (task layer)
This is the single most effective functional upgrade for most kitchens.
Options
Pros
Puts light exactly on the counter (where you need it).
Reduces shadows caused by your body and upper cabinets.
Makes backsplashes and counters look cleaner and more premium.
Cons
Cheaper tape lights can show “dots” on the wall.
Poor placement can cause glare on glossy counters/backsplashes.
Some systems require drivers that need a place to hide.
Best for
Not ideal for
Design tip that matters
2) Recessed lighting (ambient support, sometimes broad task)
Recessed lights can be great, but only when they’re planned, not sprinkled randomly.
Pros
Clean look, low visual clutter.
Good general illumination when spaced well.
Works with most design styles.
Cons
Can create harsh “pools” of light and glare.
Often causes counter shadows when placed behind where you stand.
Too many can feel like an office ceiling.
Best for
Providing even ambient light, especially in larger kitchens.
Supporting other layers (under-cabinet + pendants).
Not ideal for
Design tip that matters
3) Flush-mount / semi-flush fixtures (ambient layer)
These work well in kitchens with lower ceilings or where recessed lighting isn’t feasible.
Pros
Cons
Best for
Small kitchens, lower ceilings, and quick upgrades.
Pairing with under-cabinet lighting for a strong two-layer setup.
Not ideal for
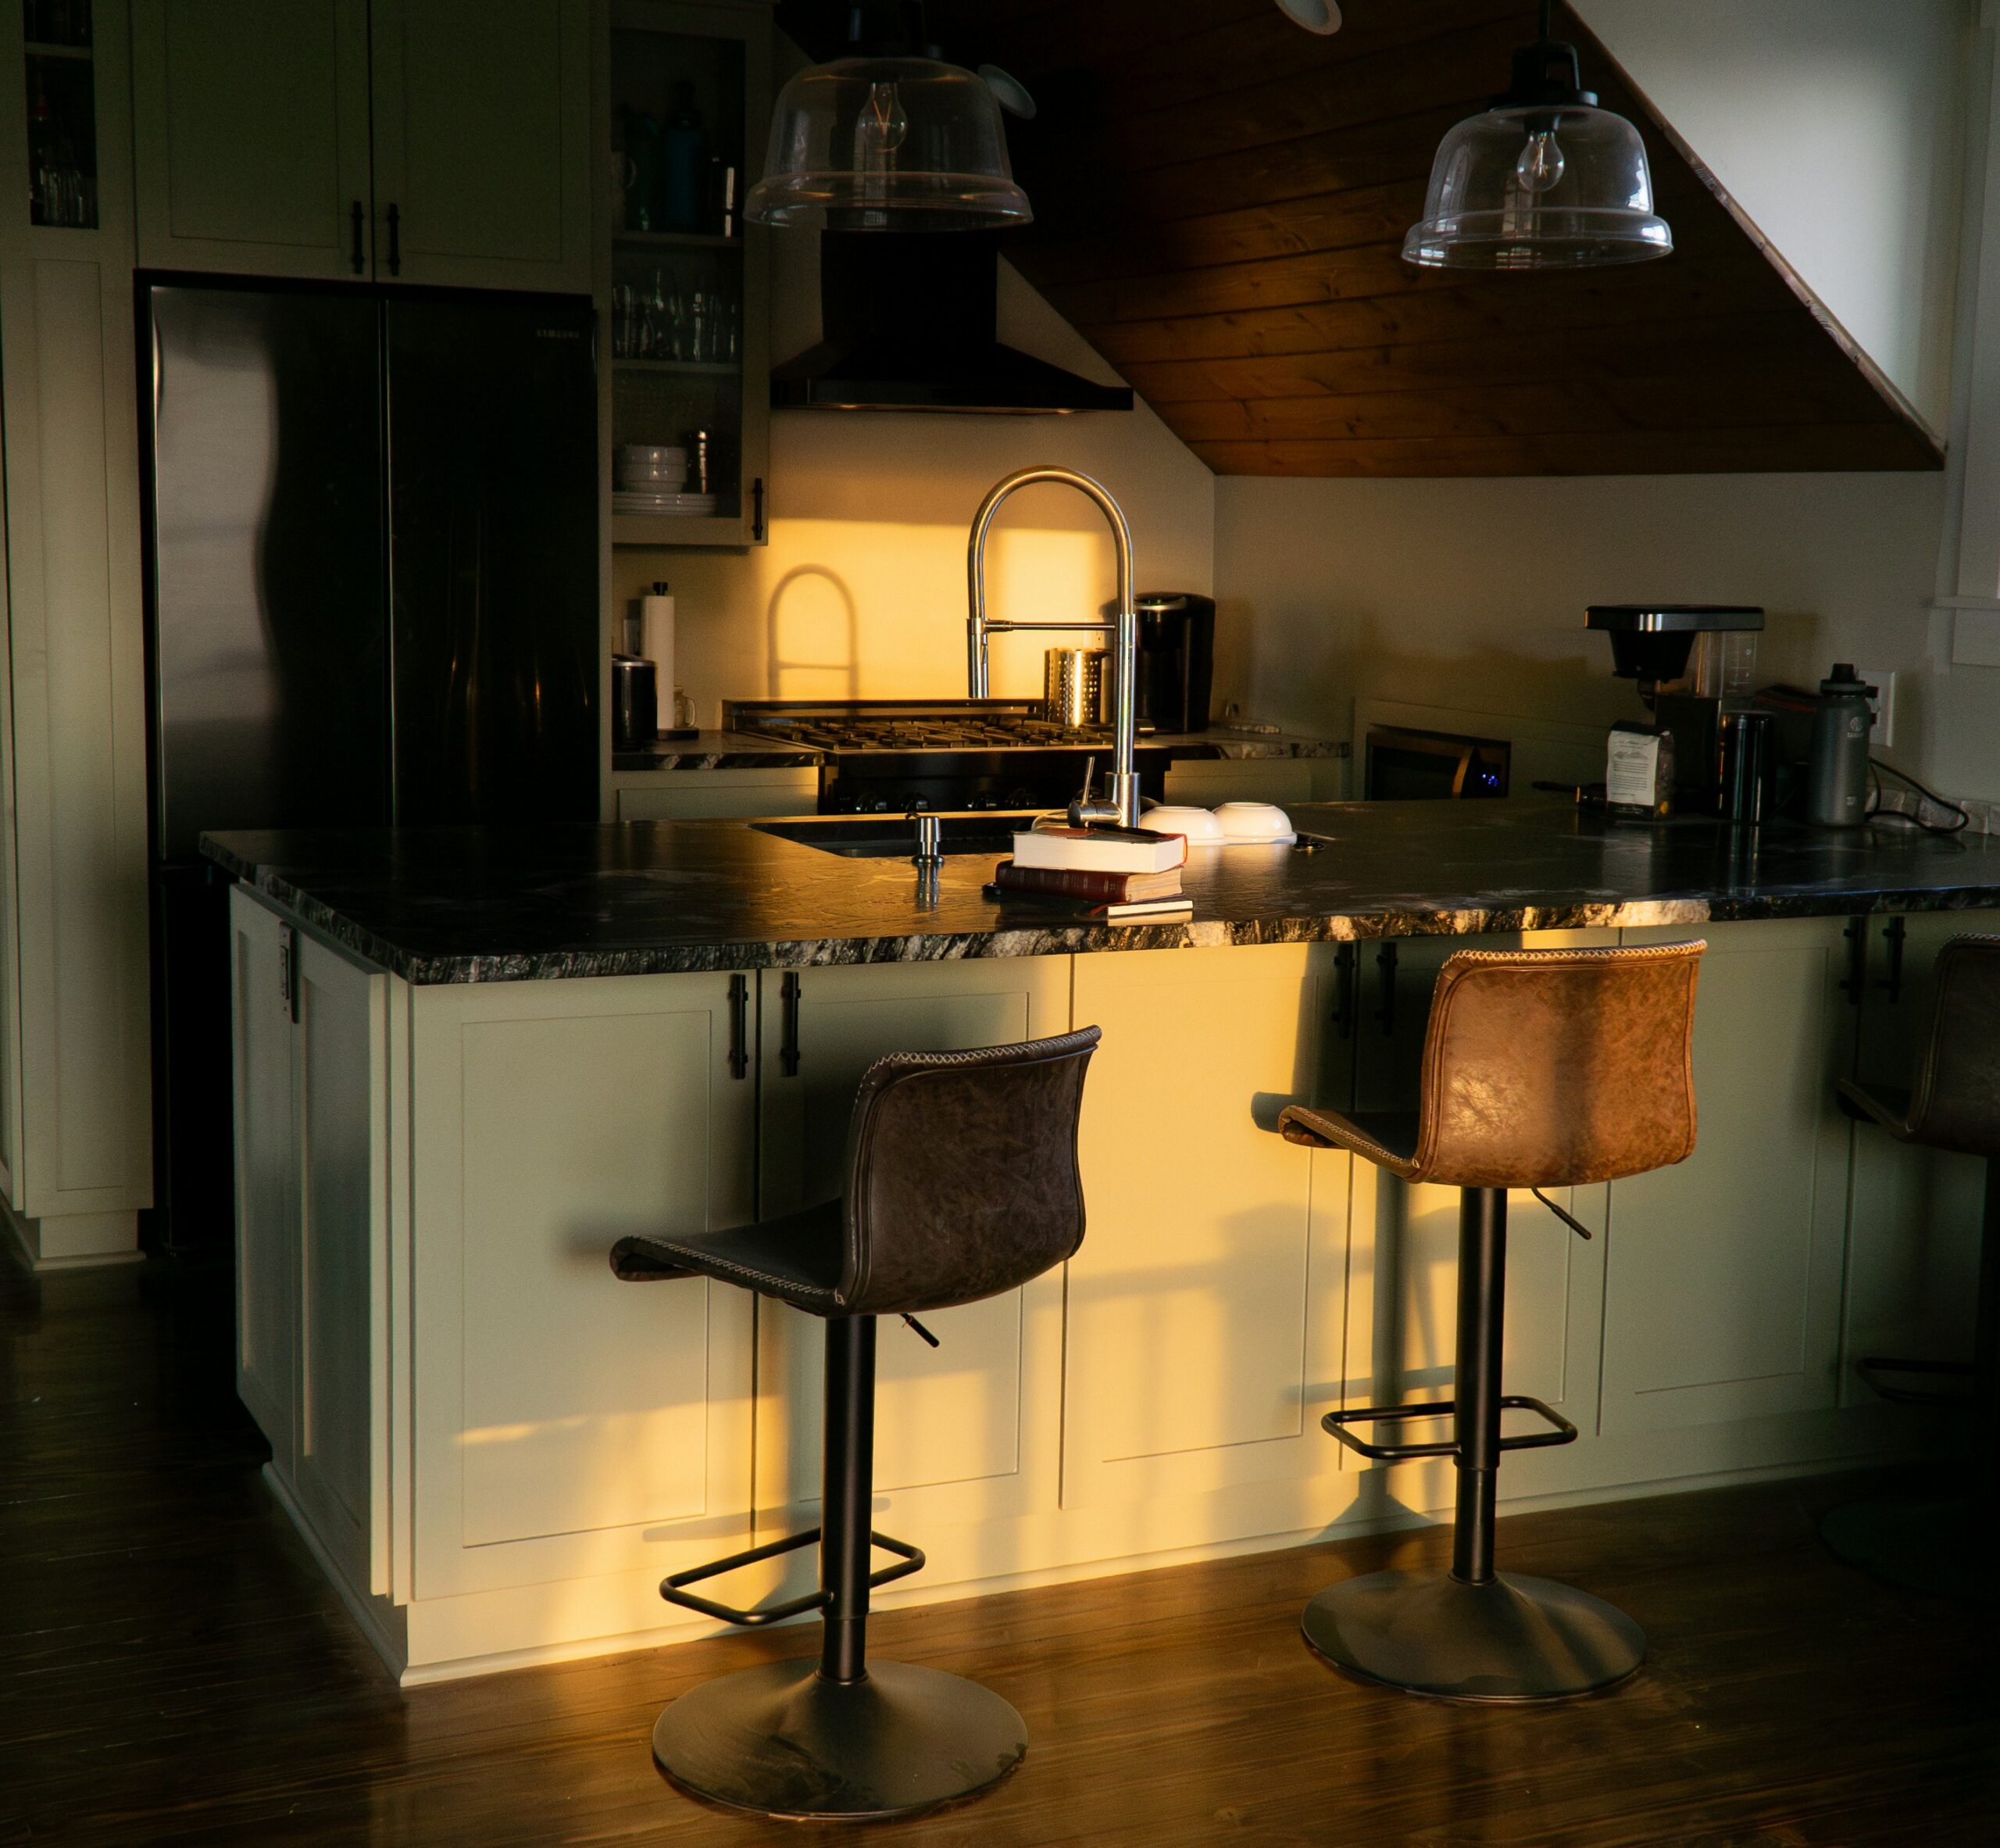
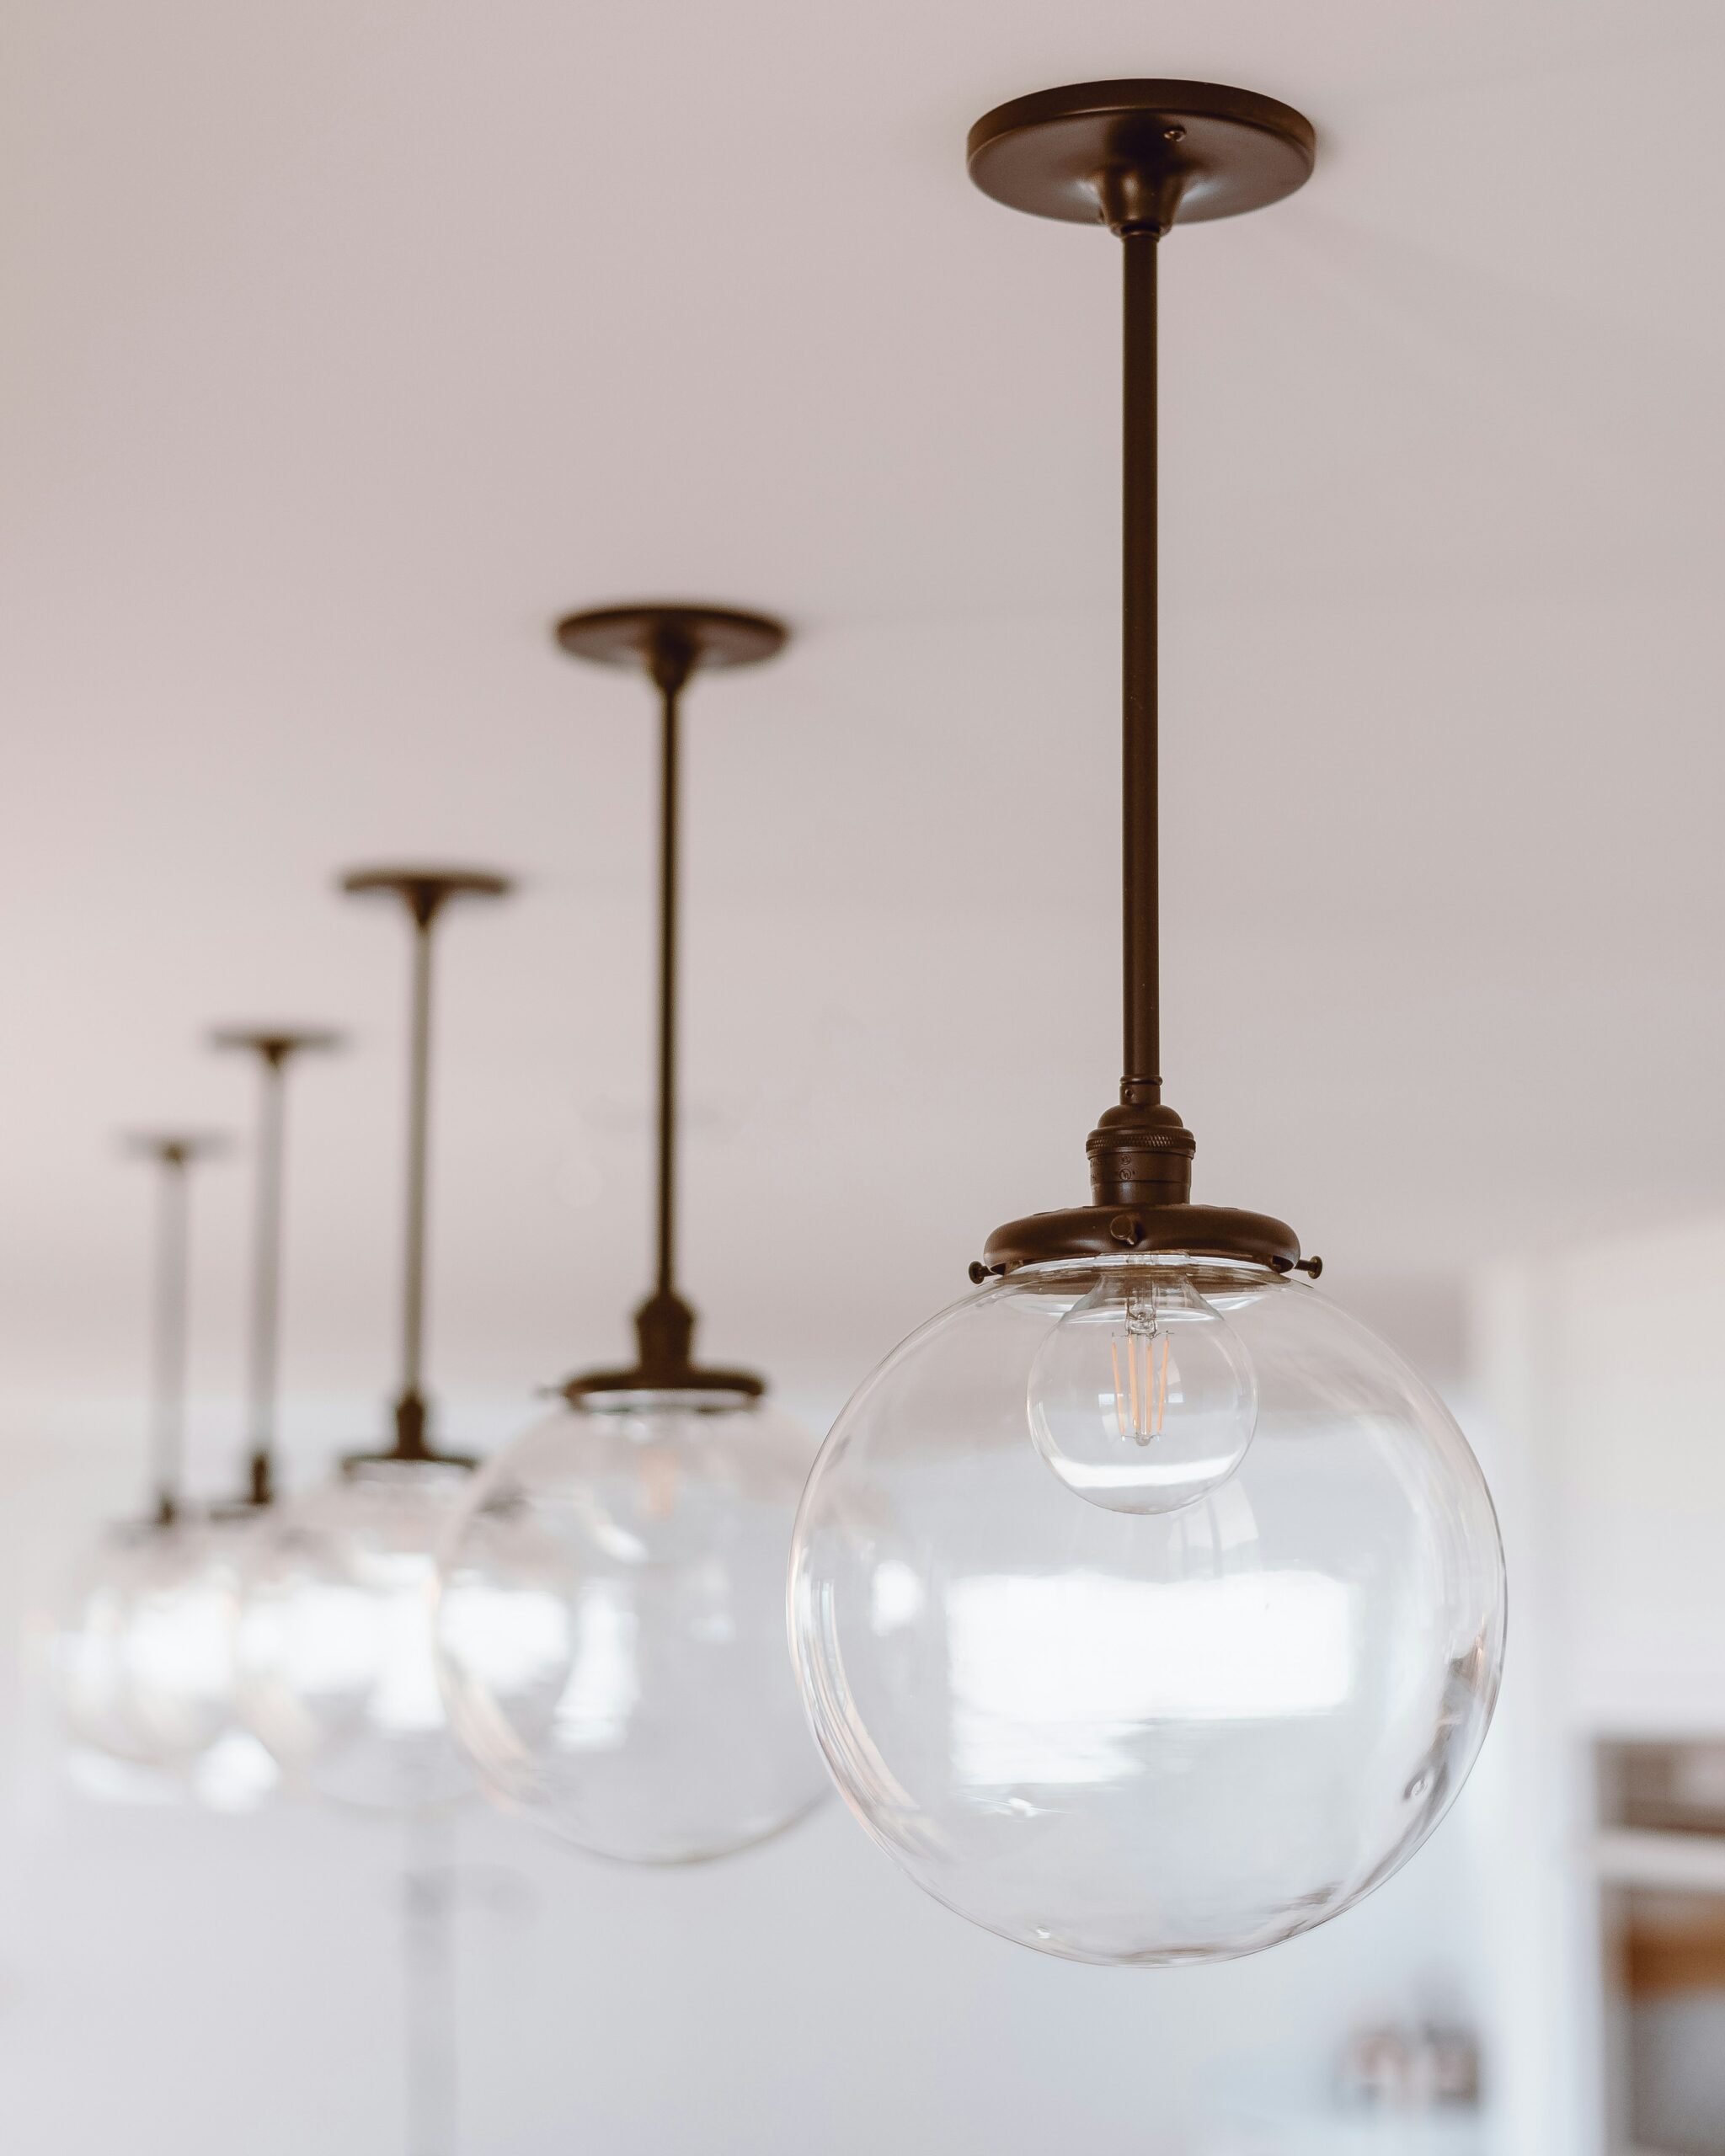
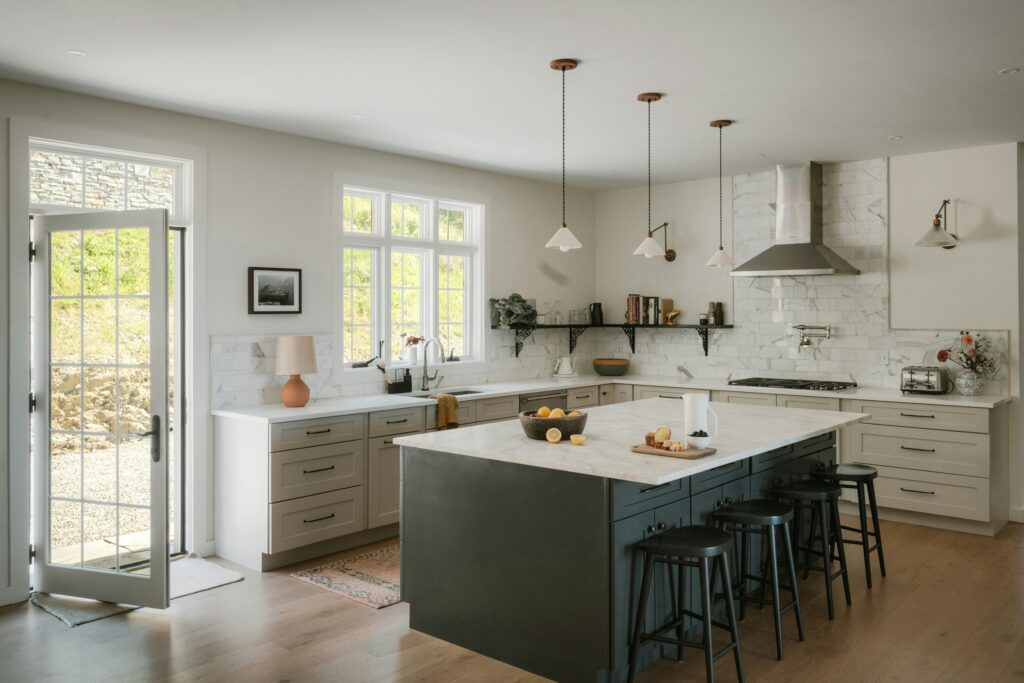
4) Pendants over islands/peninsulas (decorative + task)
Pendants are often chosen for style—but you still need them to perform.
Pros
Cons
Many pendants create downward glare and harsh hotspots.
Some throw light sideways into eyes rather than onto the countertop.
Easy to size or space incorrectly.
Best for
Islands used for prep, serving, and casual seating.
Kitchens that need a focal point.
Not ideal for
Design tip that matters
5) Indirect lighting (cove, top-of-cabinet glow)
Indirect lighting bounces light off a surface (like a ceiling) to create a soft, high-end feel.
Pros
Very comfortable and low glare.
Adds “depth” and makes the kitchen feel larger.
Great for evening ambience.
Cons
Best for
Kitchens with soffits, crown detail, or space above cabinets.
Homeowners who want a softer, more custom look.
Not ideal for
6) Toe-kick and pathway lighting (accent + safety)
These are low-level lights near the floor that guide movement at night.
Pros
Cons
Best for
Homes with kids, older adults, or frequent late-night kitchen use.
Kitchens with open plans where you want subtle nighttime glow.
Not ideal for
Material pros/cons: what matters most in a kitchen environment
Kitchens are tough spaces: grease, moisture, temperature swings, cleaning products, and constant use. Choose materials that hold up.
Integrated LED fixtures vs replaceable bulbs
Integrated LED (LED built into fixture)
Pros: often slimmer, more modern; can have excellent optics and diffusion.
Cons: if a driver or LED board fails, repair may mean replacing the fixture; quality varies widely.
Replaceable bulb fixtures
Best for / Not ideal
Light quality choices
Color temperature (how “warm” or “cool” the light looks)
Warm white feels cozy and softer.
Neutral white feels clean and balanced (often a kitchen favorite).
Cool white feels crisp but can look harsh in a home.
Best for
Warm: wood-heavy kitchens, cozy vibe.
Neutral: most kitchens, especially whites and mixed materials.
Cool: very modern spaces, but only if you like that look.
Not ideal for
CRI (how accurate colors look)
CRI is essentially “does this light make colors look real?” In a kitchen, higher color accuracy helps food look appetizing and finishes look correct.
Best for
Not ideal for
Glare control (comfort)
Glare is one of the biggest complaints in renovated kitchens—especially with glossy counters and shiny backsplashes.
What helps
Diffusers (frosted lenses) on under-cabinet strips.
Shades that hide the bright point of the bulb/LED.
Dimming and zoning so you don’t over-light.
Energy efficiency (without sacrificing quality)
Efficiency is important, but the bigger win is usually using light where it’s needed, then controlling it.
Efficient strategies that also feel better
Strong task lighting + softer ambient in the evening.
Dimmers so you’re not stuck with one brightness level.
Zone switching so you don’t light the entire kitchen for one task.
Accessibility & future-proofing
Lighting that works well today should also work if your vision, mobility, or routines change.
Better visibility with less strain
Prioritize even ambient lighting (no dark pockets).
Add task light at prep and sink.
Choose light sources with good color rendering so edges and textures are easier to see.
Controls you’ll appreciate later
“Best for / Not ideal for” summary
Under-cabinet LED strips
Recessed downlights
Best for: clean ambient support, larger kitchens.
Not ideal for: your only lighting source; glare-prone kitchens without careful selection.
Flush-mount ceiling fixtures
Island pendants
Indirect/cove lighting
Best for: a softer, high-end feel and evening ambience.
Not ideal for: first priority when budget is tight (do task lighting first).
Toe-kick lighting
Execution & Construction Process
This section walks you through what typically happens during a kitchen lighting renovation—from planning to final adjustments—so you know what to expect and how to keep quality high. Even if you’re hiring an electrician, understanding the sequence helps you avoid expensive rework and “why does this feel wrong?” results.
How to work with contractors and specialists
Who you might involve
Licensed electrician: The key pro for adding circuits, relocating junction boxes, installing recessed lights, and tying in under-cabinet systems.
General contractor (GC): Helpful if lighting is part of a broader kitchen remodel (cabinets, drywall, painting).
Lighting designer (optional): Useful for complex kitchens, open-concept homes, or if you want indirect/cove lighting and a more curated look.
You don’t need a designer for most projects, but you do need a plan.
What to give your electrician (so results match your vision)
Bring these items to your first walkthrough:
A simple floor plan sketch
Mark sink, cooktop, fridge, island, pantry, and main prep counter.
Your lighting zones
Your goals (3–5 bullets)
Examples:
“No counter shadows at the main prep zone.”
“Dimmable ambient lighting for evenings.”
“Night pathway lighting that’s very subtle.”
Photos of your kitchen at night
Show the current problems clearly.
This turns the conversation from “What do you want?” to “Here’s the outcome.”
Questions to ask a contractor before you start
These keep you from discovering issues after the ceiling is closed:
How will you divide circuits and switch legs for zones?
Will under-cabinet lights be hardwired or plug-in (and where will drivers go)?
What is the plan for dimming compatibility (fixtures, drivers, dimmers)?
Where will any transformers/drivers be located for service access?
If we add recessed lights, how will you avoid shadows on counters?
What patching/painting is included if ceilings/walls are opened?
If they can’t explain their approach to shadows and zones in plain language, that’s a flag.
Typical project phases
Phase 1: Finalize the lighting layout (before anyone cuts holes)
This is where you lock in fixture locations and switching.
1) Confirm each zone’s fixtures and purpose
Ambient: recessed, flush mount, linear ceiling fixture, or indirect
Task: under-cabinet, over-sink, improved hood lighting
Decorative: pendants, feature fixtures
Accent/night: toe-kicks, cabinet interiors, pantry sensors
2) Mark exact fixture locations
For recessed lights and pendants, placement is everything.
Recessed lights: Plan so light lands where you work, not behind you.
Pendants: Center them over the usable island area, not necessarily the island’s geometric center (seating overhangs can change the “true” visual center).
If your plan is “we’ll eyeball it,” you’re likely to get uneven lighting.
3) Plan switching and dimming
At minimum, aim for separate control of:
Ambient
Under-cabinet
Decorative
Accent/night (optional)
This is what makes the kitchen feel flexible instead of “always too bright.”
Phase 2: Electrical rough-in (the “messy” part)
This is when wiring is added or relocated, often before any patching/painting.
What happens in rough-in
New cables pulled (if adding fixtures or splitting zones)
New boxes installed (ceiling boxes for pendants, recessed housings or junctions)
Driver/transformer locations prepared (for certain LED systems)
Switch box updates (new dimmers, extra switches, multi-way switching if needed)
Common rough-in decisions that affect final quality
Driver placement for under-cabinet lighting: Needs ventilation and access.
Routing and hiding under-cabinet wiring: You want clean runs that don’t create visible cords or odd gaps.
Dedicated control for task lighting: Under-cabinet should not be forced to turn on with all ambient lighting.
Phase 3: Drywall/patching/paint (if ceilings or walls were opened)
If you added recessed lights or moved wiring, you may need patching.
Tips that prevent “patchy ceiling syndrome”
Plan fixture locations early so you don’t move them later.
Consider repainting the full ceiling if multiple patches are needed (partial blends can show under bright light).
Remember: new lighting often makes old ceiling flaws more visible—another reason to patch well.
Phase 4: Fixture installation (trim-out)
This is when fixtures go in and the kitchen starts to look “done.”
What gets installed
Recessed trims or surface fixtures
Pendants and decorative fixtures
Under-cabinet fixtures (tape in channels, bars, or pucks)
Switches/dimmers
Accent lights (toe-kick, cabinet interiors, pantry sensors)
Under-cabinet install: the quality details
If you’re doing under-cabinet lighting, these details determine whether it looks custom or cheap:
Use diffused light where possible to avoid visible “dots.”
Keep spacing consistent between sections.
Avoid bright hotspots at cabinet seams.
Keep wiring hidden and serviceable.
A great under-cabinet install looks like it was always part of the cabinetry.
Phase 5: Aiming, balancing, and scene setup (the part people skip)
This is where you turn “installed” into “feels amazing.”
Balance the layers
Turn on one zone at a time:
Ambient only
Under-cabinet only
Decorative only
Accent/night only (if applicable)
Then combine:
If one mode feels harsh or dim, adjust dimmer levels and consider bulb/trim changes before assuming you “need more fixtures.”
Inspections and Quality Checks
Electrical and safety checks (handled by pros, but you should verify outcomes)
Depending on your region and scope, permits/inspections may be required for new circuits or significant modifications. Codes and permit rules vary widely, so the pro should guide this.
What you can do: verify performance and usability.
Quality checklist you can run yourself
1) Flicker and dimming performance
Do lights dim smoothly without stepping or flicker?
Do they buzz at low levels?
Do any lights shut off early before reaching low dim?
If yes, it often points to dimmer/driver/fixture compatibility, not “bad wiring.”
2) Shadow test on counters
Stand at your main prep counter and chop-motion zone:
If shadows exist, it’s usually solved by:
3) Glare test (especially with glossy counters/backsplashes)
If yes, common fixes include:
4) Color consistency test
Turn on all kitchen lights at once:
If it’s mismatched, you likely need more consistent color temperature across fixtures/bulbs.
5) Controls and daily flow
Can you enter the kitchen and turn on the right lights easily?
Can you cook without turning on “everything”?
Is there a simple night option?
This is where zoning either proves itself—or annoys you forever.
Practical timelines (in realistic steps, not exact durations)
Lighting-only projects typically move fastest when:
The plan is clear,
fixture locations are confirmed before rough-in,
and you’re not waiting on special-order fixtures/drivers.
The more you open ceilings/walls, the more you add coordination with patching and painting. Even small electrical changes can trigger patch/paint work—plan for that disruption.
“Stop problems” during execution (common mid-project issues)
Too many recessed lights added “just in case.” This often leads to glare and a busy ceiling.
Under-cabinet lighting treated as an afterthought. It should be planned early (power, driver location, switching).
Everything on one switch. This kills flexibility and comfort.
Mixing fixture brands without checking dimming compatibility. This is a common cause of flicker and buzzing.
Costs & Budget Breakdown
Kitchen lighting costs swing a lot because you’re paying for two things at once:
Fixtures and components (lights, drivers/transformers, trims, channels, diffusers)
Labor and disruption (routing wires, opening/patching ceilings, adding switches, troubleshooting dimmers)
The ranges below are typical U.S. national ballparks pulled from recent cost guides. Your local pricing (and code/permit requirements) can be very different—use these to sanity-check quotes, not to predict your exact total.
What most homeowners spend (by “scope level”)
| Scope level | What’s included | Typical total range (lighting-focused) |
|---|
| Scope A: High-impact retrofit | Add/upgrade under-cabinet task lighting, swap a few fixtures, add dimmers/zones where easy, minimal patching | $400–$2,000+ |
| Scope B: Moderate electrical updates | Scope A + add several recessed lights and/or new pendant locations, some patch/paint | $1,500–$6,000+ |
| Scope C: Full layered redesign | Scope B + indirect lighting, toe-kick/cabinet accent layers, more complex controls/smart scenes | $4,000–$12,000+ (can go higher in large/open-concept homes) |
Why the “+”? Because ceilings, access, and wiring conditions can quickly add time.
Cost ranges by common kitchen lighting upgrades
1) Under-cabinet task lighting (the usual “best ROI”)
Expect a wide spread depending on plug-in vs hardwired, the type of LED system, and how clean you want the finish.
Installed under-cabinet lighting: commonly $200–$800 total for many kitchens, with higher-end hardwired systems going higher.
Per linear foot installed (common guideline): about $20–$100 per linear foot depending on system and complexity.
What drives the price up
Hardwiring (vs plug-in)
Hiding drivers/transformers cleanly
Premium channels + diffusers (to avoid “LED dots”)
Extra segmentation around windows, hood, tall cabinets
2) Recessed lighting (downlights)
These ranges vary a lot with access (unfinished attic vs finished ceiling) and how much patching is required.
What drives the price up
Fishing wires through finished ceilings
Avoiding joists / moving locations after holes are cut
Needing drywall repair and repainting to look clean
3) Island pendants / decorative fixtures
This is where people overspend on looks and under-invest in performance. Budget for both the fixture and the install.
What drives the price up
No existing ceiling box where you need it (new wiring)
High ceilings or tricky mounting
Multiple pendants that must be perfectly aligned
4) Switches, dimmers, and “zoning”
This is one of the most underrated parts of a lighting renovation—because it determines whether you like using your new lights.
What drives the price up
Expanding a 1-gang box to a multi-gang (more switches)
Three-way switching complexity
LED dimming compatibility troubleshooting
5) Patch/paint and finish repair (often forgotten)
If you add recessed lights or move fixtures, the “lighting cost” may include:
This can be minor or a major chunk, depending on how many holes you cut and how picky the ceiling finish is. (Get it in writing: who patches and who paints.)
The biggest cost drivers (what actually changes the quote)
Access and routing
Easy access above the kitchen (attic, open joists) usually lowers labor.
Finished ceilings and limited access increases labor and patching.
Number of control zones
Going from “all-on” to 3–4 zones often adds:
Fixture quality and light quality
Premium fixtures cost more, but they can reduce pain points like glare, uneven beams, and flicker—things that are hard (and expensive) to fix later.
“Hidden component” complexity
Under-cabinet, toe-kick, and indirect lighting often require:
Where to save vs where to invest
Save (usually safe to go budget)
Decorative pendants if you choose a shade that controls glare and you use good bulbs.
Basic night lighting (simple toe-kick/low-level options) if it’s truly optional.
Smart features if you mainly want reliable dimming and zones (you can add smart later).
Invest (pays off daily)
A practical budgeting template (use this to plan your quote)
Fill in quantities, then compare contractor bids line-by-line.
| Line item | Typical range | Your quantity | Notes |
|---|
| Under-cabinet lighting | $200–$800+ total, or $20–$100/ft | | Tape-in-channel usually looks best |
| Recessed lights | $214–$523 per light installed | | Access/patching is the swing factor |
| Pendant install | $100–$588 per light | | New locations cost more |
| Switch/dimmer upgrades | $100–$203 per switch | | Add cost if expanding wall box |
| Smart switches (optional) | $108–$228 per switch | | Only if you’ll use scenes/automation |
| Patch/paint allowance | “Varies widely” | | Ask who’s responsible |
Common Mistakes & How to Avoid Them
You can spend good money on kitchen lighting and still end up frustrated—usually because the plan missed a basic lighting principle (layers, placement, glare control, or controls). The good news: most mistakes are predictable, and you can prevent them with a few simple checks.